Building and Deploying a C++ Application
This walkthrough covers the standard workflow for building and deploying a C++ application to your display using the OpenPV Toolkit's Build tab, VS Code Dev Containers, and CMake.
Open Your Config - Open your OpenPV Config in the OpenPV Toolkit.
Build Tab - Go to the Build tab.
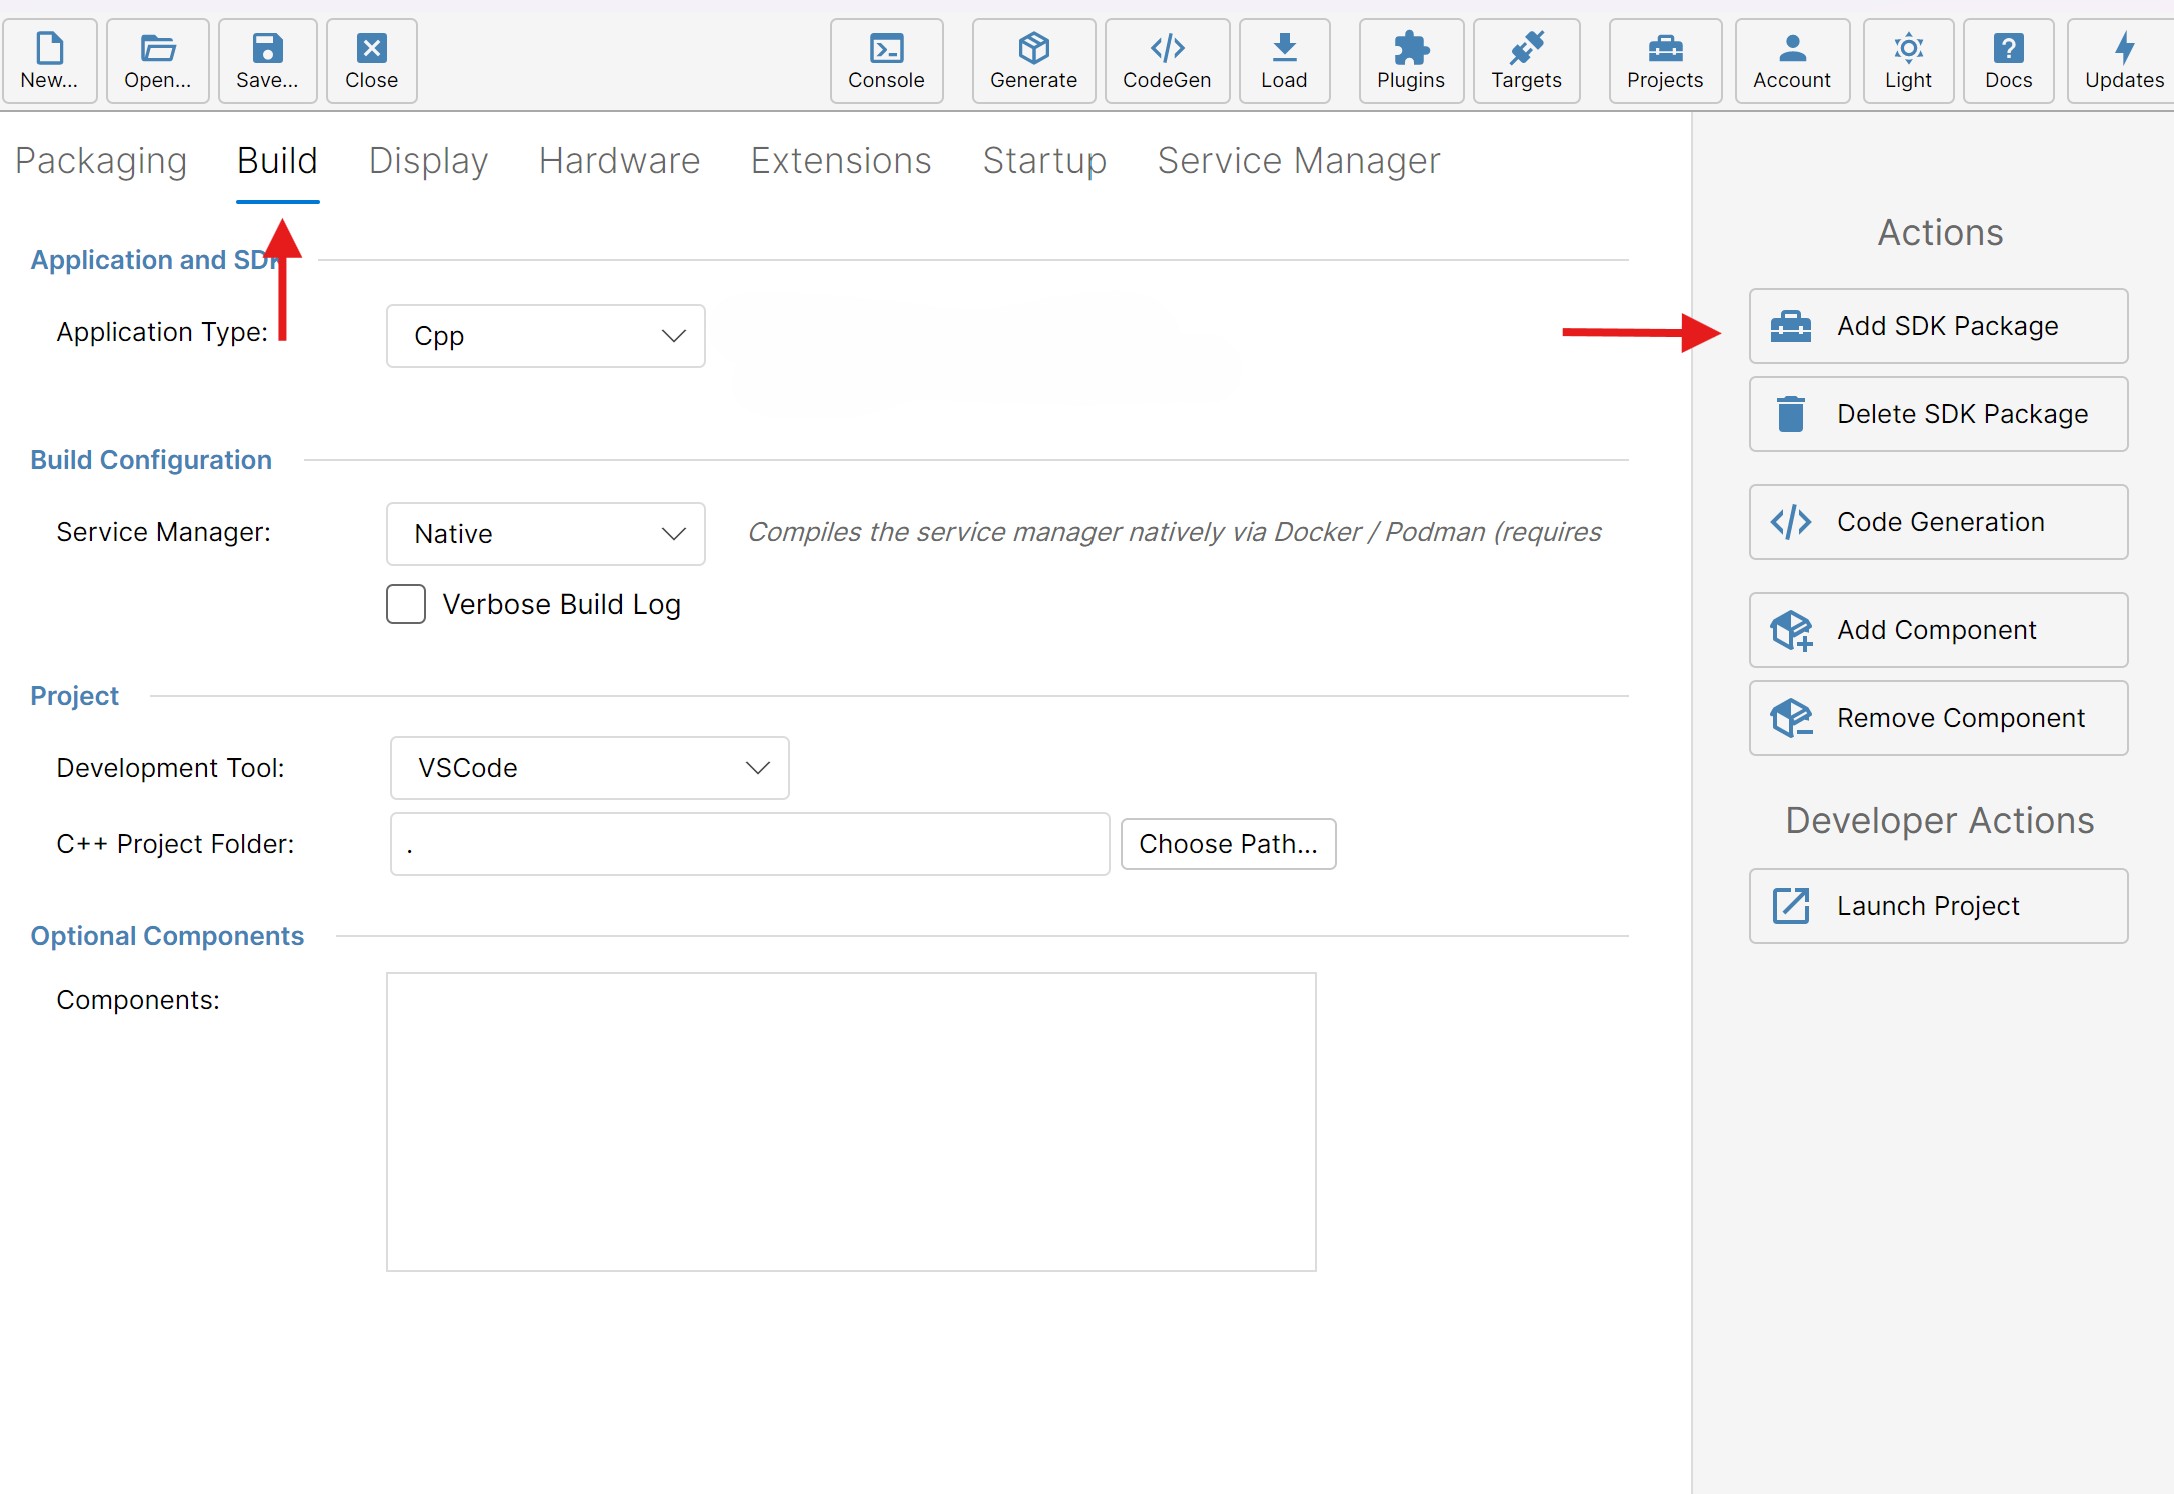
Add SDK Package - Click Add SDK Package on the right. This adds the C++ SDK matching your target firmware to the project (see Developer Tools for background on SDK Installs).
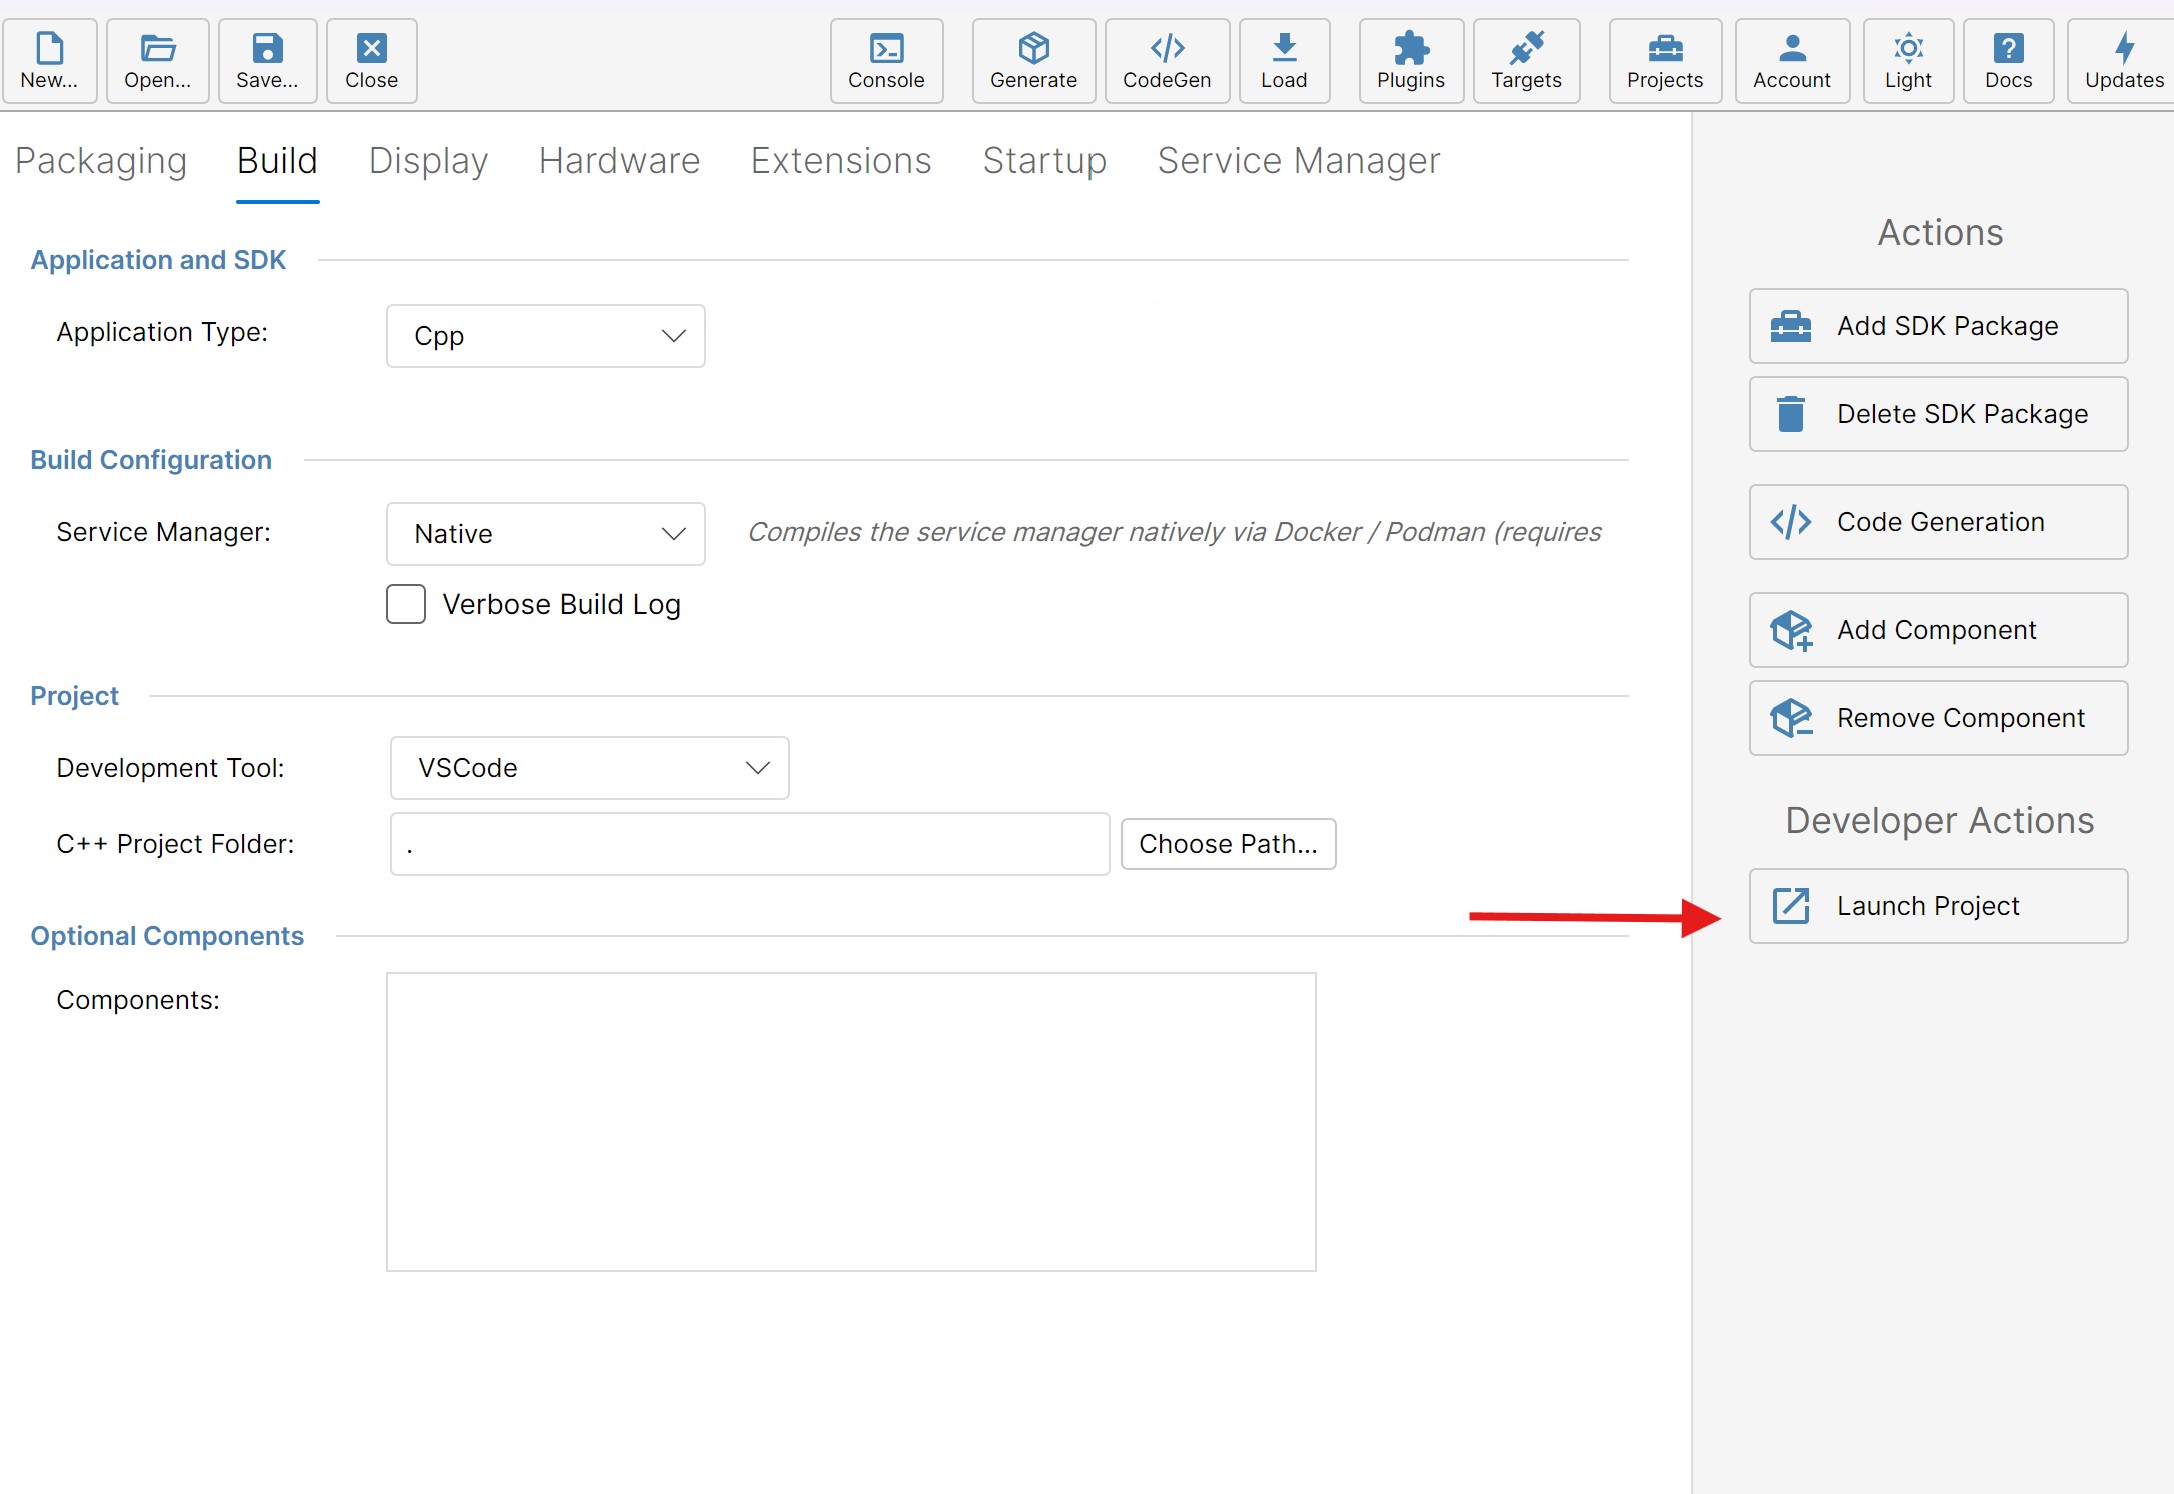
Launch Project - Click Launch Project. This opens your project in VS Code.
Install Dev Containers - If the Dev Containers extension isn't already installed, VS Code will prompt you to install it. Do so — the project relies on it to build inside the correct toolchain.
Open in Container - Click Open In Container at the bottom right. VS Code will reload inside the containerized toolchain (see Development Containers for what these containers provide).
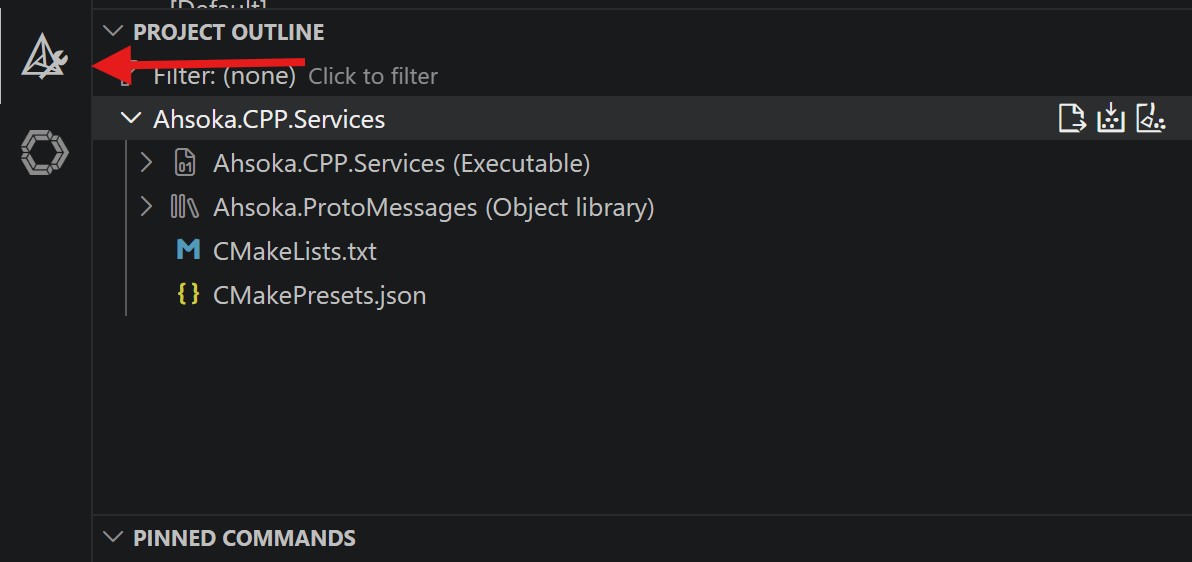
Navigate to CMake - On the left side, click the CMake icon to open the Project Outline.
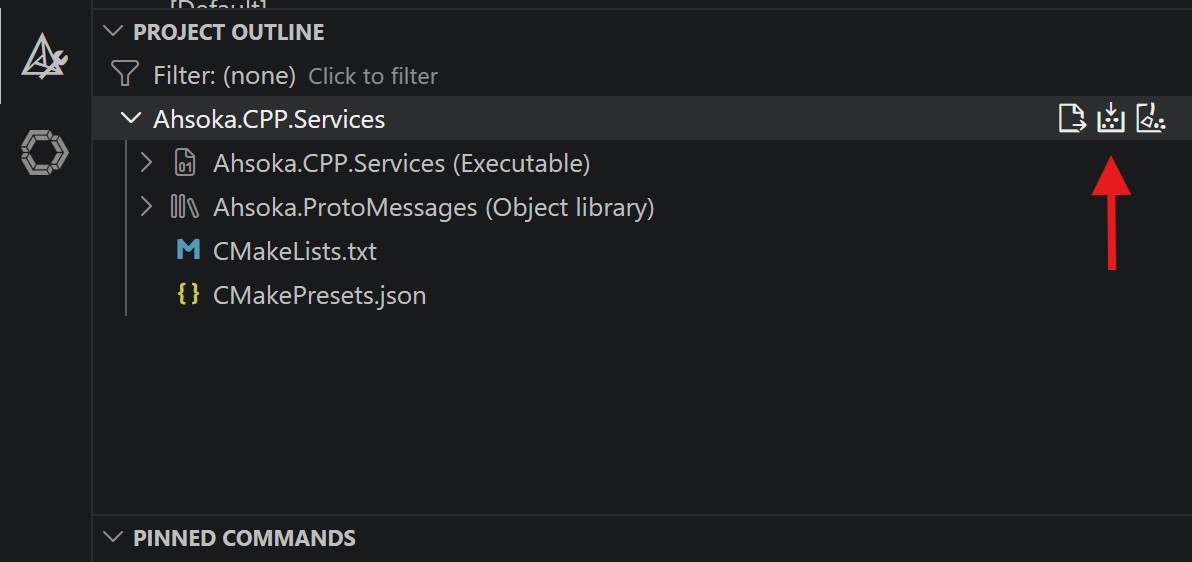
Build - Select your project in the Project Outline and hit the build button.
Once the build completes successfully, switch back to the OpenPV Toolkit:
Generate - Generate the package for your application (see Packaging Tools).
Load To Display - Load the generated package onto your display.