Display
Packaging Tools Requires: project open
Set up each screen your display drives, and tell the Layer Manager where every app's drawing surface goes.
The Display tab builds on three ideas from the display's Layer Manager, the service that arranges every app's output on screen:
- Screen — one physical display output, with its own resolution, orientation and startup logo. A platform with a built-in screen has exactly one; a platform that drives external screens, such as Flex, can have up to three.
- Layer — every screen has three fixed layers, drawn bottom to top: Background, Main (your app's UI) and Overlay (always on top, for things like critical errors or safety messages). Anything on a higher layer covers what's below it.
- Surface — the rectangle one application draws into, identified by a Surface ID. The app only draws its own rectangle; the Display tab decides which screen and layer it lands on, and where it sits and how big it is.
An app gets its surface in one of two ways. An IVI-aware app sets its own Surface ID, usually from a command-line argument or environment variable — this is the preferred way. A legacy app is matched by its App Id instead, which must be in the form com.organization.app; the Display tab maps that App Id to a Surface ID.
Some surfaces are built in and greyed out: each screen's startup logo (999 on Screen 0, 998 on Screen 1, 997 on Screen 2) and the Installer (1000). Your own apps use Surface IDs above 1000.
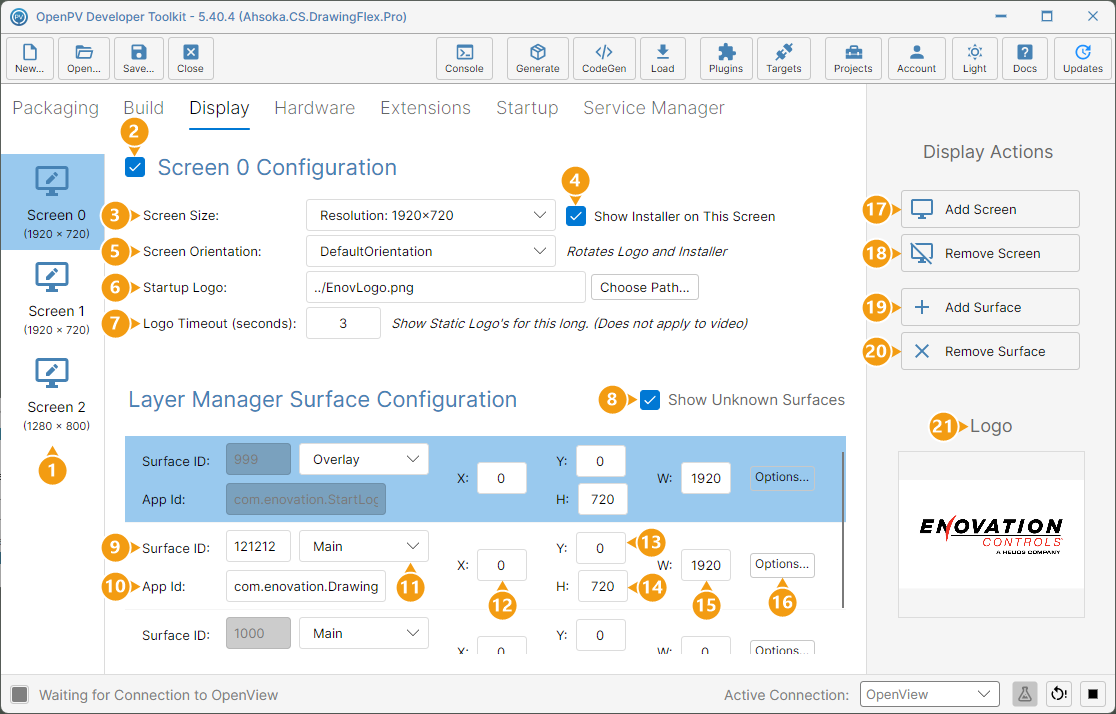
The examples on this page use the Ahsoka.CS.DrawingFlex demo project, which targets the three-screen Flex platform. The Display panel is shown below, with Screen 0 selected and each numbered item described in turn:
- Screens — one tile per screen, with its resolution. Click a tile to edit that screen.
- Screen enabled — clear the checkbox to turn a screen off; its settings are kept but greyed out. It can't be cleared on a project with only one screen.
- Screen Size — the screen's resolution, from the sizes the platform supports.
- Show Installer on This Screen — puts the Installer surface (1000), which shows install progress, on this screen. Only one screen can have it; ticking it on another screen moves it there.
- Screen Orientation — rotates the startup logo and the Installer to match how the display is mounted. Your app can read it from the
SYSTEM_ORIENTATIONenvironment variable. - Startup Logo — the image (PNG or JPG) or video (
.mp4) shown while the display boots. Click Choose Path... to pick it. - Logo Timeout (seconds) — how long a static logo stays up. 0 keeps it up until your app calls Stop Logo; it doesn't apply to video logos.
- Show Unknown Surfaces — whether to show apps that don't match any surface below. When on, they're shown at the size they ask for, with a Surface ID 10,000 above the last configured one.
- Surface ID — the ID the app draws into. Greyed out for built-in surfaces.
- App Id — for a legacy app, the App Id the app reports, mapped to the Surface ID beside it.
- Layer — Background, Main or Overlay.
- X — the surface's left edge, in pixels from the left of the screen.
- Y — the surface's top edge, in pixels from the top of the screen.
- H — the surface's height, in pixels. If it differs from the height the app draws, the output is scaled to fit.
- W — the surface's width, in pixels. If it differs from the width the app draws, the output is scaled to fit.
- Options... — opens Surface Options, where Start Hidden keeps the surface hidden until your app shows it.
- Add Screen — adds a screen, up to the platform's limit.
- Remove Screen — removes the last screen in the list.
- Add Surface — adds a surface to the selected screen.
- Remove Surface — removes the selected surface.
- Logo — a preview of the selected screen's startup logo.
Remove a Screen
-
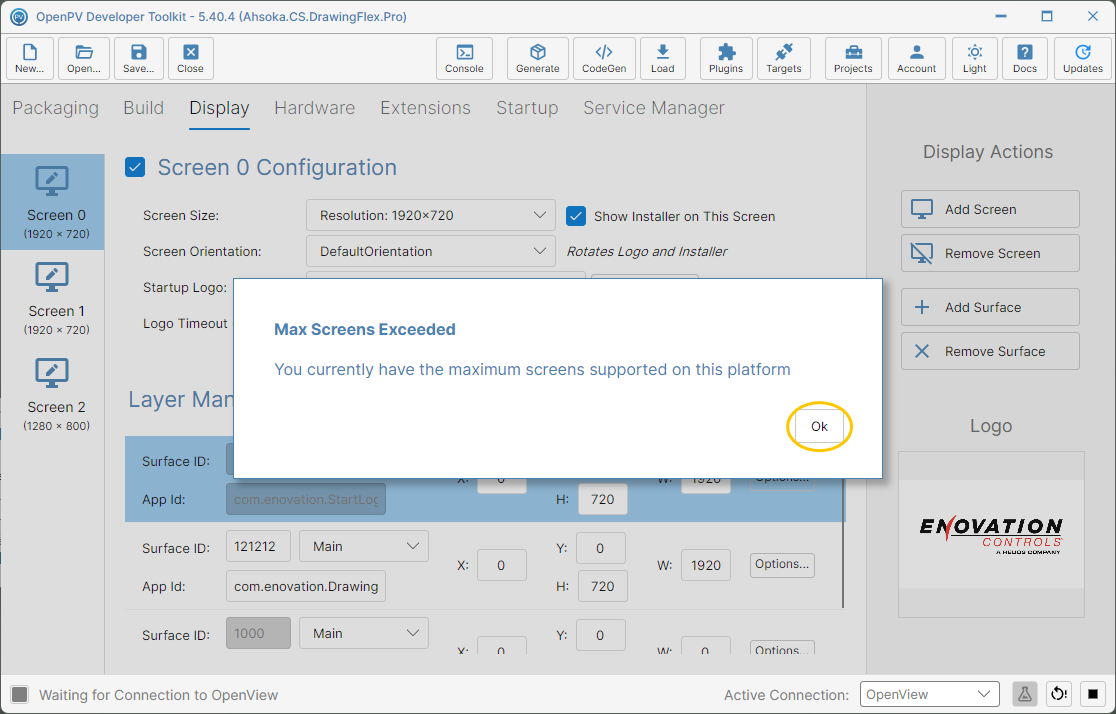
Each platform supports a limited number of screens — three on Flex. With all three in use, clicking Add Screen shows Max Screens Exceeded. Click Ok.
Max Screens Exceeded, with all three screens in use -
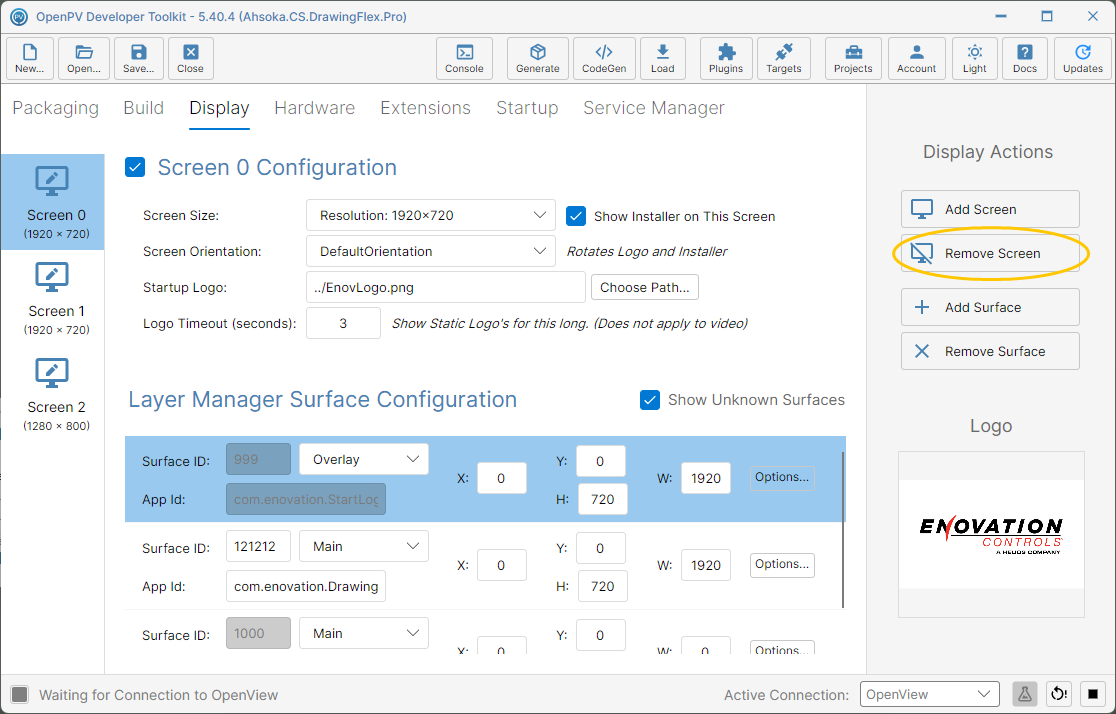
Click Remove Screen. It always removes the last screen in the list — here Screen 2 — not the one you have selected.
The Remove Screen button -
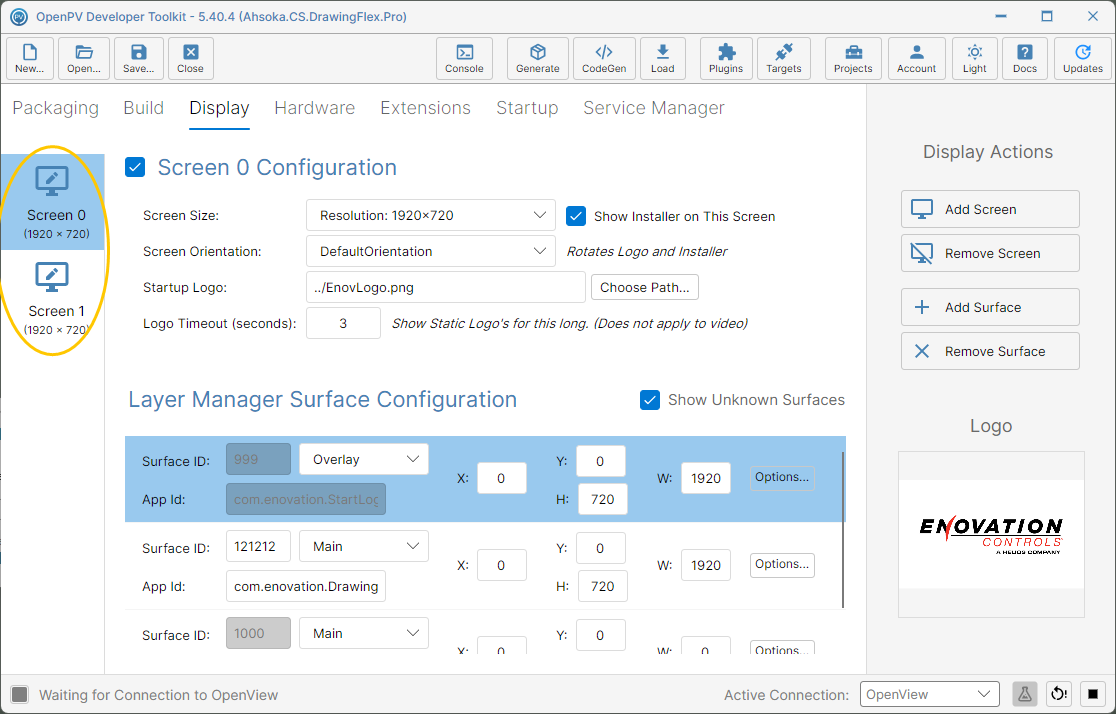
The screen is removed right away, with no confirmation, along with all of its surfaces.
Screen 2 removed from the list
Add and Configure a Screen
-
Click Add Screen.
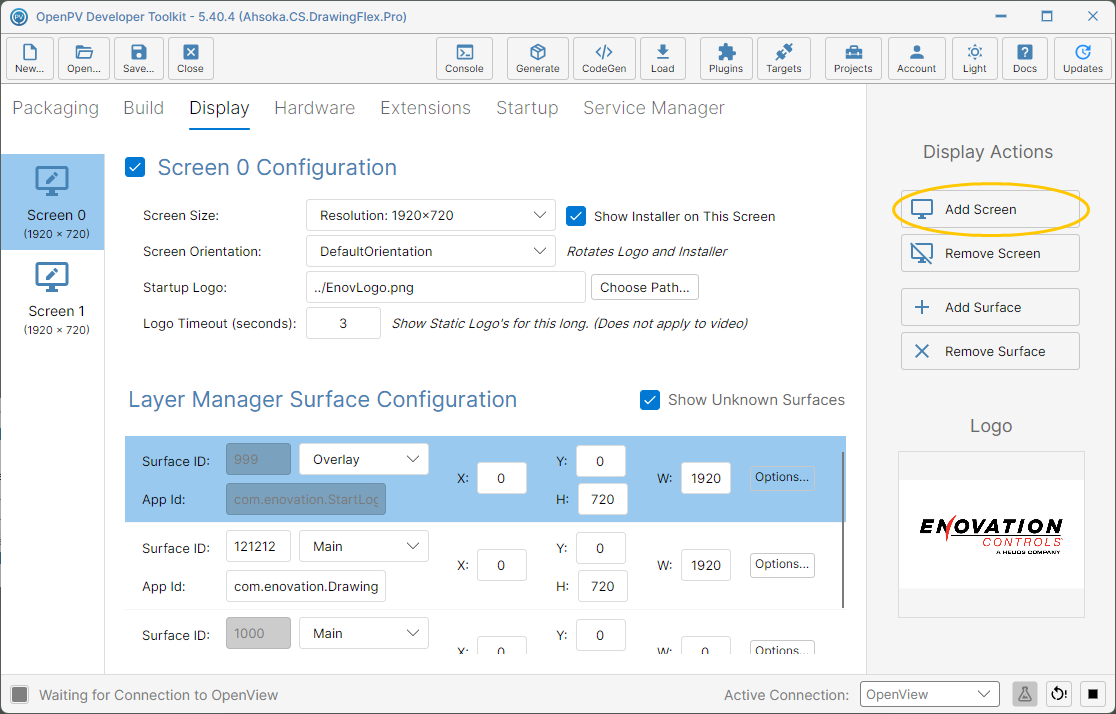
The Add Screen button -
The new screen is added at the end of the list and selected. It shows (No Screen) until you set its size, and starts with just its own startup-logo surface (997 for Screen 2). Click Screen Size.
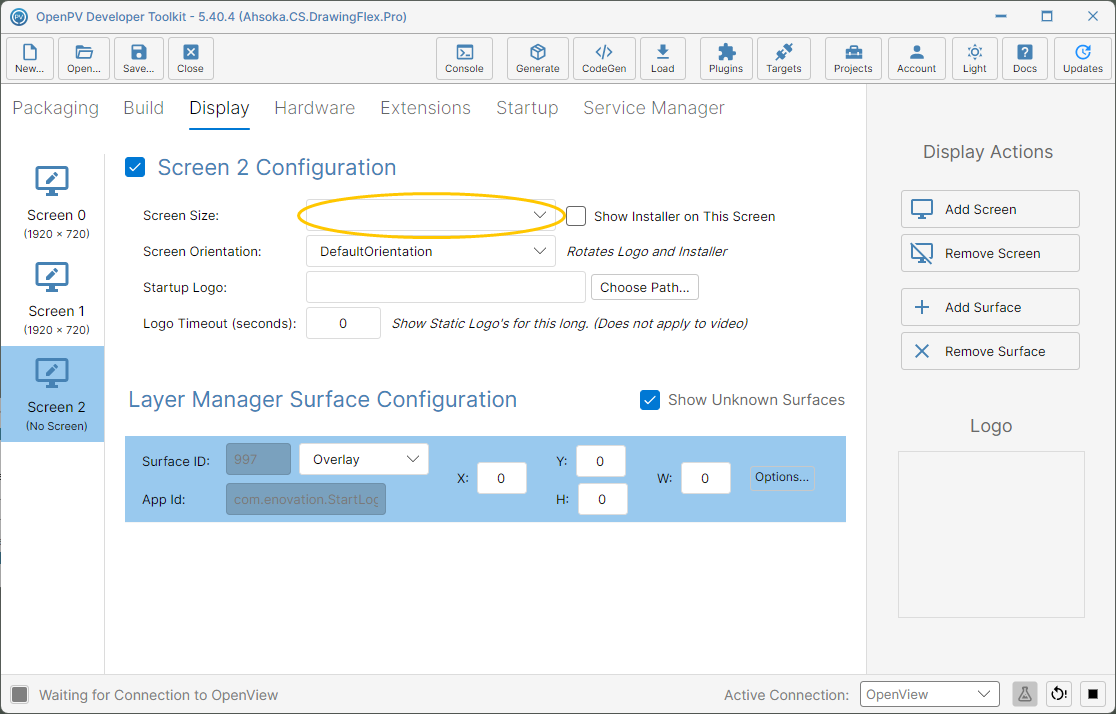
The new Screen 2, with no size set yet -
Choose the resolution of the physical display connected to that output — here, 1280×800.
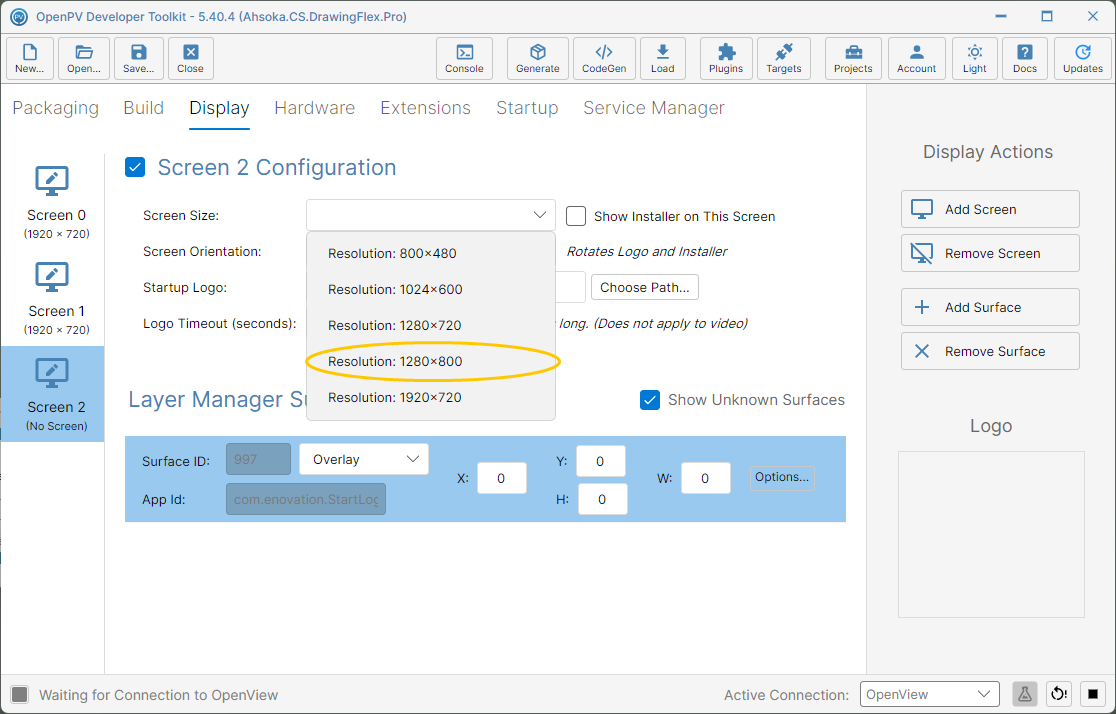
Choosing 1280×800 from the Screen Size list -
If the display is mounted rotated, click Screen Orientation.
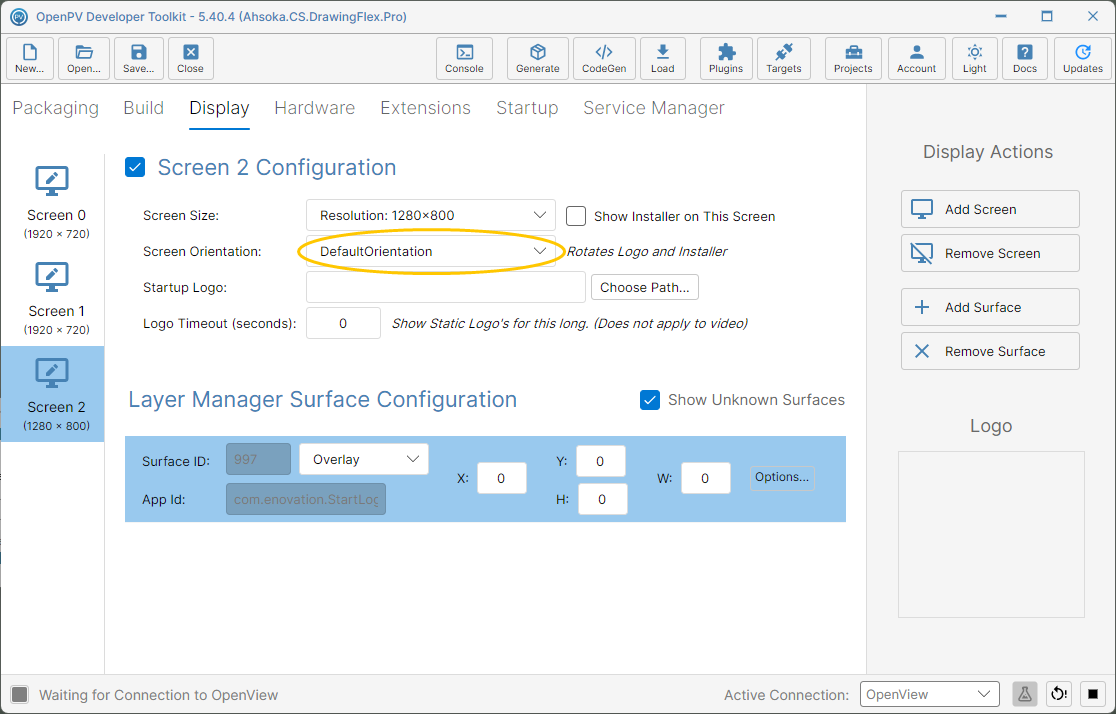
The Screen Orientation list -
Choose Rotate90, Rotate180 or Rotate270 to match how it's mounted — or keep DefaultOrientation, as here.
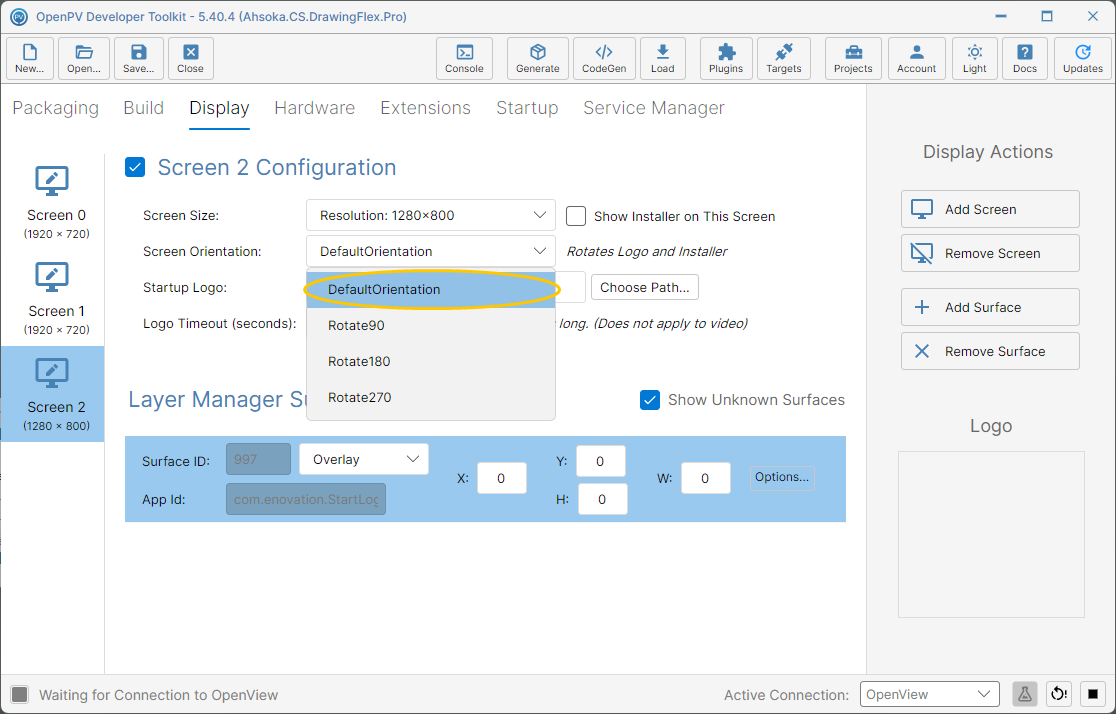
The Screen Orientation choices -
To show a logo while the display boots, click Choose Path... next to Startup Logo.
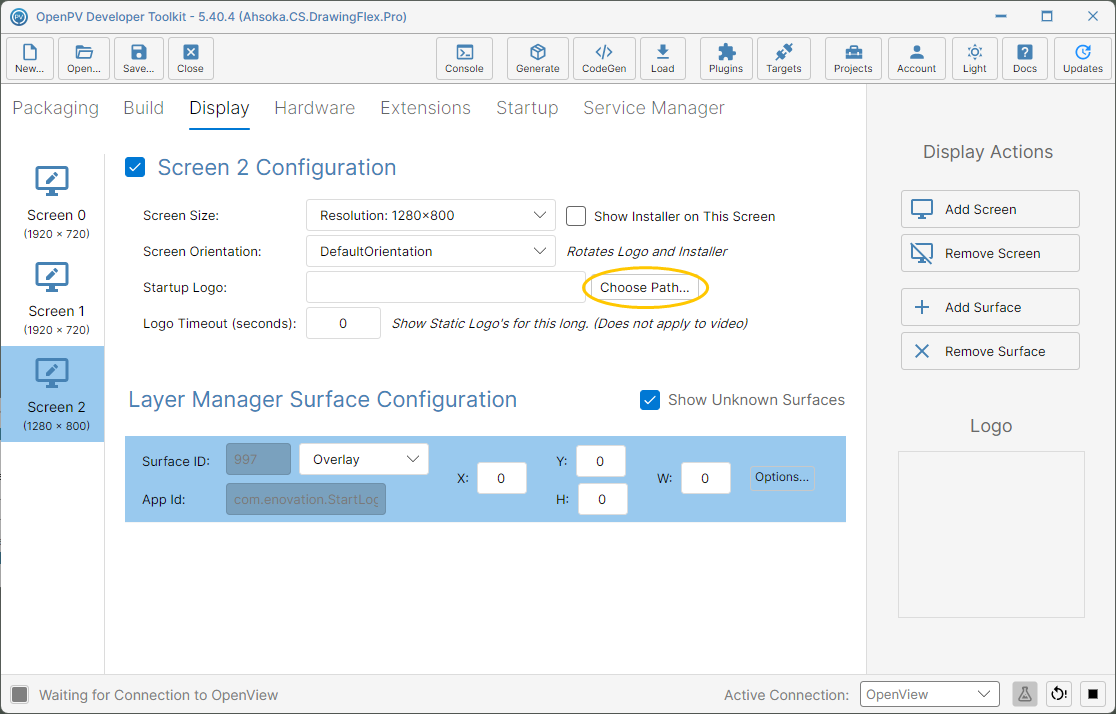
The Choose Path button for Startup Logo -
The picker opens in the project folder. Select an image or video — here, EnovLogo.png — and click Open. SVG files aren't supported, so convert them first.
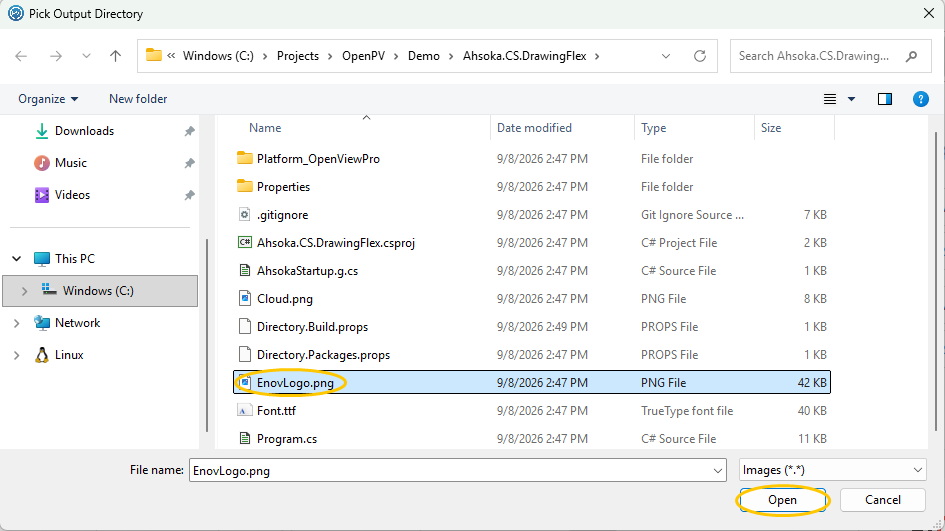
Choosing EnovLogo.png as the startup logo -
The logo previews on the right, and its path is stored relative to the project. Set Logo Timeout (seconds) to how long it should stay up, or leave it at 0 to keep it up until your app calls Stop Logo.
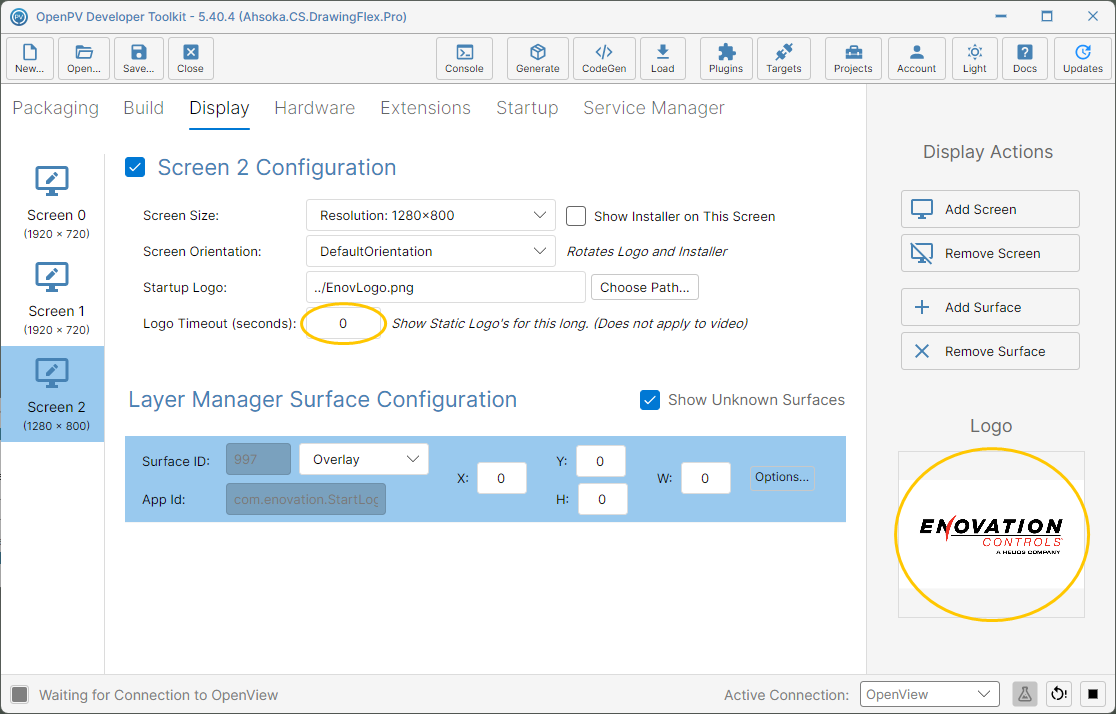
The logo preview and Logo Timeout for the new screen
Turn a Screen Off
-
Select the screen — here, Screen 1 — and clear the checkbox next to its title.
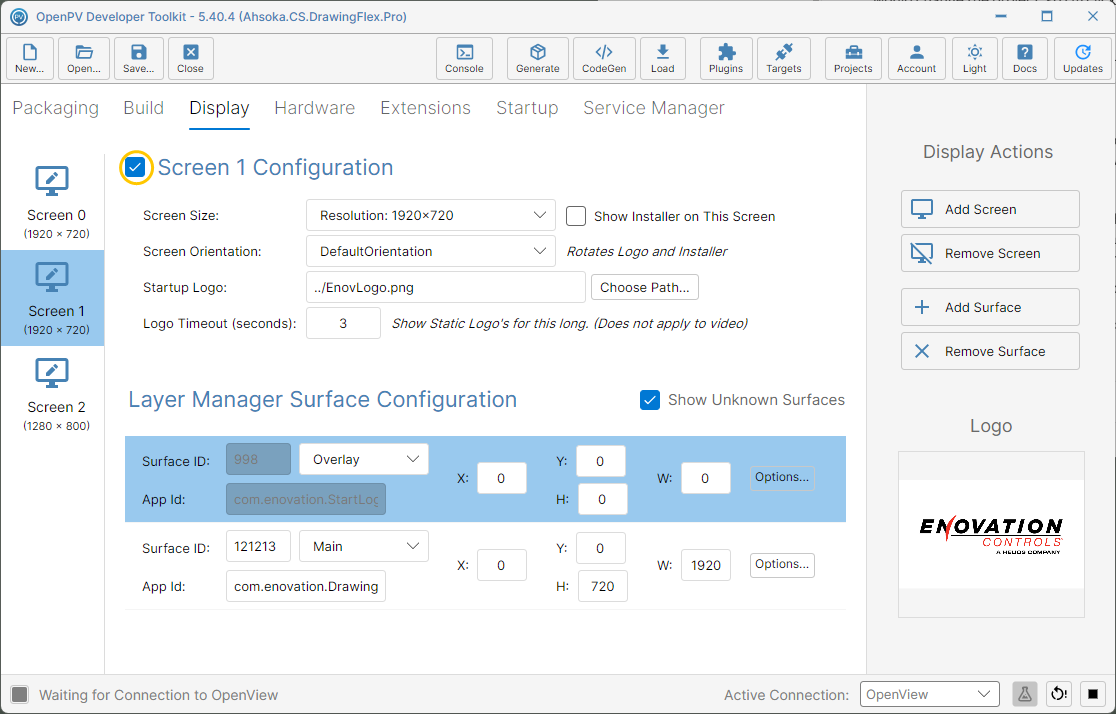
The checkbox next to Screen 1 Configuration -
The title shows (Disabled), and the screen's settings and surfaces are greyed out but kept. Tick the checkbox again to turn it back on.
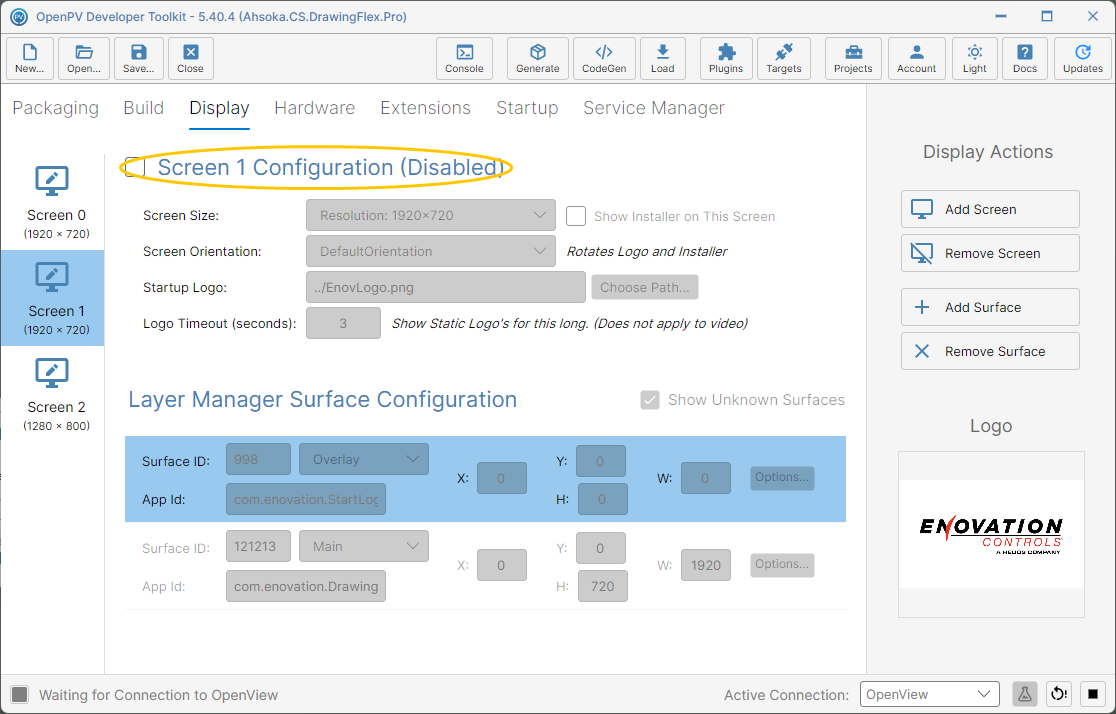
Screen 1 turned off
Move the Installer to Another Screen
-
The Installer shows progress when a package is loaded. To show it on a different screen, select that screen — here, Screen 1 — and tick Show Installer on This Screen.
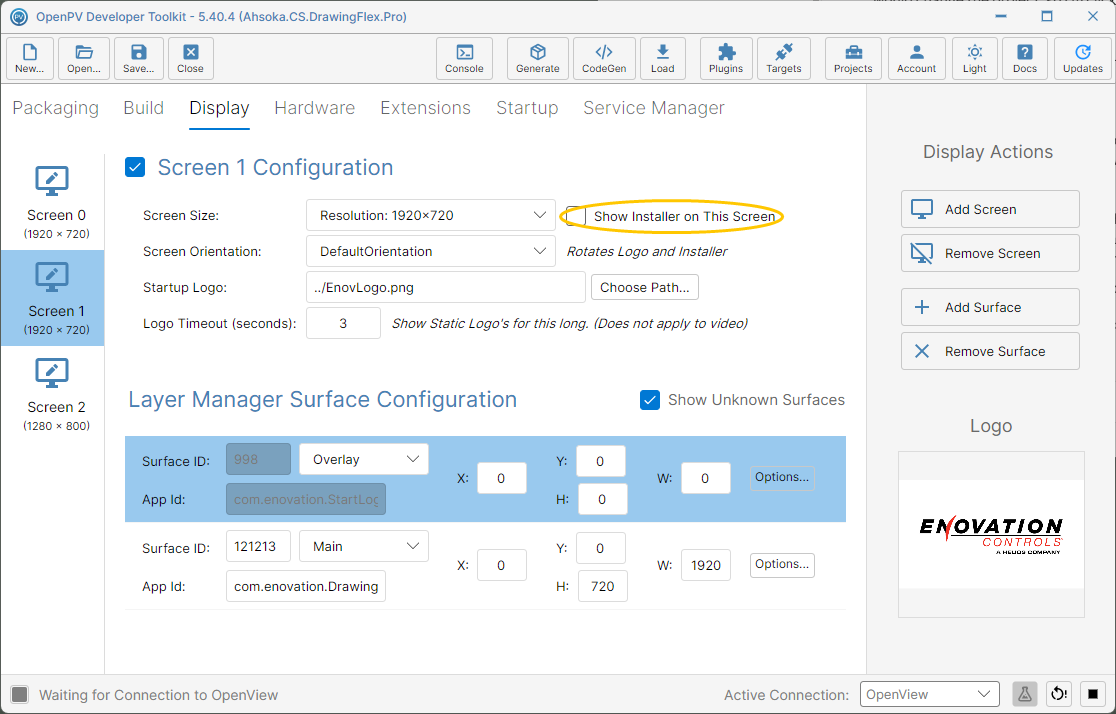
Show Installer on This Screen, on Screen 1 -
The Installer surface (1000) moves to Screen 1's surface list.
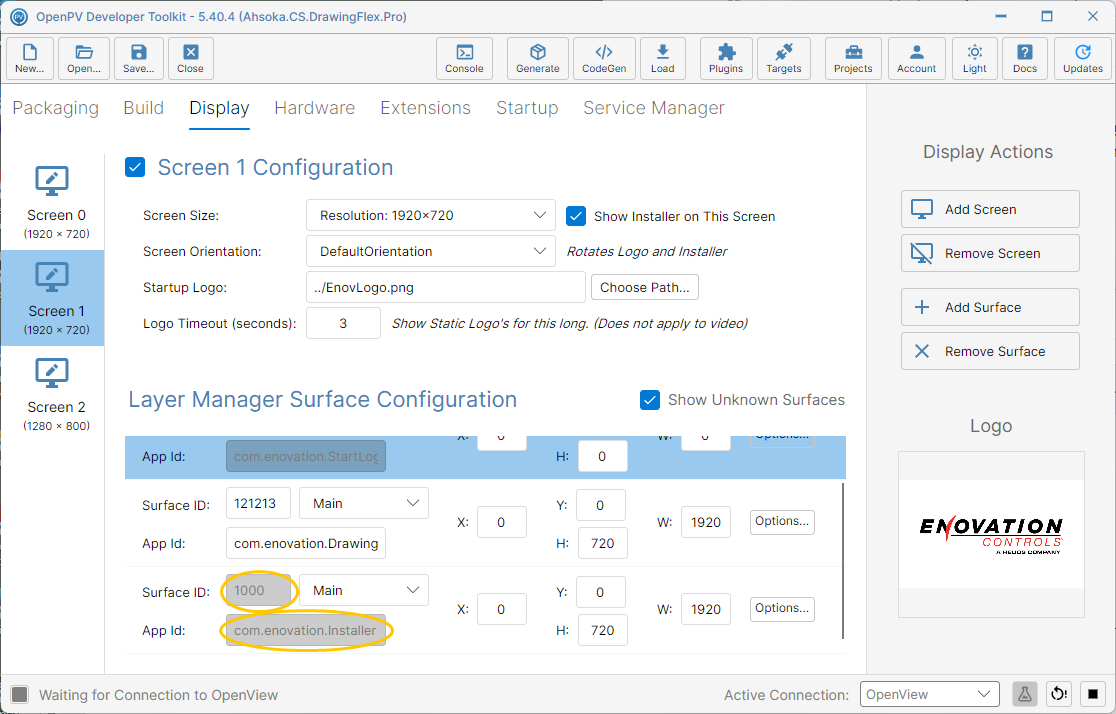
The Installer surface now on Screen 1 -
On Screen 0, the checkbox is now cleared and the Installer is no longer listed.
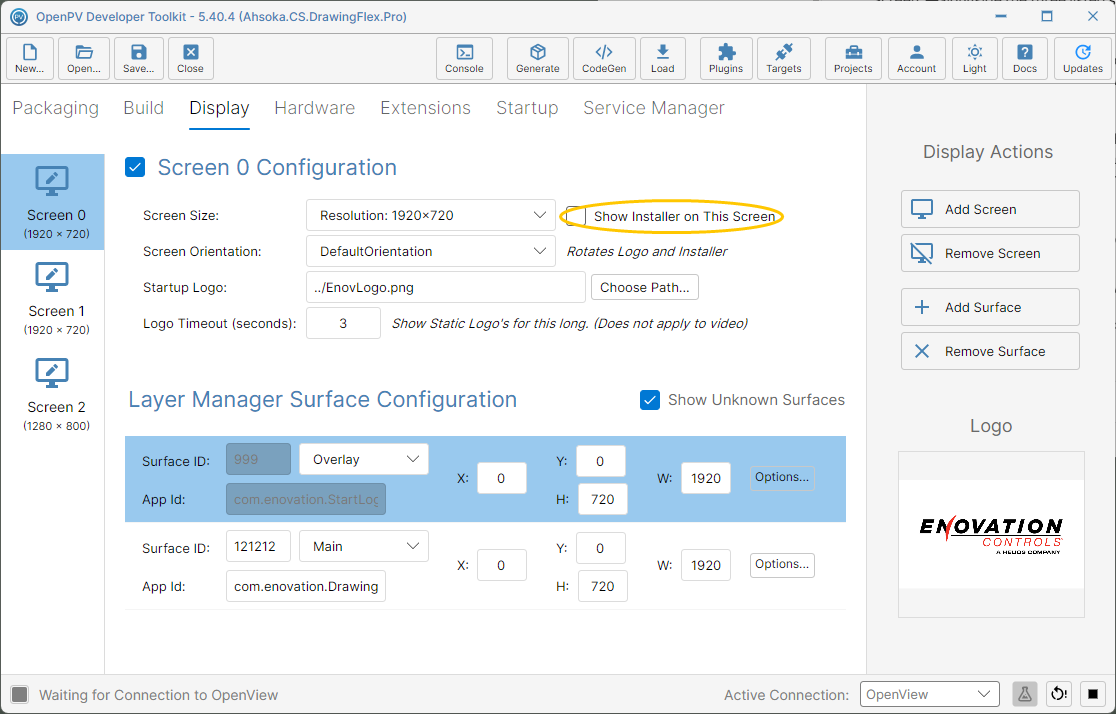
Screen 0 after the Installer moved
Add a Surface for Your App
-
Select the screen your app should appear on — here, Screen 0 — and click Add Surface.
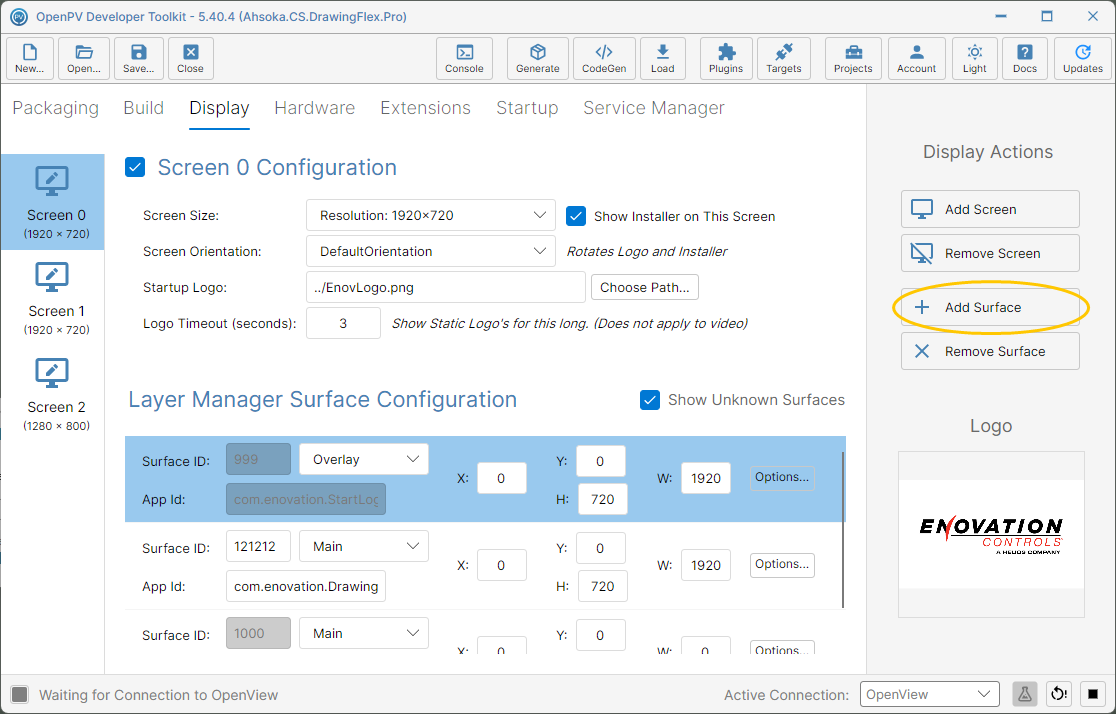
The Add Surface button -
A new surface is added at the end of the list, on the Main layer and sized to fill the screen, with a suggested Surface ID and an App Id of
NewApp-<id>. Change Surface ID to the ID your app uses, and for a legacy app set App Id to the App Id it reports.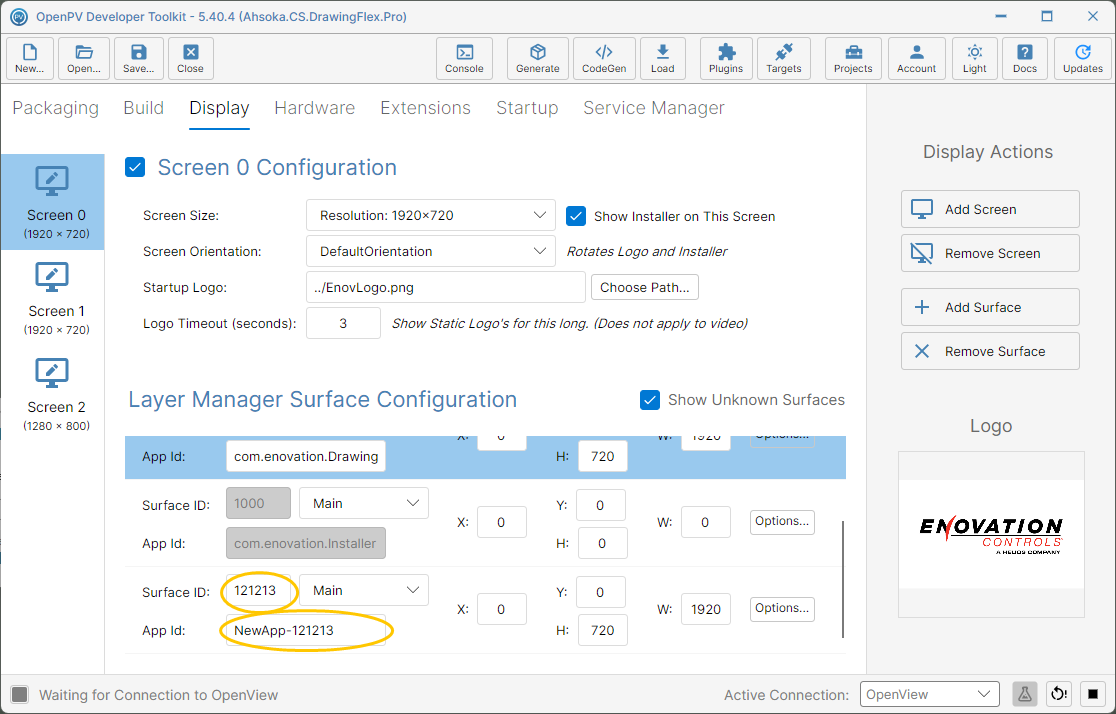
A new surface, 121213, with App Id NewApp-121213 -
Choose the surface's Layer: Main for your app's UI, Background for something that should sit behind it (such as video), or Overlay for something that must stay on top. Then set X, Y, W and H for its position and size.
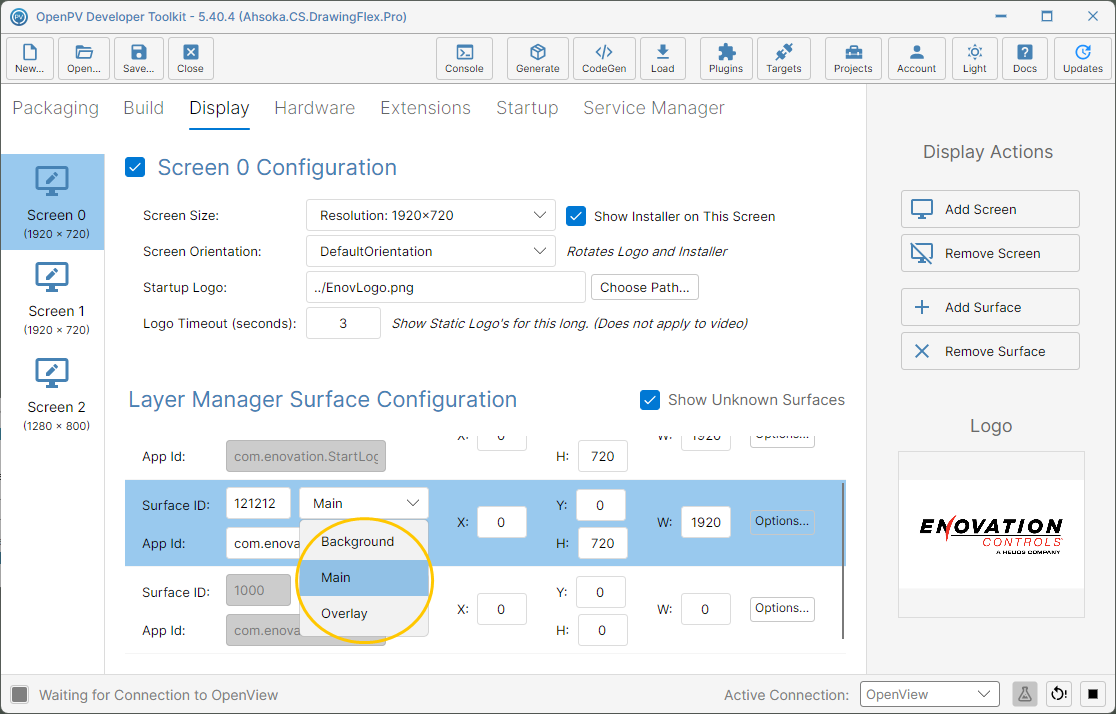
The Layer choices -
Click Options... for Surface Options. Tick Start Hidden if your app should show the surface itself, when it's ready. Close the popup with its X.
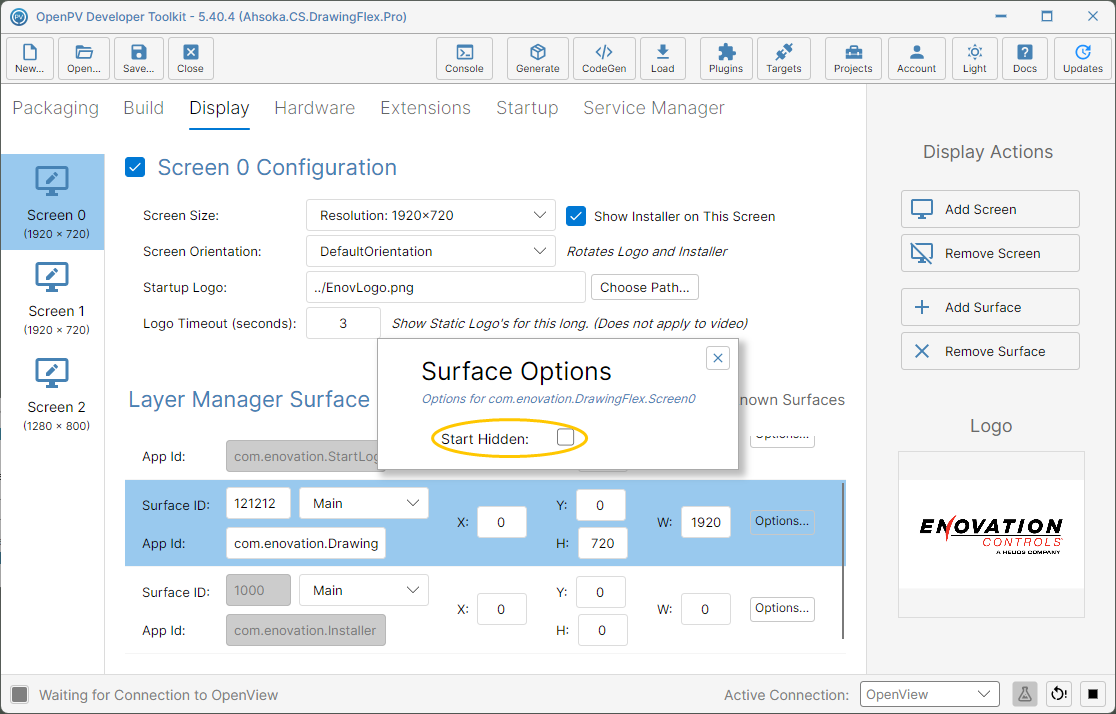
Surface Options, with Start Hidden
Remove a Surface
-
Click the surface to select it, then click Remove Surface.
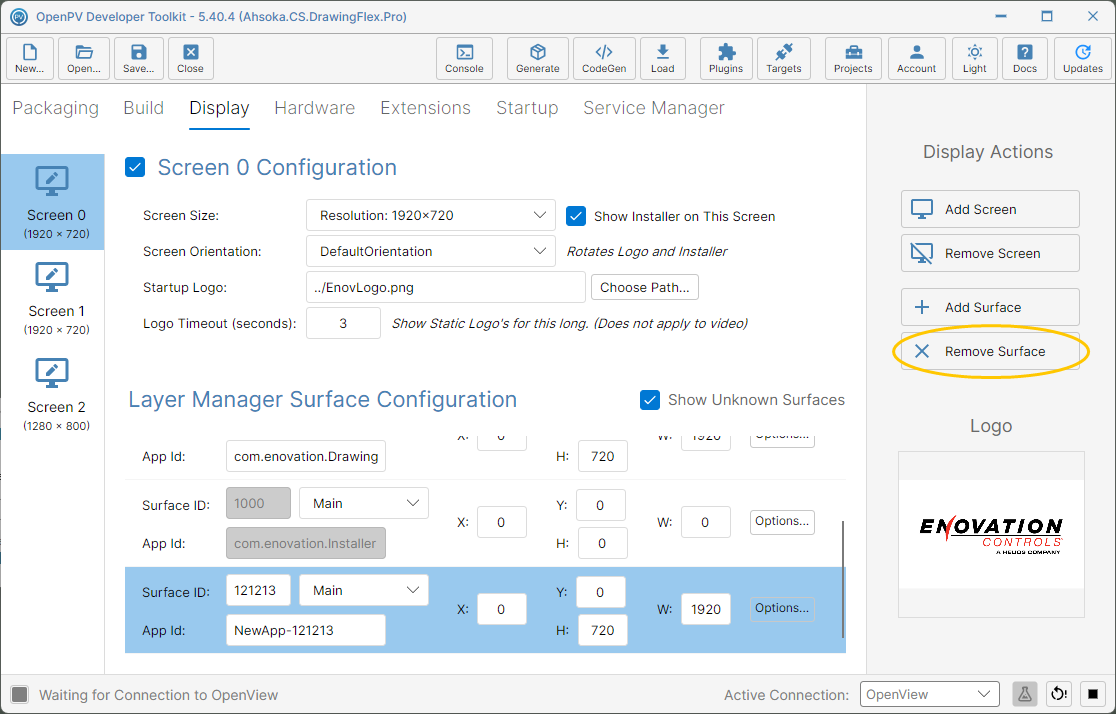
The new surface selected, with Remove Surface -
It's removed right away, with no confirmation, and the first surface in the list is selected.
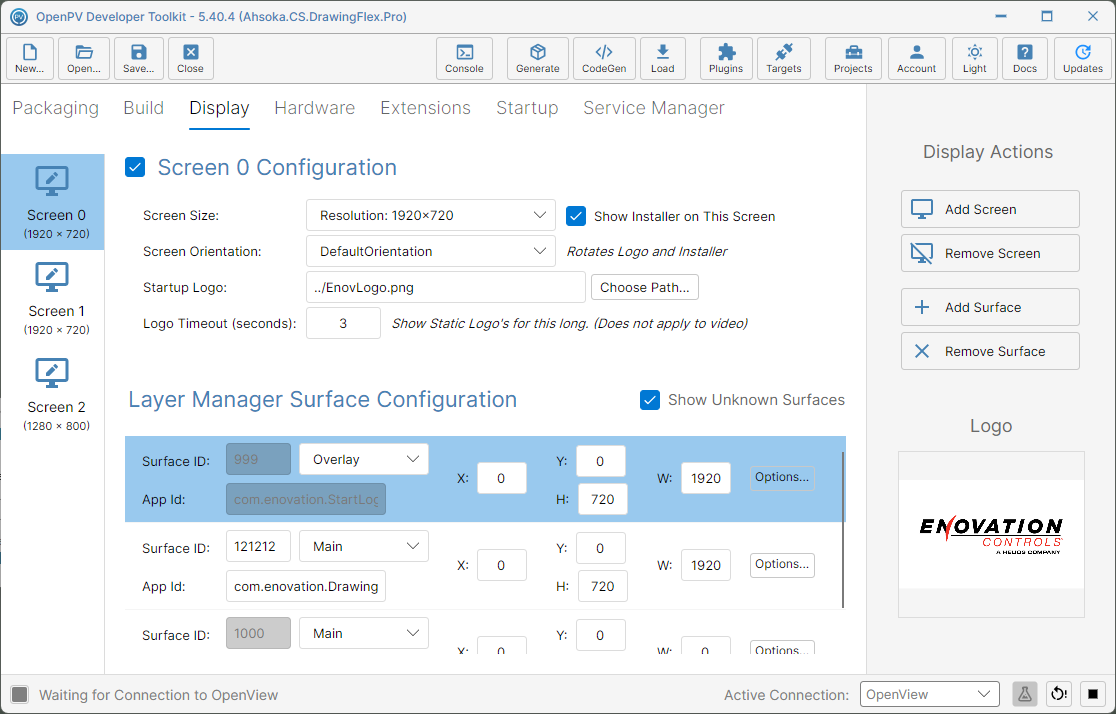
The surface list after removing the surface
WAYLAND_DEBUG = 1 on the Startup tab (see Set Environment Variables) before launching it.