Security Artifacts
Utilities Projects Requires: internet connection
Manage shared artifacts for this project such as device keys and certificates.
This is also where a Service Manager Service Key comes from — see Service Security..., which shows (None) until a key like this exists. See New Service Key below to create one.
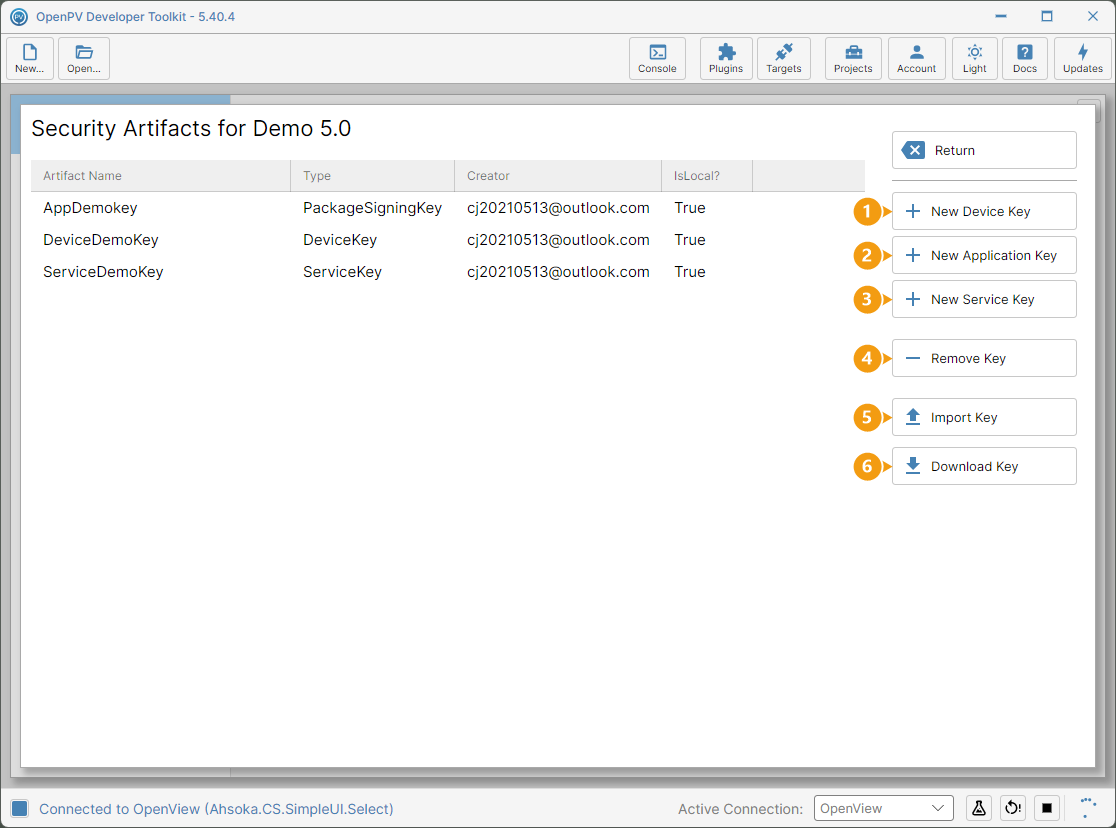
On the toolbar, click Projects, then click MANAGE ARTIFACTS on the Security Artifacts card. The panel lists the project's shared keys, with each key's Type, its Creator, and IsLocal? — whether it's on this PC:
- New Device Key — an SSH key for locking a display. See Lock Target.
- New Application Key — a key for signing your packages. It's listed as a PackageSigningKey.
- New Service Key — a key for securing your services. See Service Security.
- Remove Key — deletes the selected key from the project.
- Import Key — see the note at the end of this page.
- Download Key — copies the selected key to this PC. It's only enabled while the key isn't on this PC.
New Device Key
-
Click New Device Key.
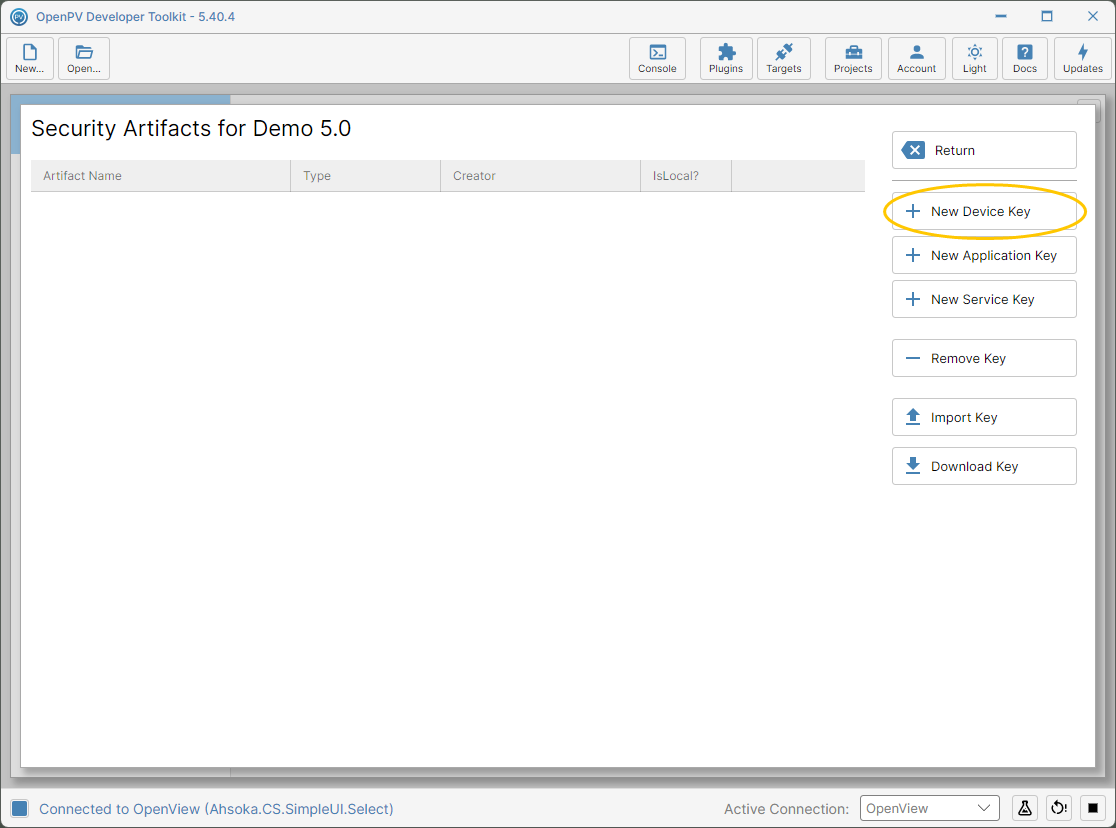
The New Device Key button -
Create Device Key opens. The key is shared with the team, and saved in your .ssh folder.
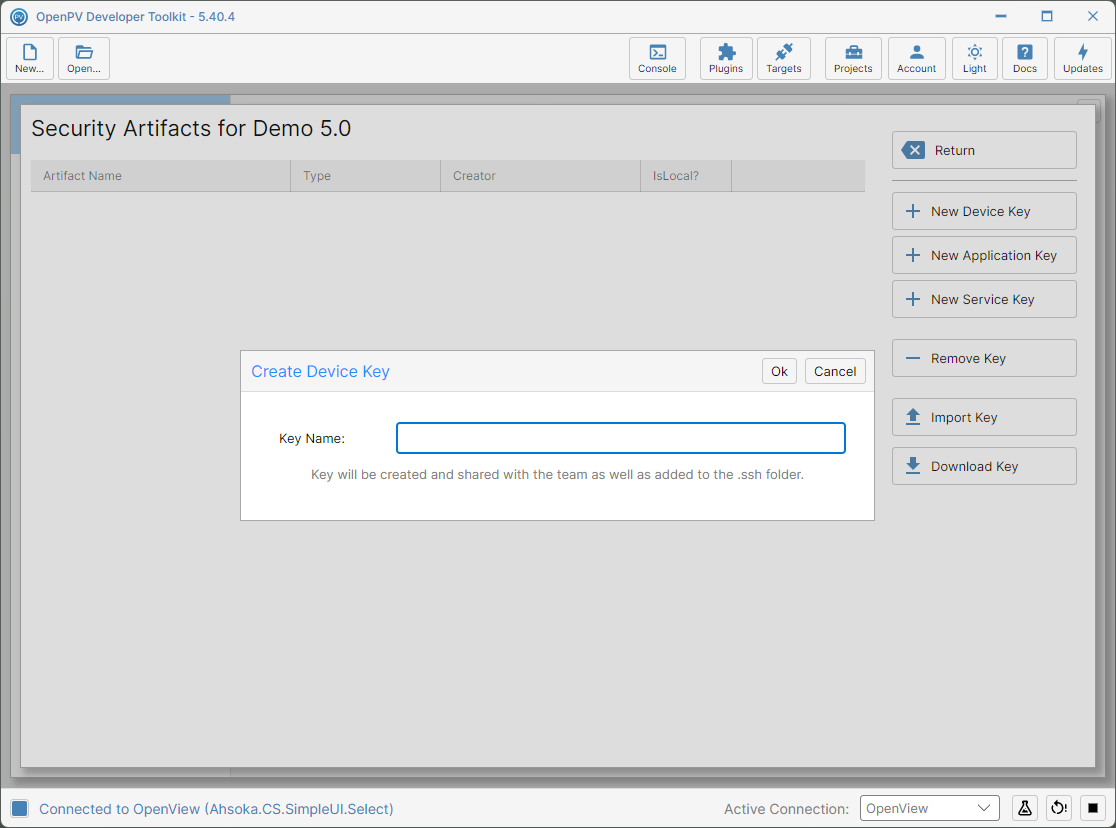
The Create Device Key dialog -
Type a name — here, DeviceDemoKey — then click Ok.
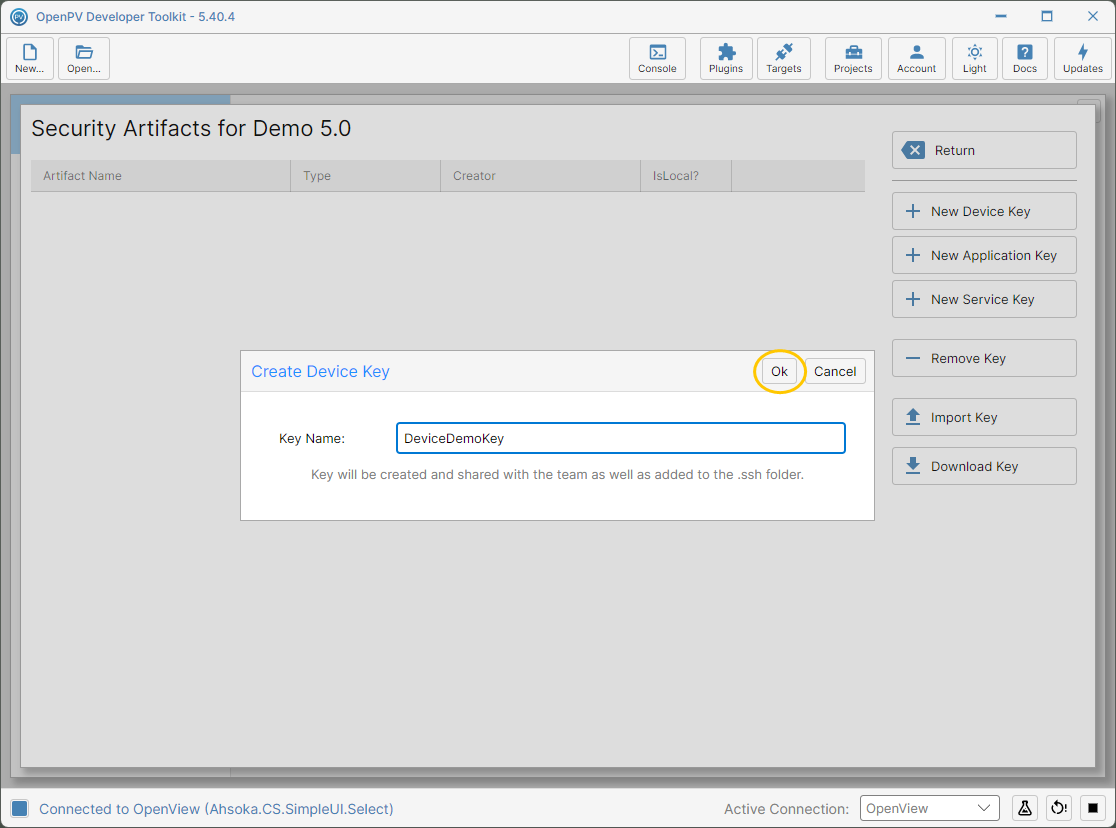
The device key name entered -
The key is listed straight away as a DeviceKey, with IsLocal? showing True.
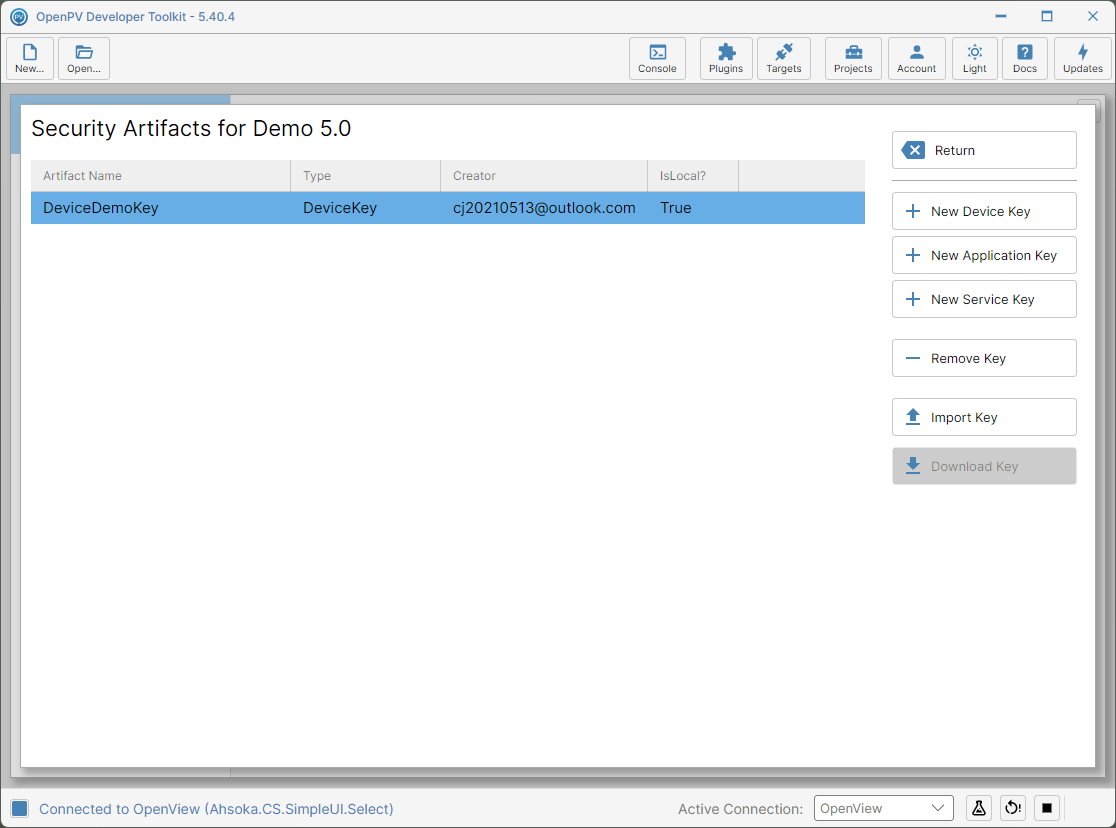
The new device key in the list
%USERPROFILE%\.ssh\Ahsoka\ as two files: the private key, named after the key with no extension, and a .pub public key. If a key with that name is already there, the toolkit shares that existing key instead of making a new one.New Application Key
-
Click New Application Key.
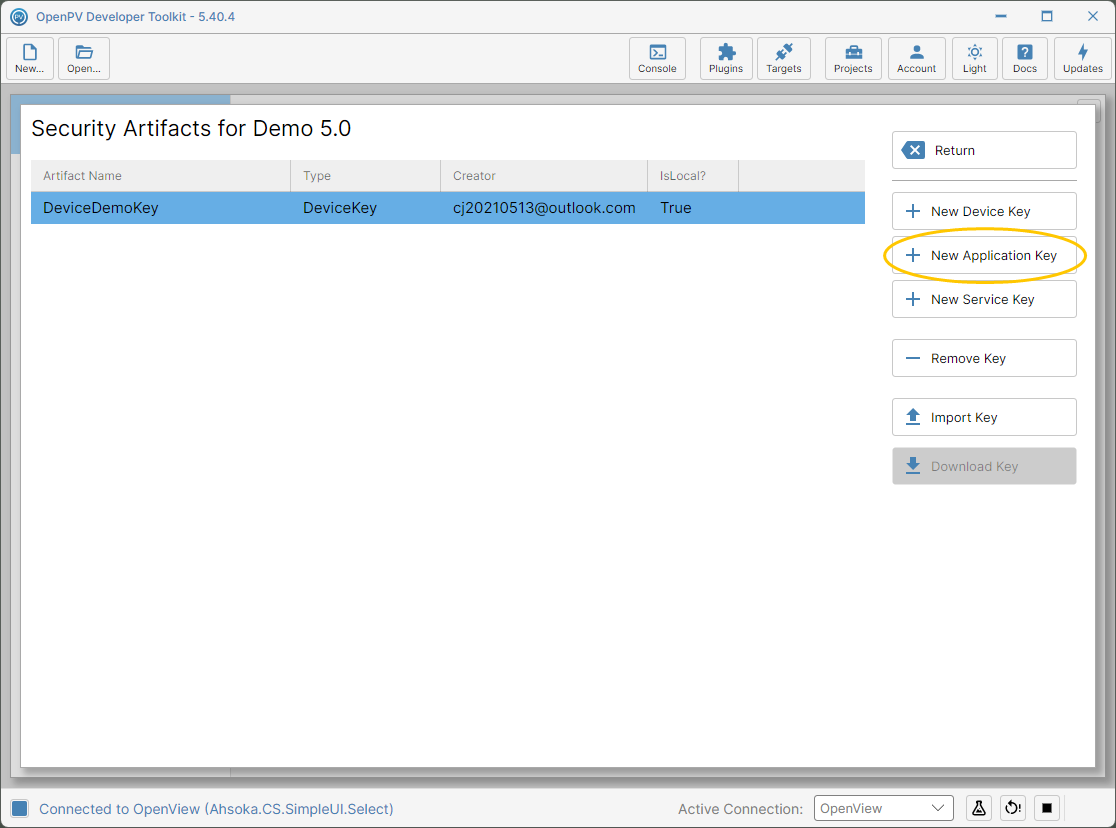
The New Application Key button -
Create Application Certificate opens. The certificate is shared with the team, for signing your application packages.
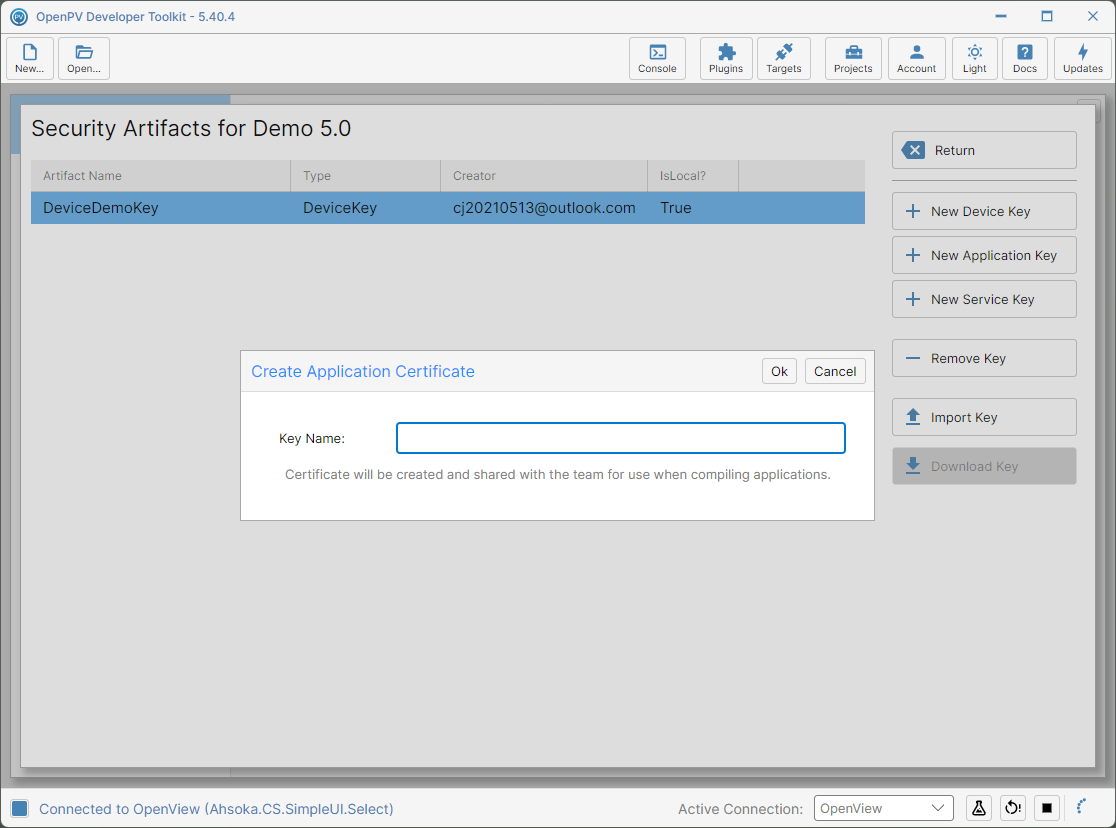
The Create Application Certificate dialog -
Type a name — here, AppDemokey — then click Ok.
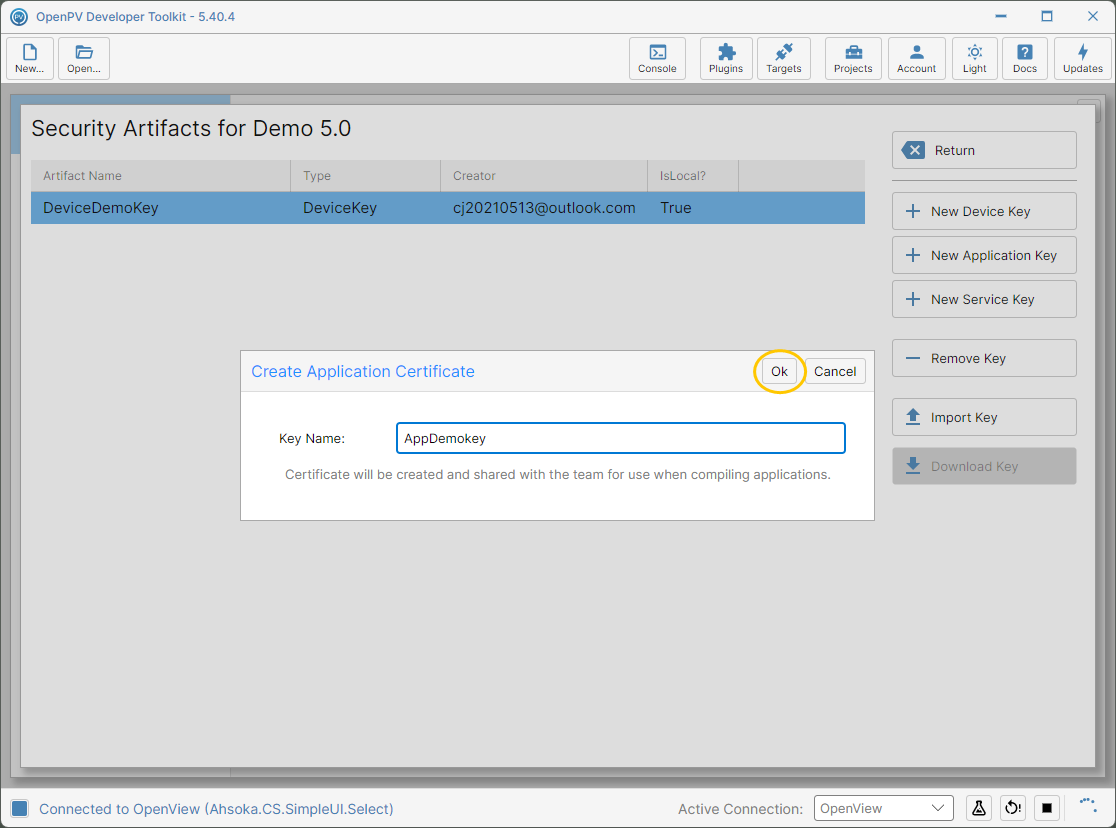
The application key name entered -
The key is listed straight away as a PackageSigningKey.
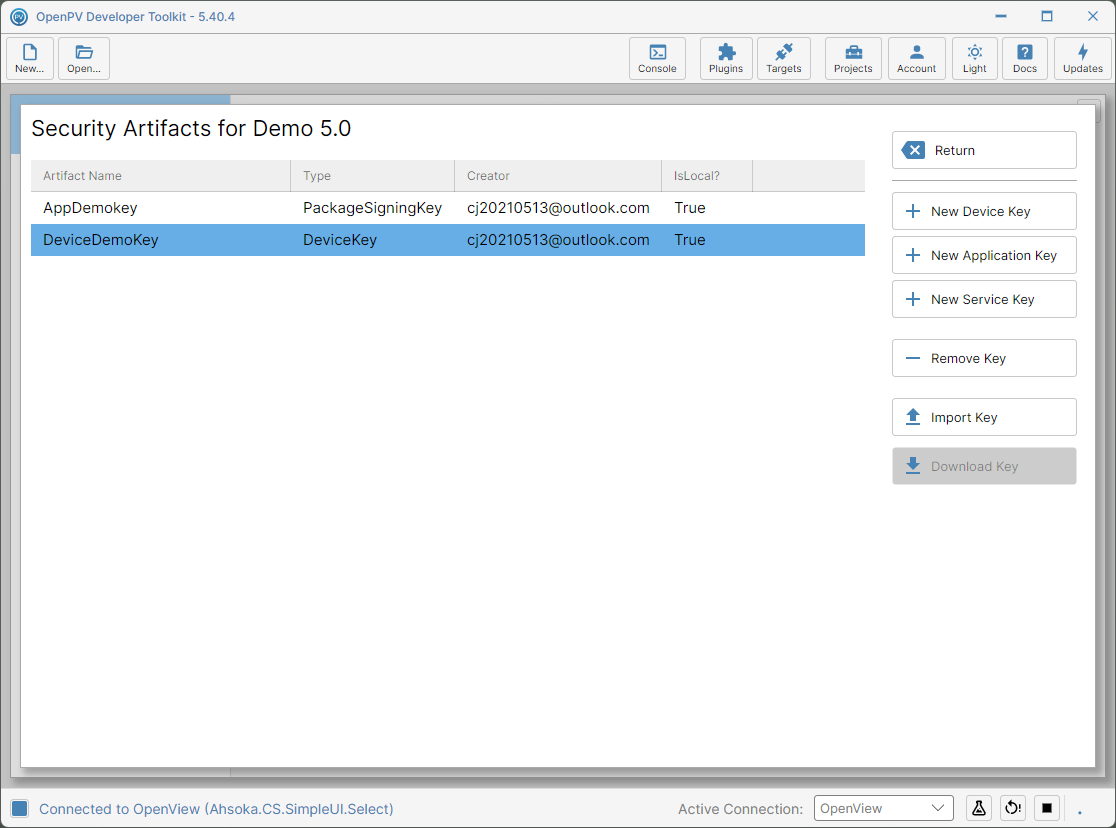
The new application key in the list
%LOCALAPPDATA%\AhsokaData\AhsokaCerts\.New Service Key
-
Click New Service Key.
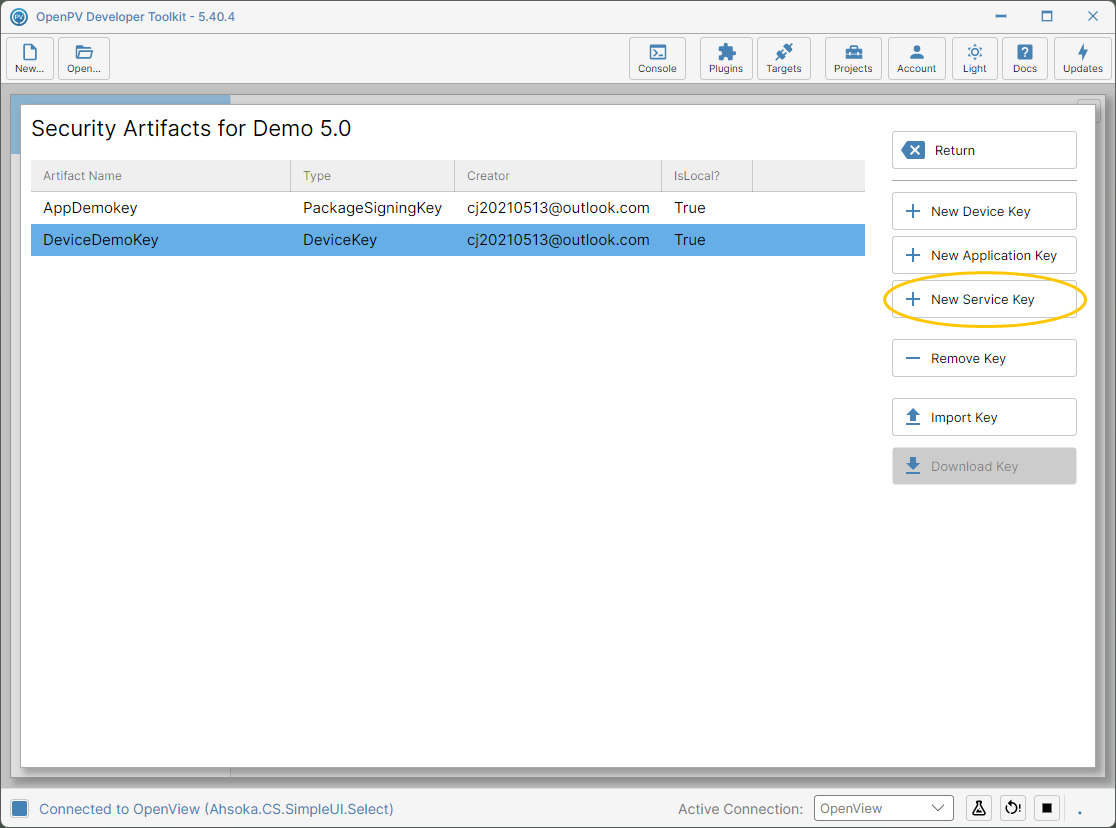
The New Service Key button -
Create Service Certificate opens. Its hint is the same as the application certificate's, about compiling applications, but a service key is for securing your services.
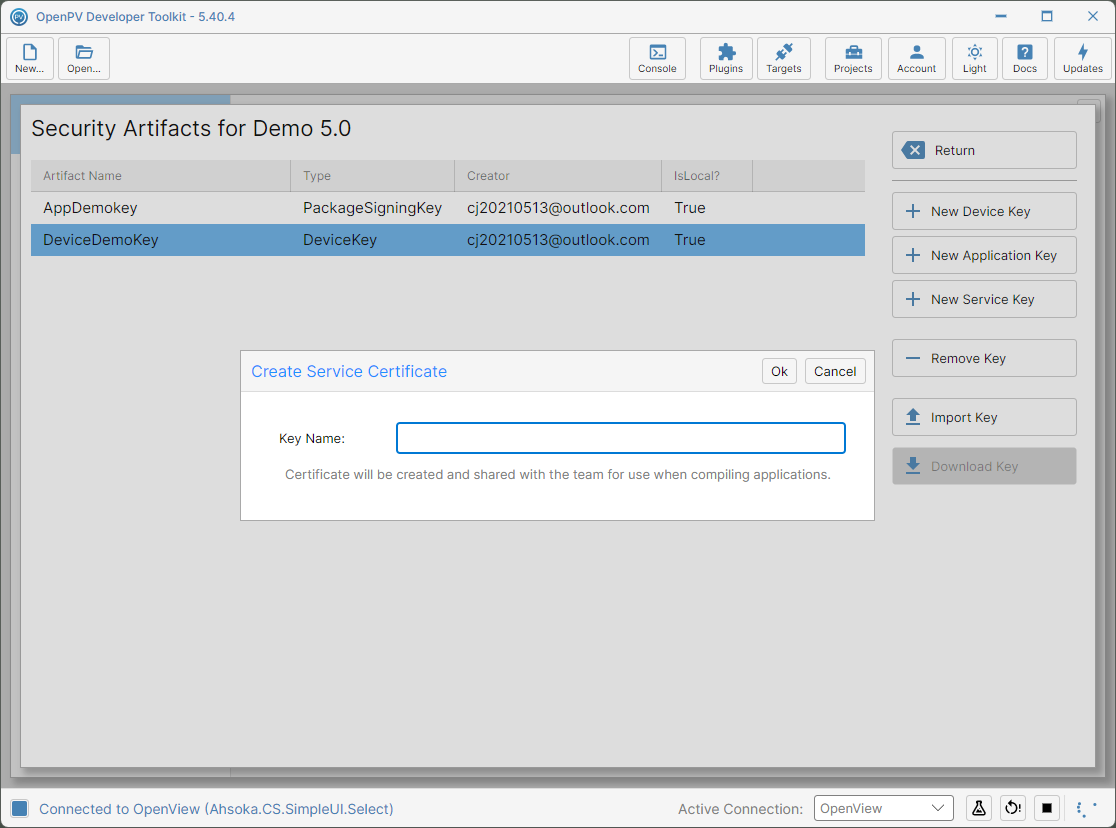
The Create Service Certificate dialog -
Type a name — here, ServiceDemoKey — then click Ok. This makes a new key pair, saves it on this PC, and shares it with the project so any team member can use the same key.
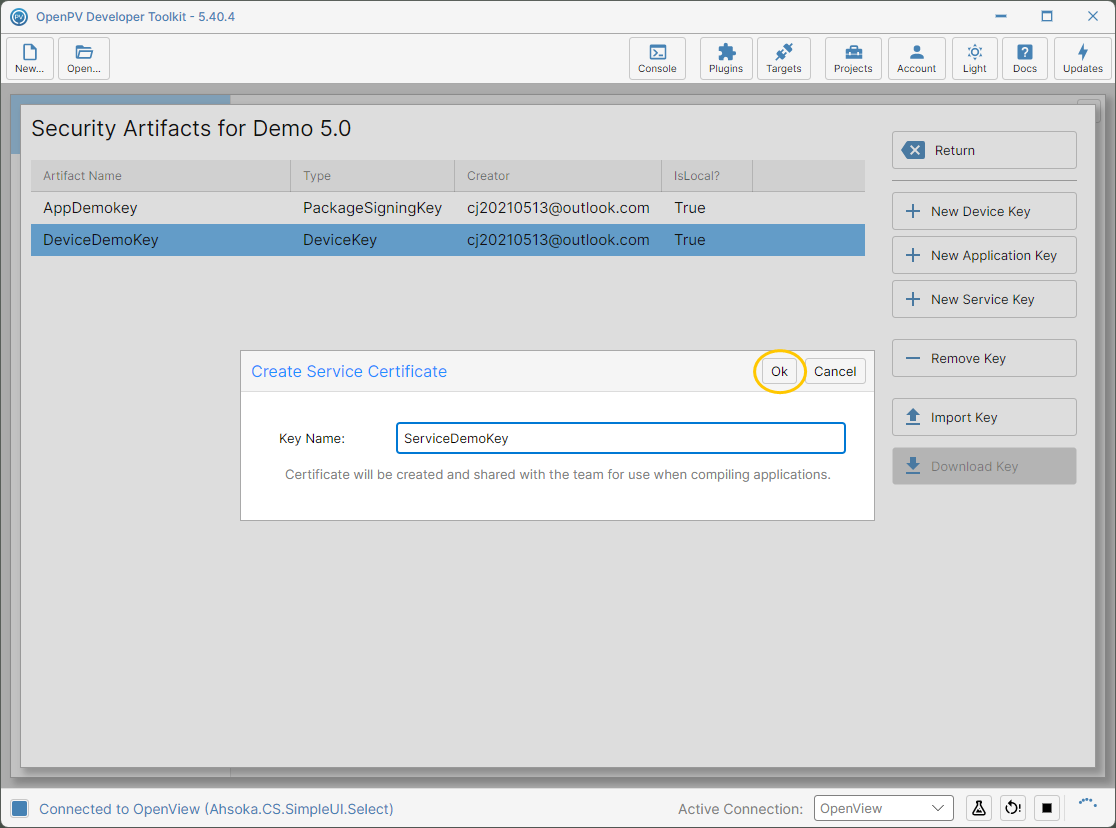
The service key name entered -
The key is listed straight away as a ServiceKey.
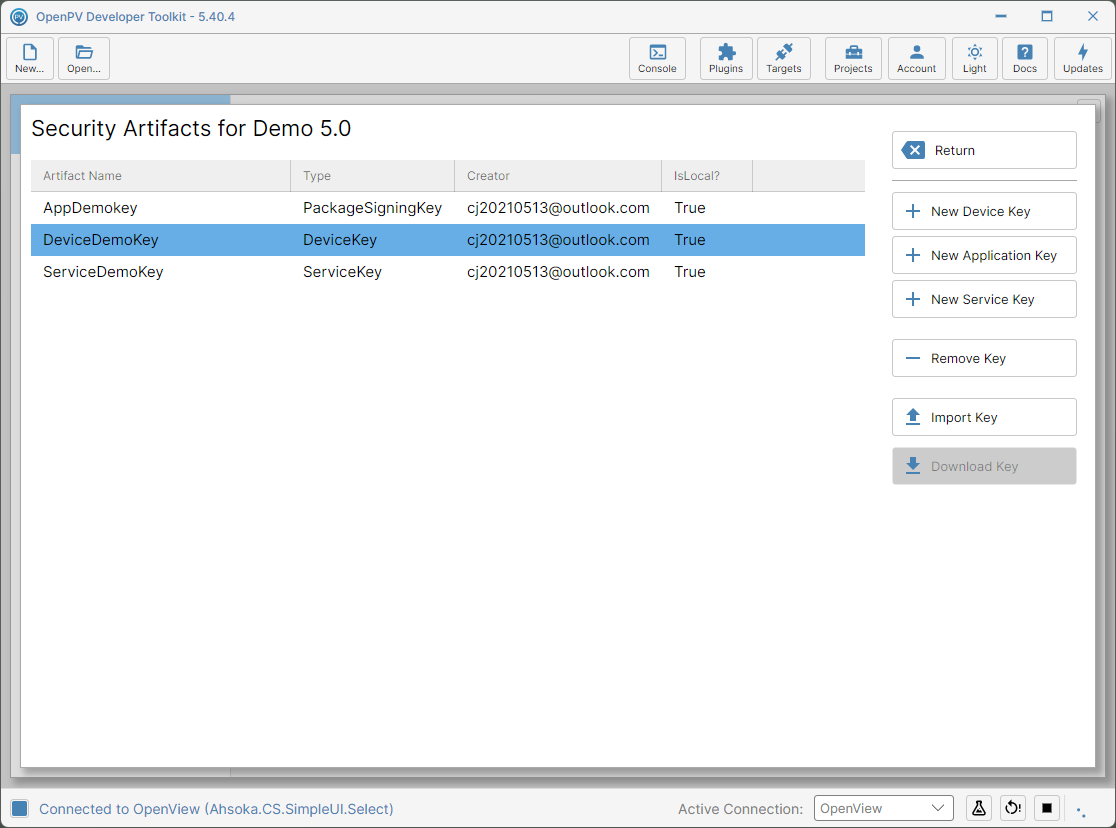
The new service key in the list
%LOCALAPPDATA%\AhsokaData\AhsokaCerts\.Download Key
-
Keys are shared with everyone on the project, but each one only works once it's on your own PC — for example, to connect to a display locked with a teammate's device key. Here, DeviceDemoKey shows IsLocal? False: it's in the project, but not on this PC. Click it to select it.
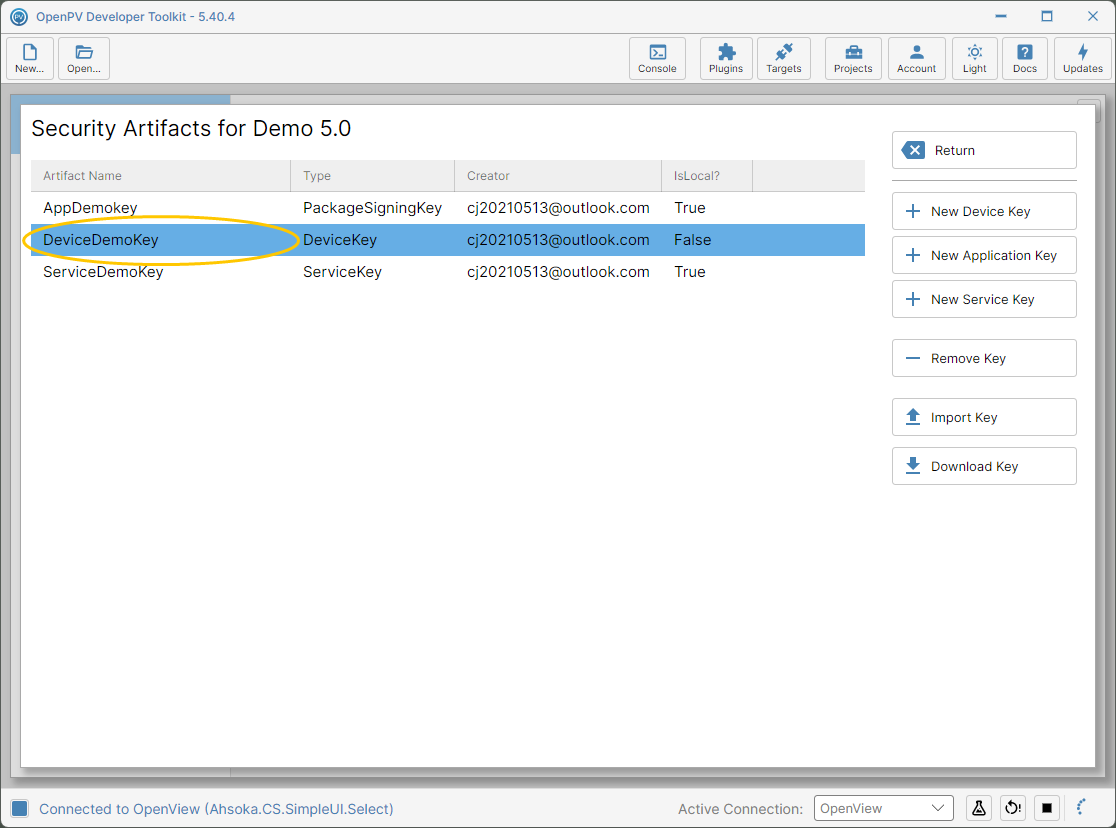
DeviceDemoKey listed with IsLocal? False -
Click Download Key.
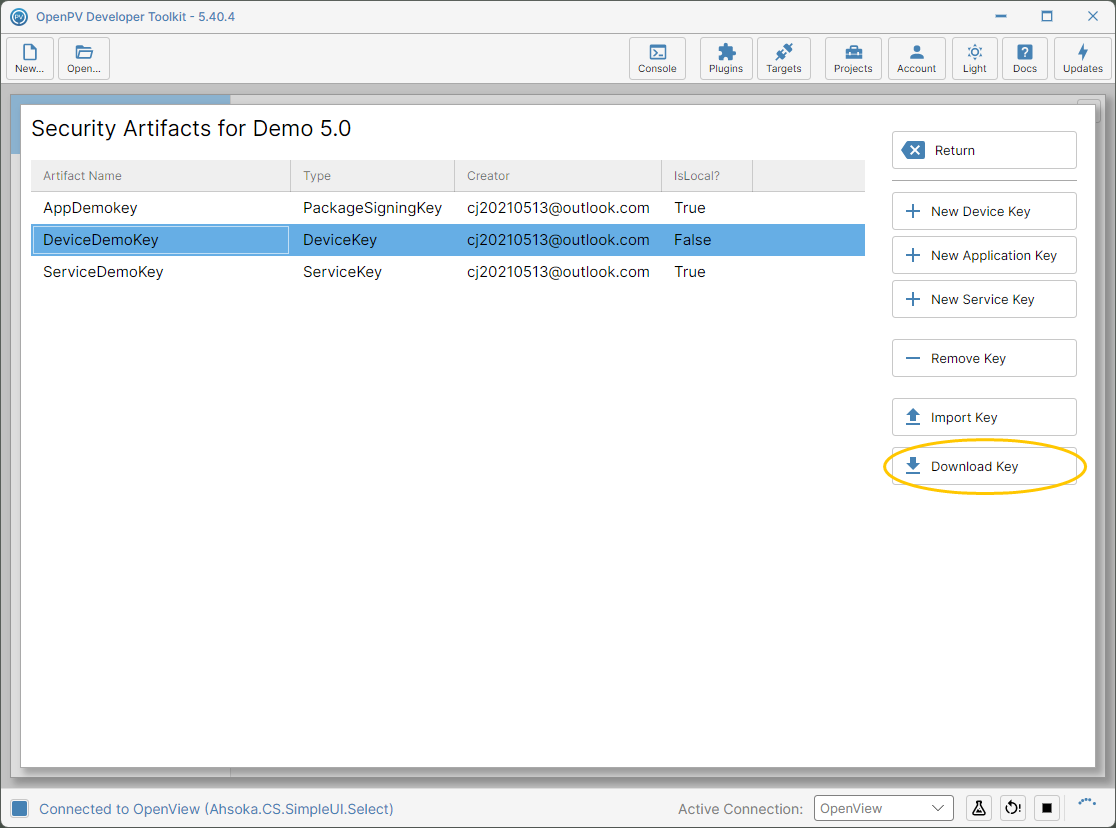
DeviceDemoKey selected, and the Download Key button -
The key downloads straight away, with no dialog, and IsLocal? changes to True. A device key goes to your
.ssh\Ahsokafolder, where the SSH Key File list on the SSH Connection tab picks it up the next time the toolkit starts.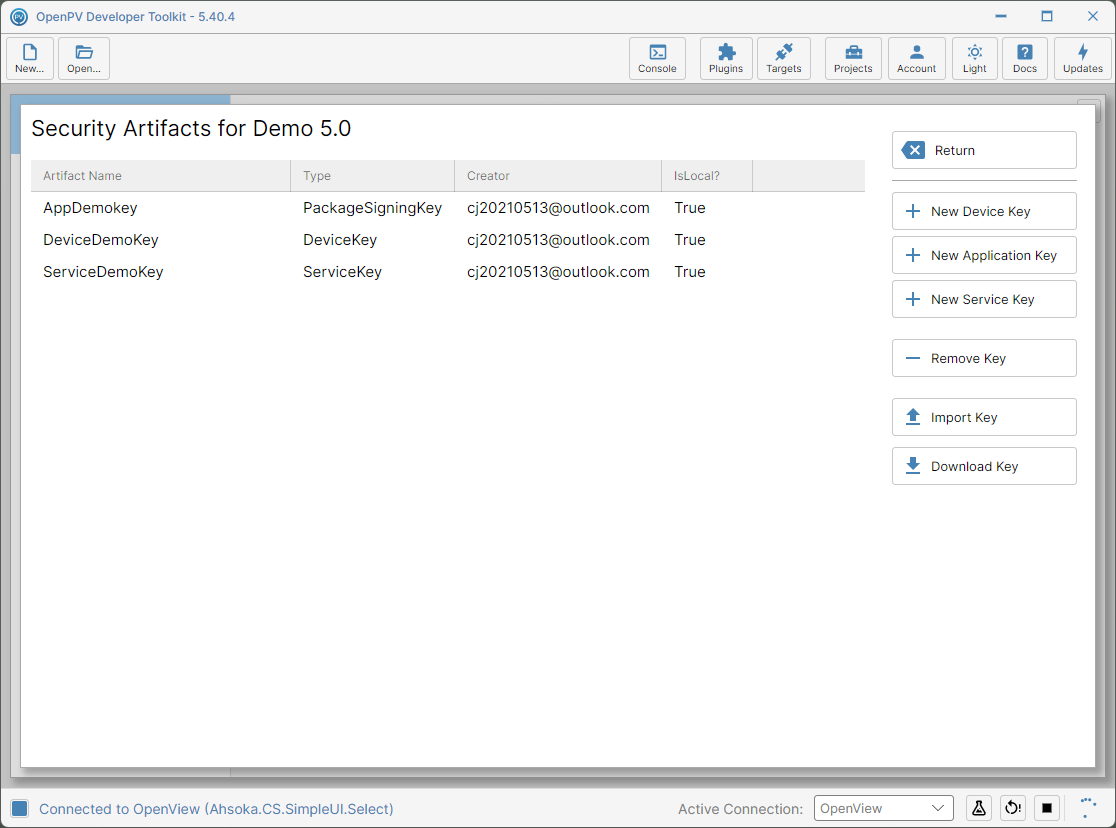
DeviceDemoKey now showing IsLocal? True
%LOCALAPPDATA%\AhsokaData\AhsokaCerts\, as .appcert and .servicecert files..ssh\Ahsoka and click New Device Key with the same name — the toolkit shares that existing key.