SSH Connection
Utilities Targets Requires: signed in
Configure secure SSH access to the target device.
Configures communication with the display over SSH — key files, login names, etc. for communicating securely with the shell on the target. This is used for Prep Target, as well as other tools such as viewing journals. Host Name / IP is shared with Toolkit Connection — changing it here changes it there too.
Fields: Host Name / IP, Login Name, SSH Key File (to create one, use the Project Editor to generate a DeviceKey, added to your ~/.ssh/), and Signing Key (to create one, use the Project Editor to generate a SigningKey for app signing).
While this tab is selected, the Actions panel becomes SSH Actions, offering Lock Target and Unlock Target in addition to Add/Remove Display.
The same address and login name also let anyone on the network connect to the display over SSH — until the target is locked. See Connecting over SSH below.
Connecting over SSH
-
To connect to the display over SSH — here with WinSCP — you need its address and login name. Both are on the SSH Connection tab: note the Host Name / IP — here, 192.168.7.1 — and the Login Name — here, root.
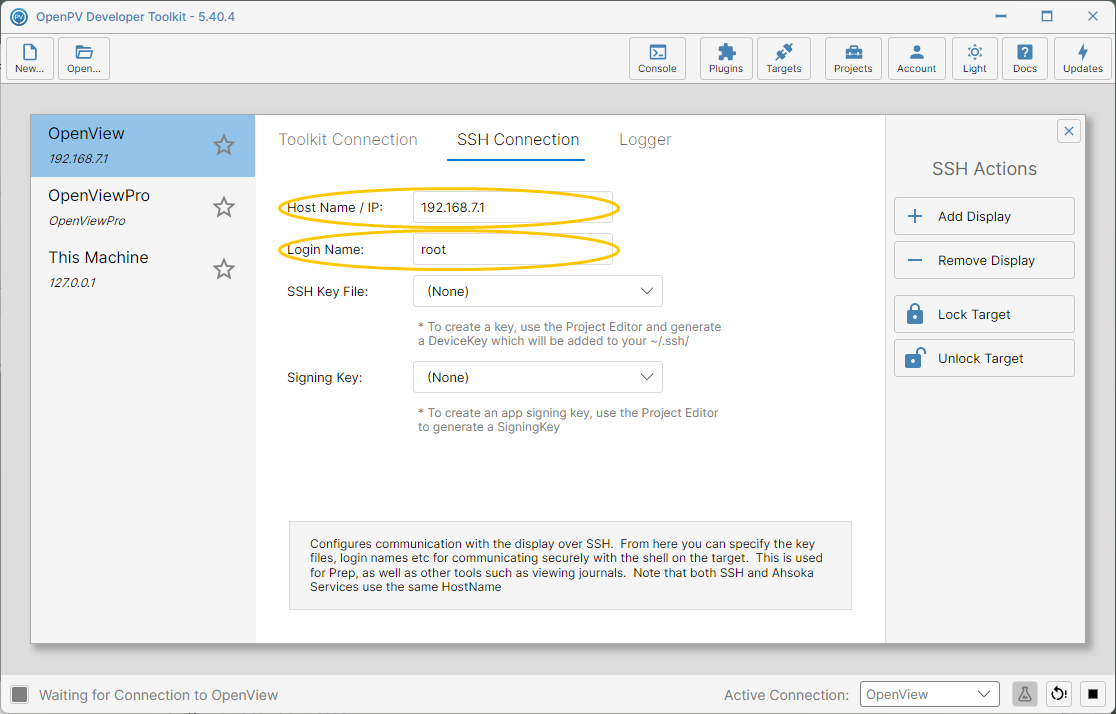
The Host Name / IP and Login Name on the SSH Connection tab -
Open WinSCP. In the Login dialog, with New Site selected, leave File protocol set to SFTP — the SSH File Transfer Protocol, which runs over SSH.
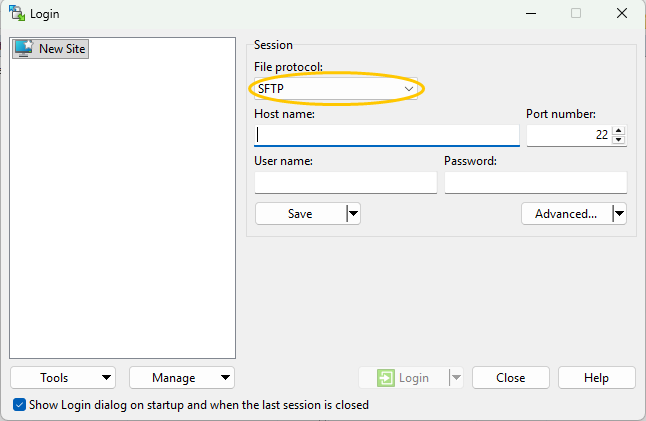
WinSCP's Login dialog, with SFTP as the file protocol -
Enter the Host Name / IP from the toolkit as Host name, leave Port number at 22, and enter the Login Name as User name. Click Login.
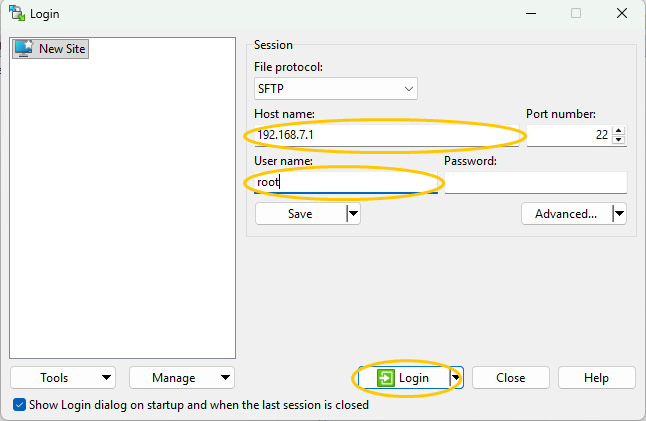
The Login dialog filled in with the display's address and login name -
The first time you connect to a display, WinSCP warns that the server is unknown and asks whether to add its host key to the cache. Check that the address shown is your display's, then click Accept. WinSCP remembers the key, so this doesn't appear again for the same display.
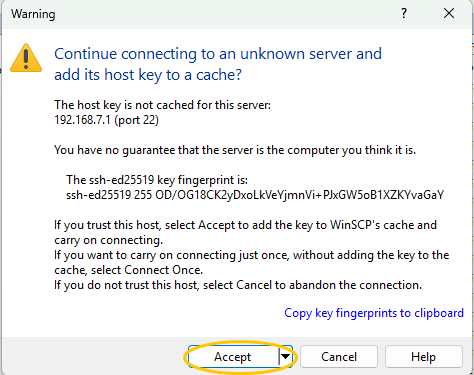
WinSCP asking whether to trust the display's host key -
On an unlocked display, WinSCP connects without asking for a password — the status bar shows SFTP-3. The left pane shows your PC (here, the PackageOutput folder) and the right pane shows the display's file system, starting in /home/root/. Drag files between the panes to copy them.
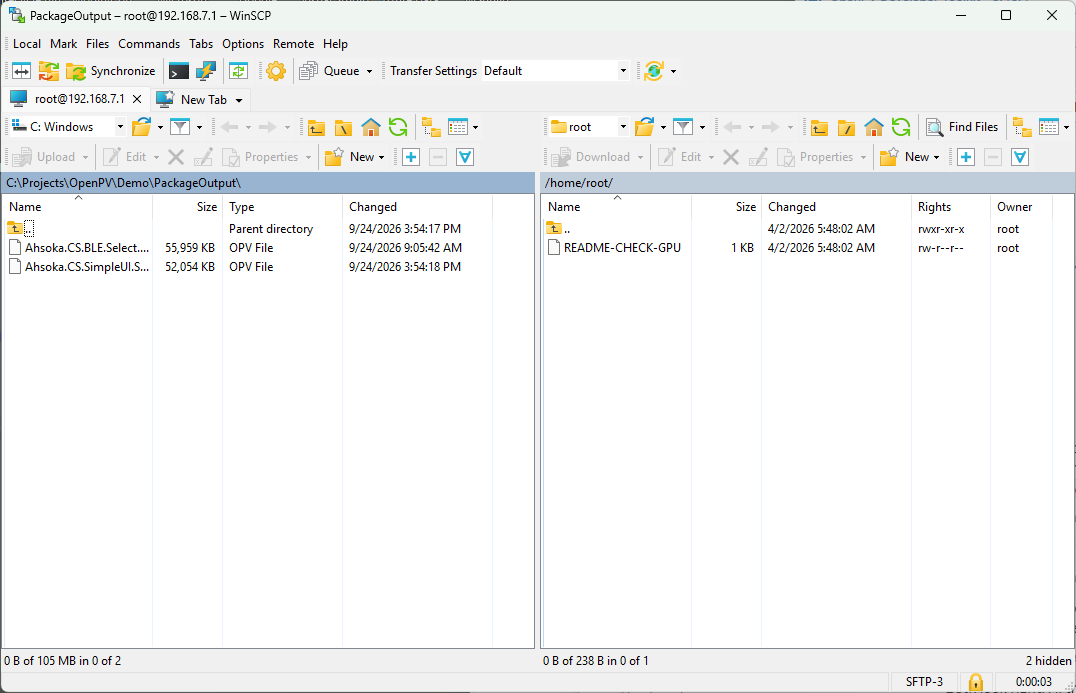
WinSCP connected to the display over SSH
Lock Target
-
Lock Target replaces the display's password-less logins with a key: afterwards, only someone holding the matching private key can connect over SSH. First choose the key. On the SSH Connection tab, click SSH Key File.
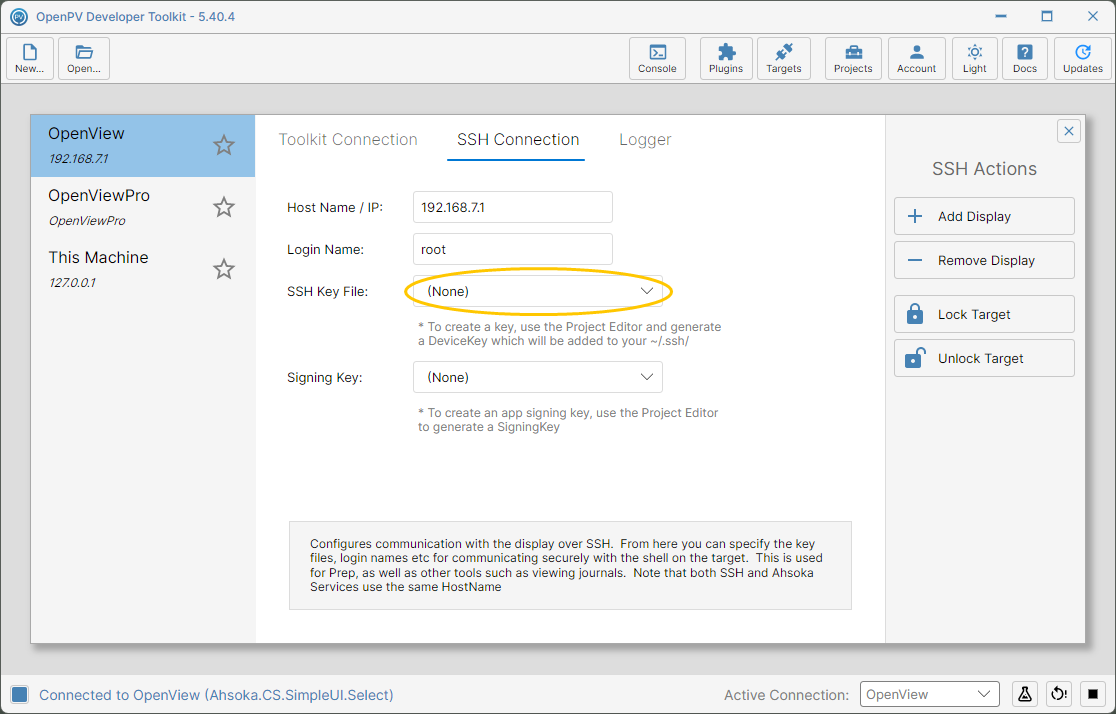
The SSH Key File dropdown on the SSH Connection tab -
The list shows every key found in your
~/.sshfolder. Select the device key to lock with — here, DeviceDemoKey, created in New Device Key.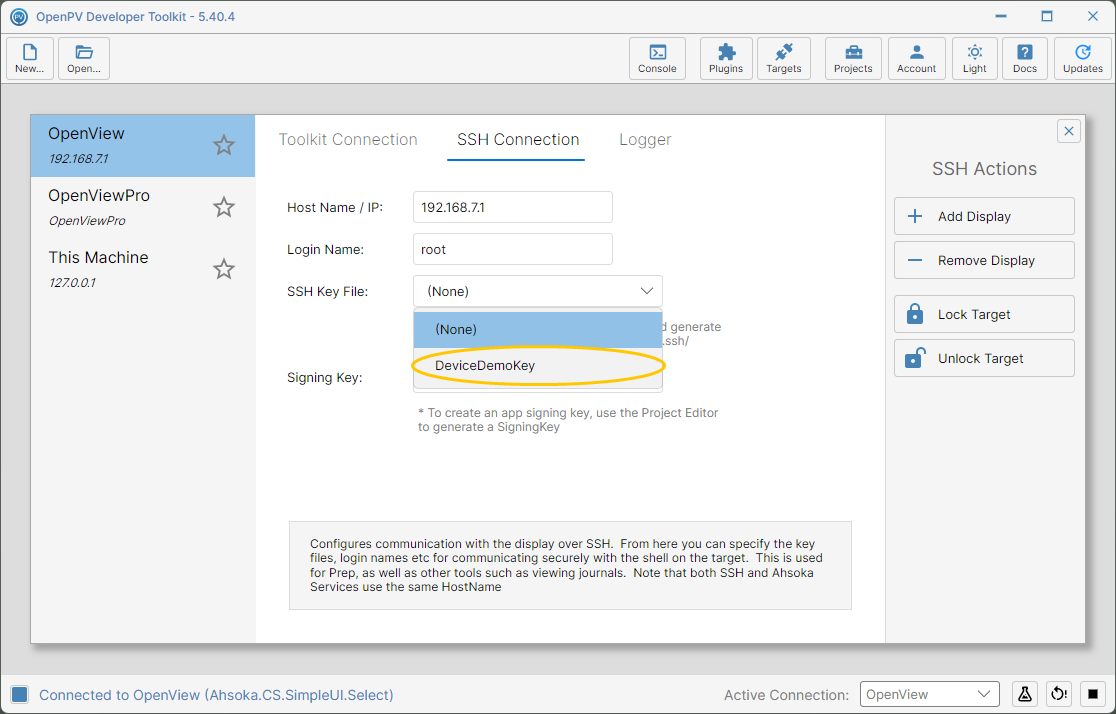
Choosing DeviceDemoKey from the SSH Key File list -
With the key selected, click Lock Target in SSH Actions.
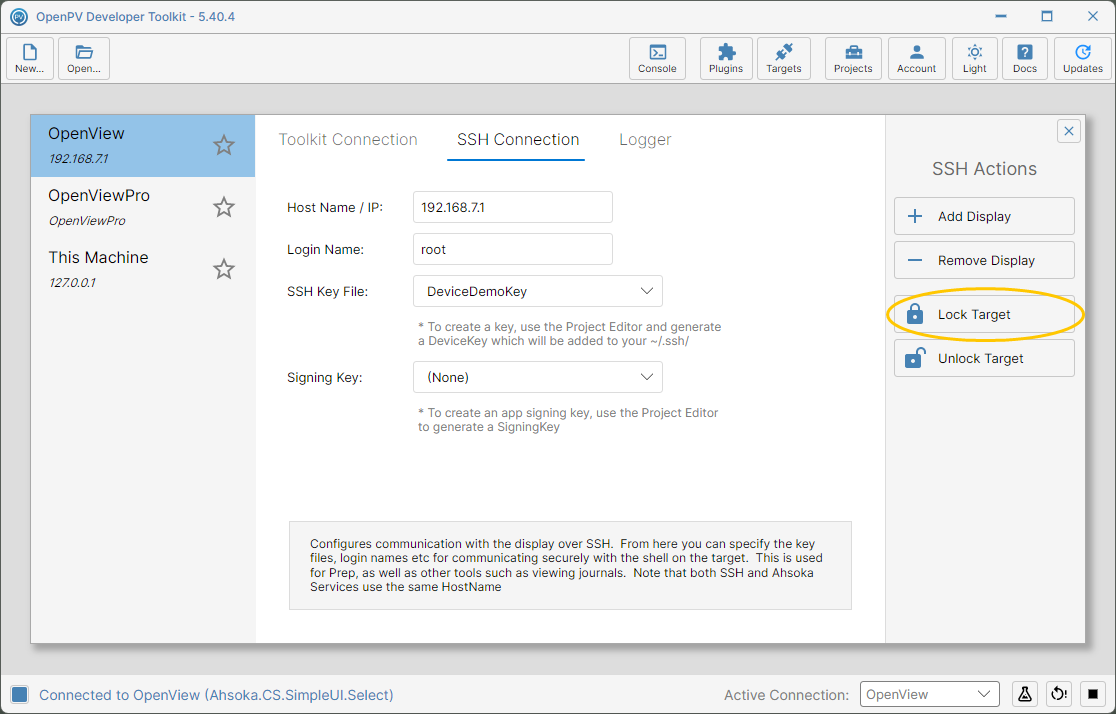
DeviceDemoKey selected, ready to lock -
A confirmation explains what it does: disables password-based logins, and installs device and application keys (if selected). Click Yes.
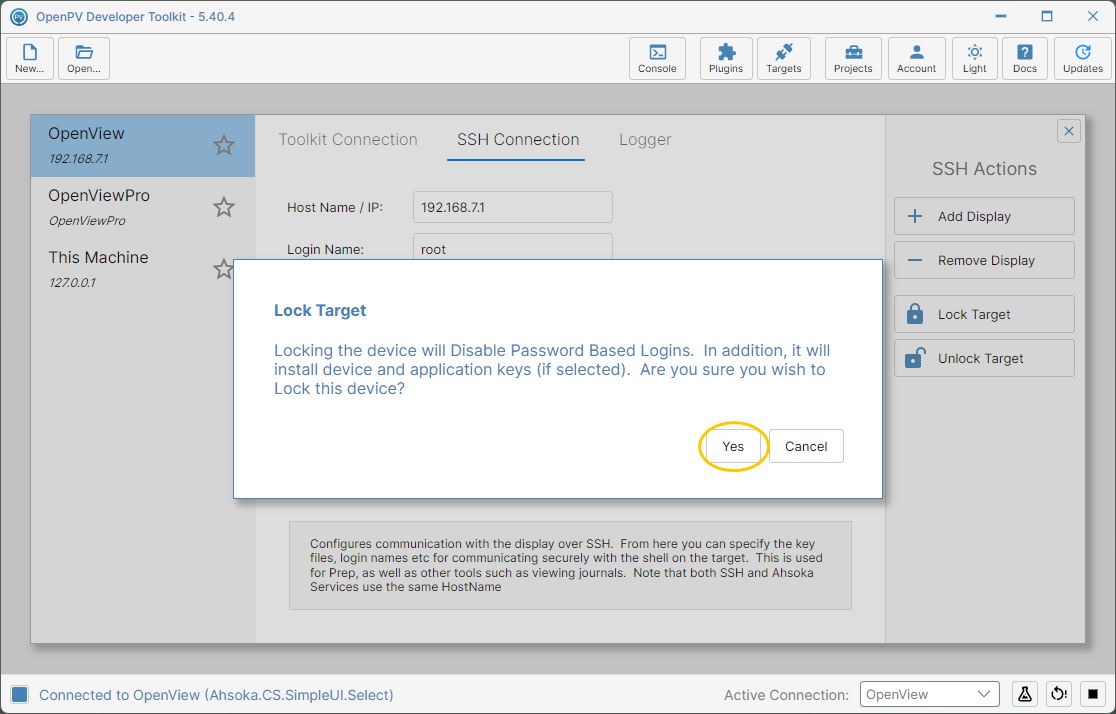
The Lock Target confirmation dialog -
The app switches to Console while it adds the key to the display. This only takes a moment.
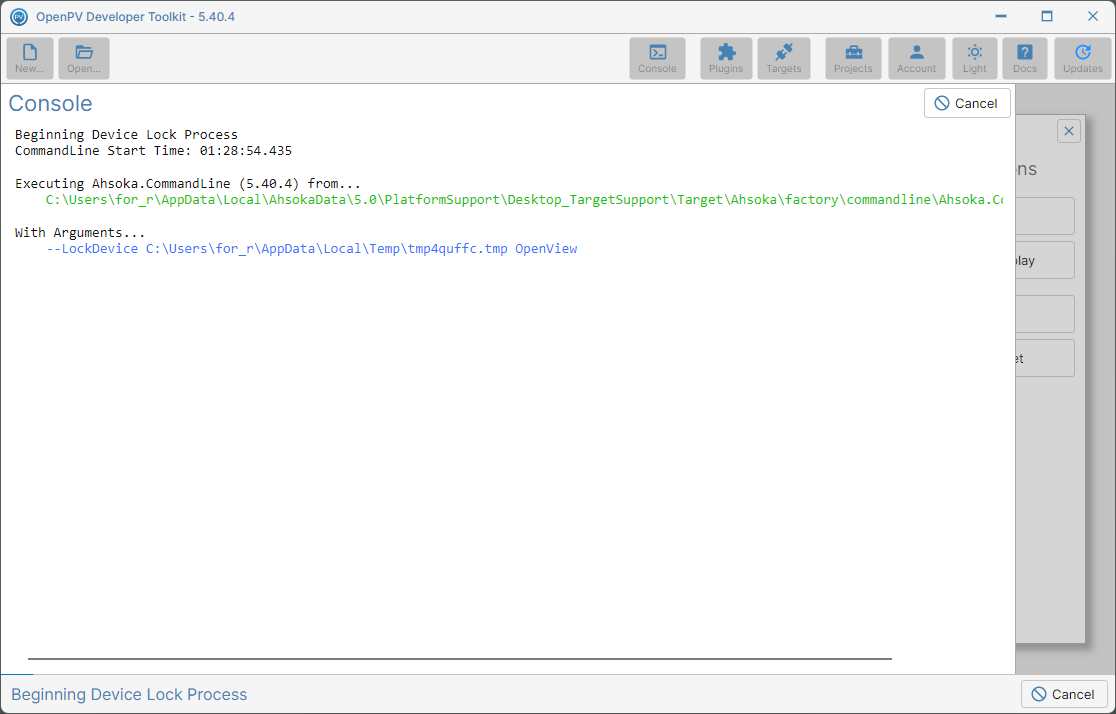
The Console while Lock Target runs -
It then returns to the SSH Connection tab with a Lock Display Complete dialog. Click Ok.
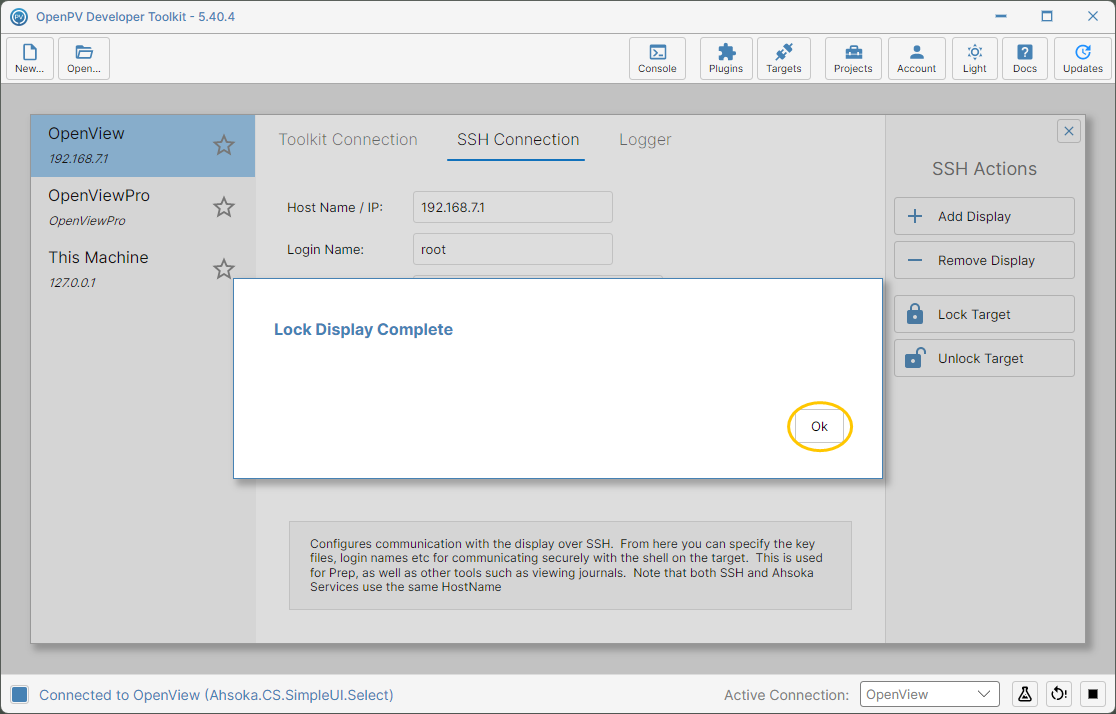
The Lock Display Complete dialog -
Back on the SSH Connection tab, SSH Key File now shows OpenView instead of the key you chose — you'll fix that after the reboot. Click Console to review the full log.
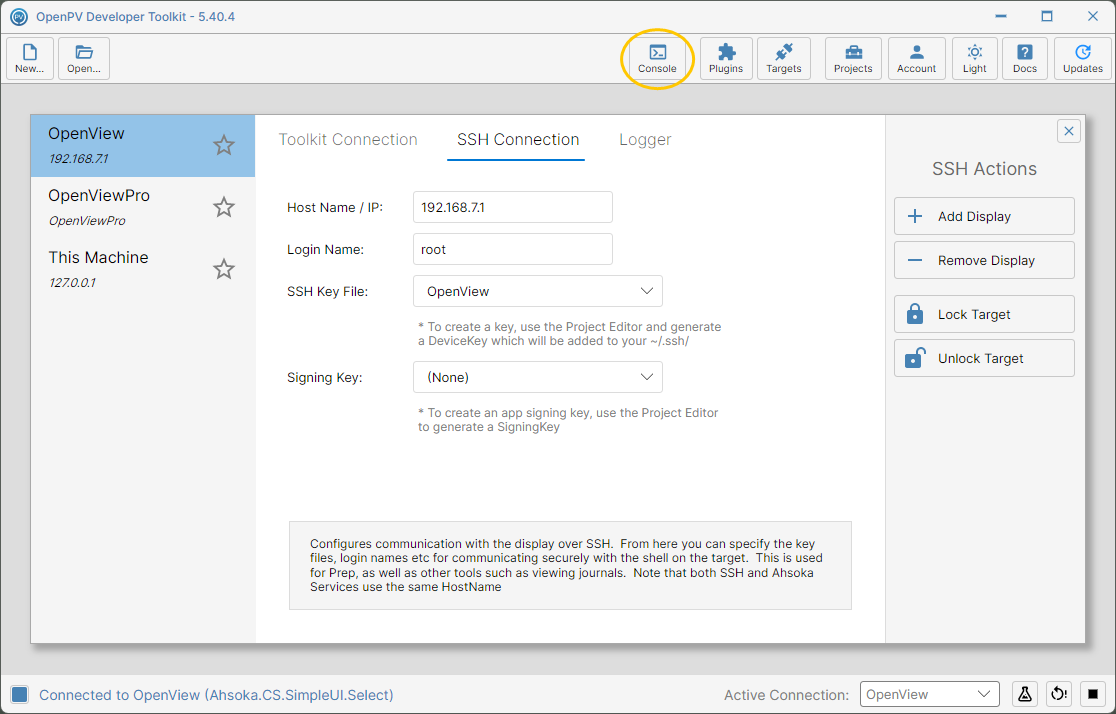
Back on the SSH Connection tab after locking -
The log confirms Device Locked to KeyFile with the path to DeviceDemoKey, and that the target is now available over SSH as root@OpenView. Close the Console with its X.
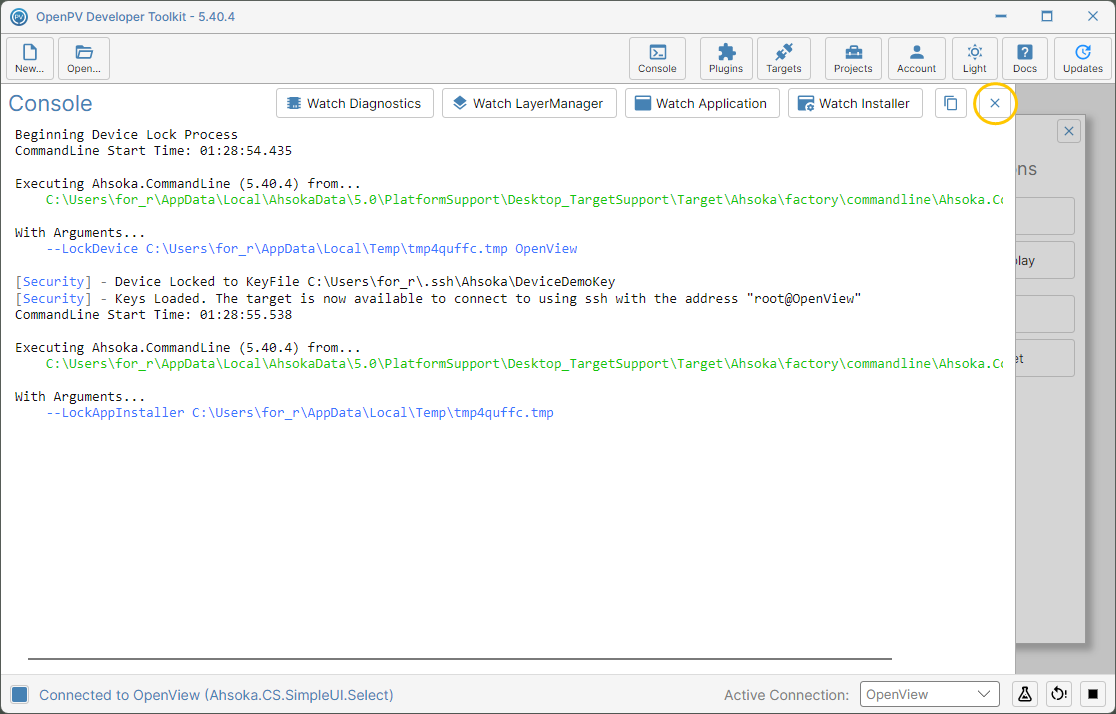
The Console log after Lock Target -
The lock doesn't take effect until the display restarts — until then, it still accepts password-less logins. Click the Reboot Display icon at the bottom right.
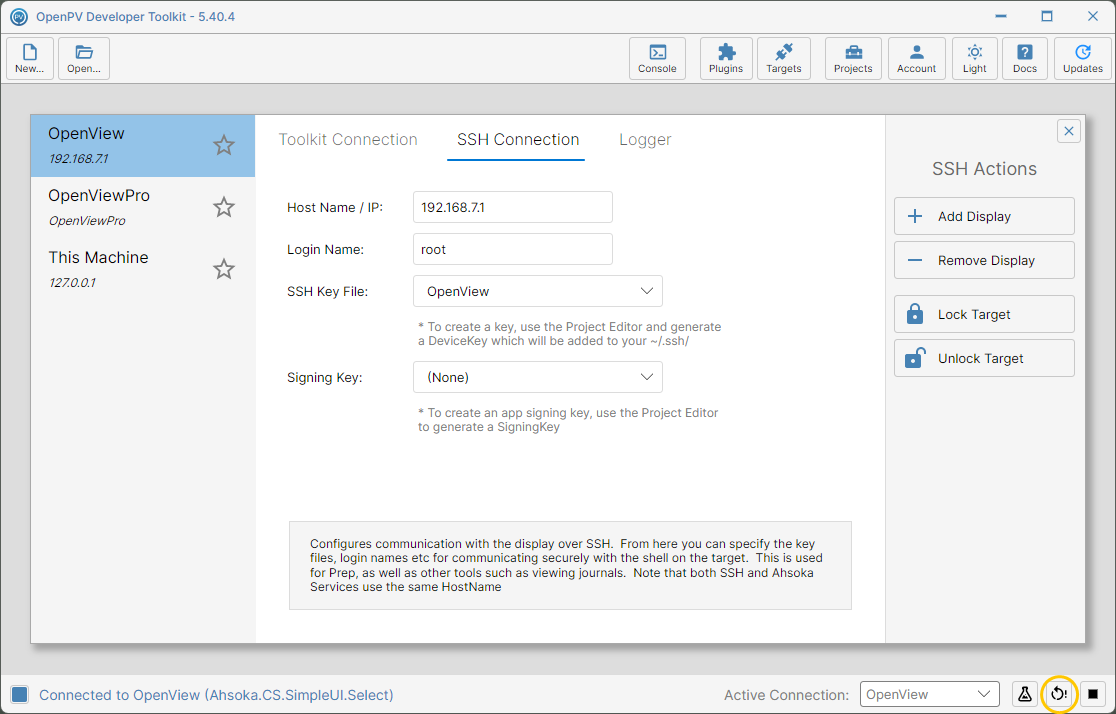
The Reboot Display icon in the status bar -
Once the display reconnects, SSH Key File still shows OpenView: after a lock, the toolkit switches it to a key named after the connection, even though you locked with a different key. Click it to change it back.
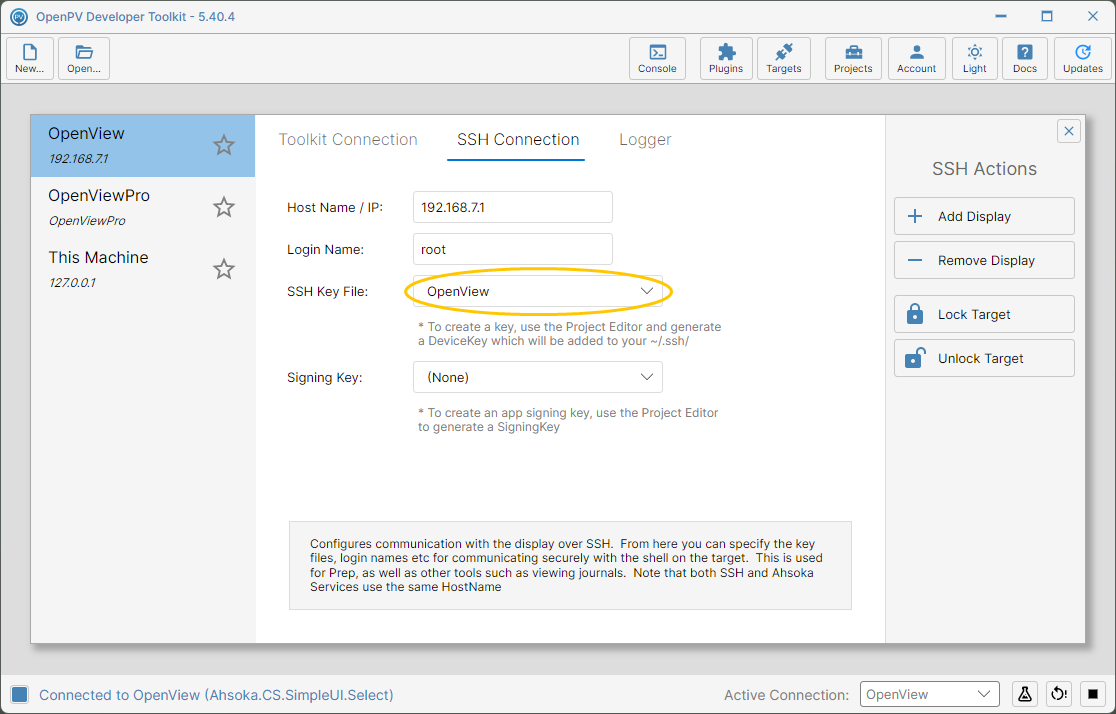
SSH Key File showing OpenView after the lock -
The list now includes OpenView as well, even though no key file by that name exists. Select the key you locked with — here, DeviceDemoKey — so the toolkit's own SSH actions, such as Prep Target and Unlock Target, can still connect.
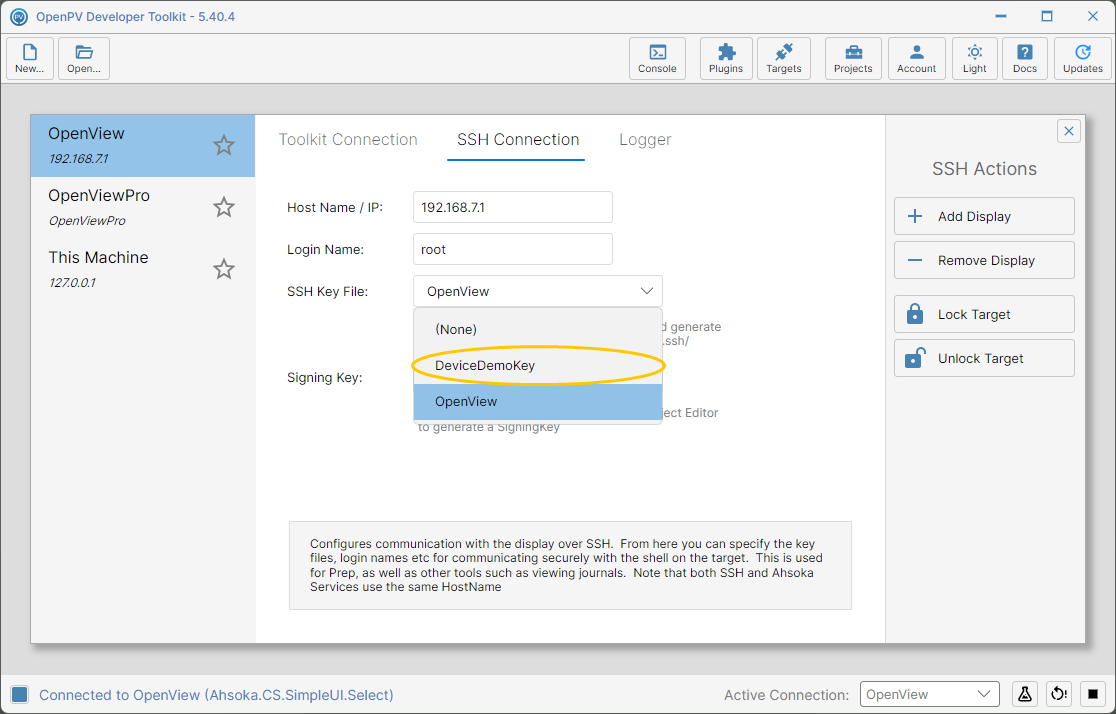
Reselecting DeviceDemoKey -
The display is now locked. It only accepts SSH logins using DeviceDemoKey — connecting without the key is refused.
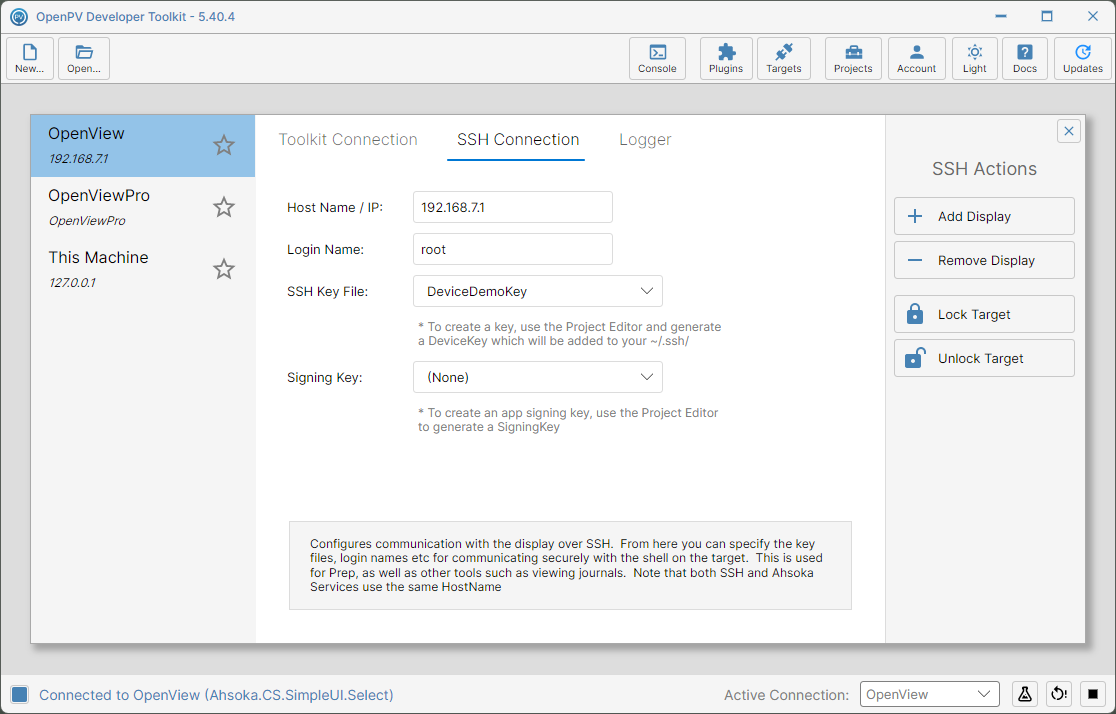
The SSH Connection tab with DeviceDemoKey selected on a locked display
~/.ssh/Ahsoka/ and locks the display to that instead.Connect with a Key
-
Once a display is locked, connecting over SSH needs the private key it was locked with — here, DeviceDemoKey (see Download Key to get it onto your machine). In WinSCP's Login dialog, enter the display's Host name and User name as in Connecting over SSH, then click Advanced....
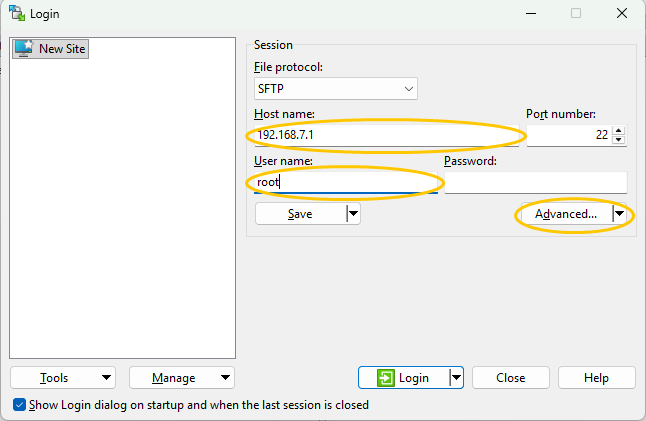
The Login dialog with the display's address and login name, and the Advanced button -
In Advanced Site Settings, click Authentication under SSH.
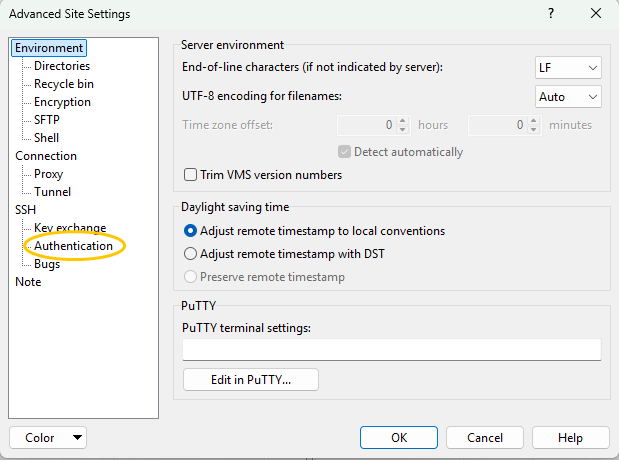
The Authentication page under SSH in Advanced Site Settings -
Click the ... button next to Private key file.
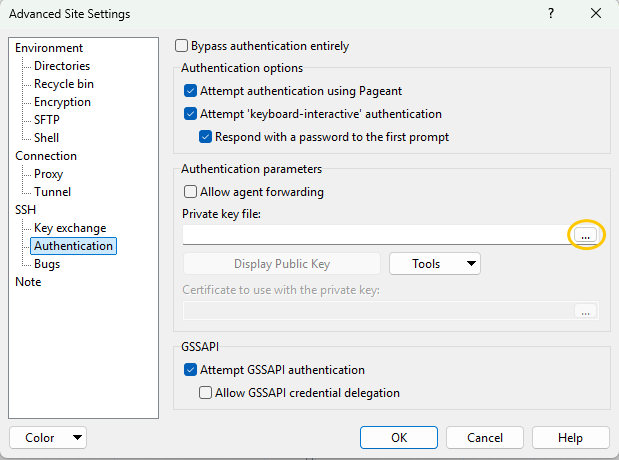
The browse button for Private key file -
The file picker only lists PuTTY (.ppk) keys by default, but the toolkit saves keys in OpenSSH format. Browse to your
~/.ssh/Ahsokafolder and change the file type to All Files.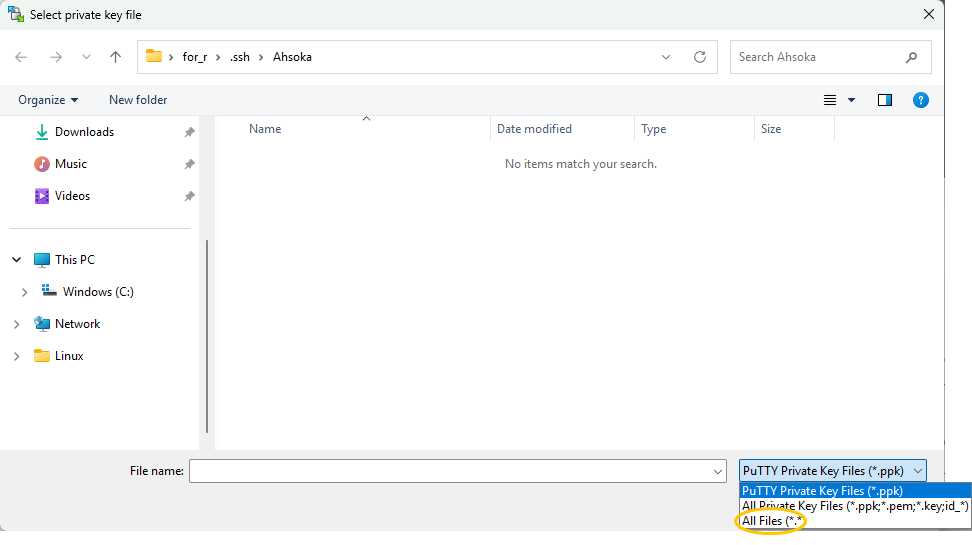
Switching the file type to All Files -
Select the private key — DeviceDemoKey, not DeviceDemoKey.pub — and click Open.
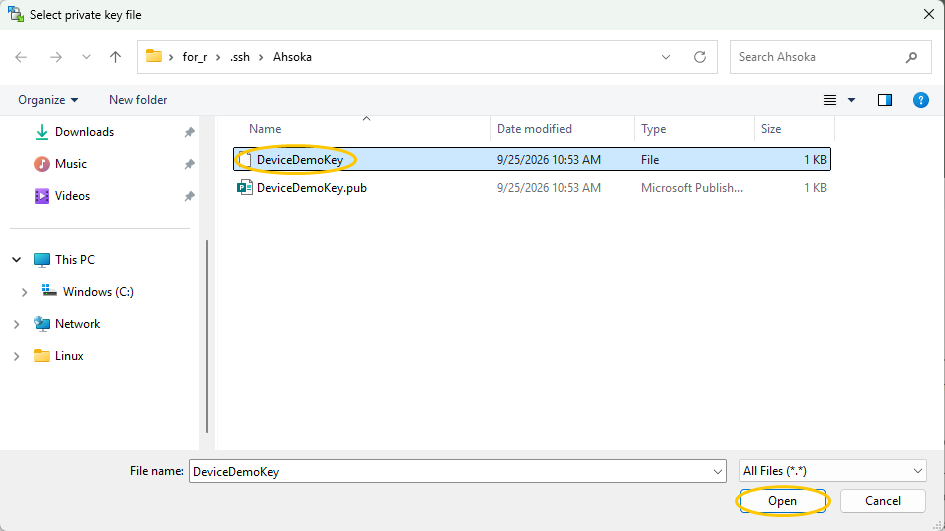
DeviceDemoKey selected in the file picker -
WinSCP only uses PuTTY-format keys, so it offers to convert this one. Click OK.
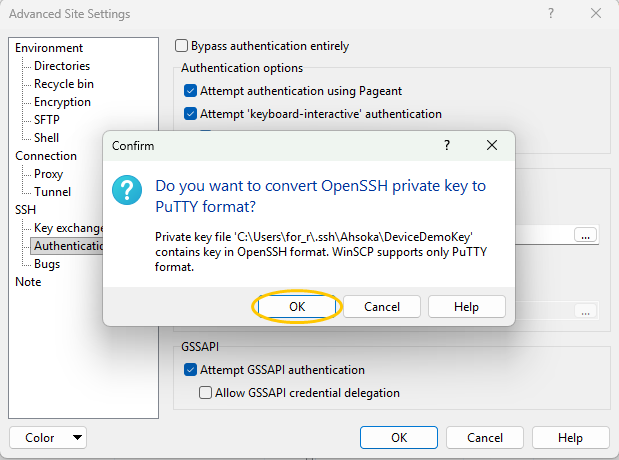
WinSCP offering to convert the OpenSSH key to PuTTY format -
Save the converted copy next to the original — here, DeviceDemoKey.ppk — then click Save. The original key file isn't changed.
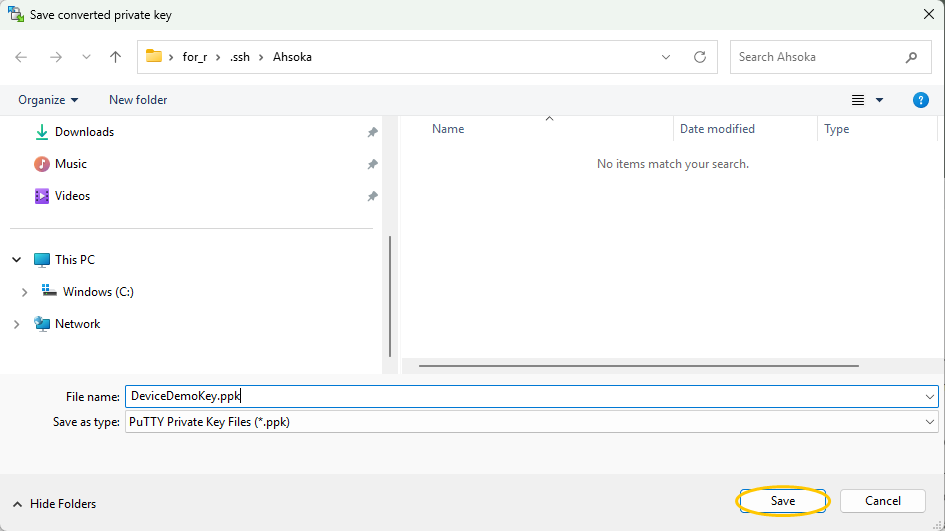
Saving the converted key as DeviceDemoKey.ppk -
WinSCP confirms the key was converted and saved. Click OK.
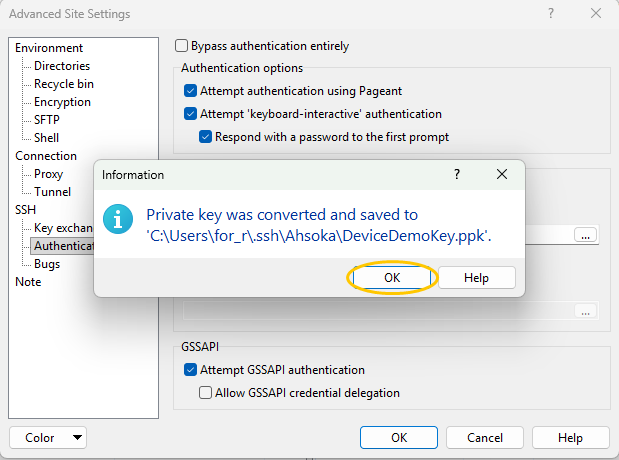
The confirmation that the key was converted -
Private key file now points at the .ppk file. Click OK to close Advanced Site Settings.
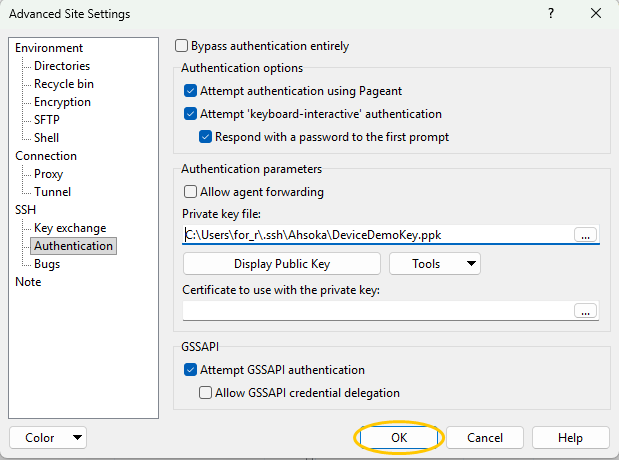
Private key file set to DeviceDemoKey.ppk -
Back in the Login dialog, click Login.
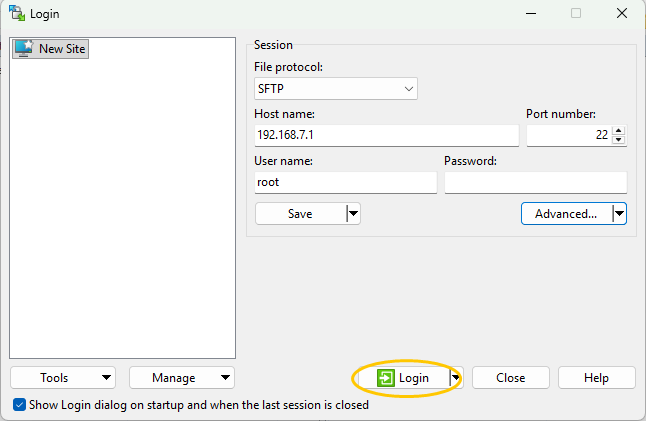
Back in the Login dialog, ready to log in with the key -
WinSCP connects using the key, with no password, and the right pane shows the display's /home/root/ folder.
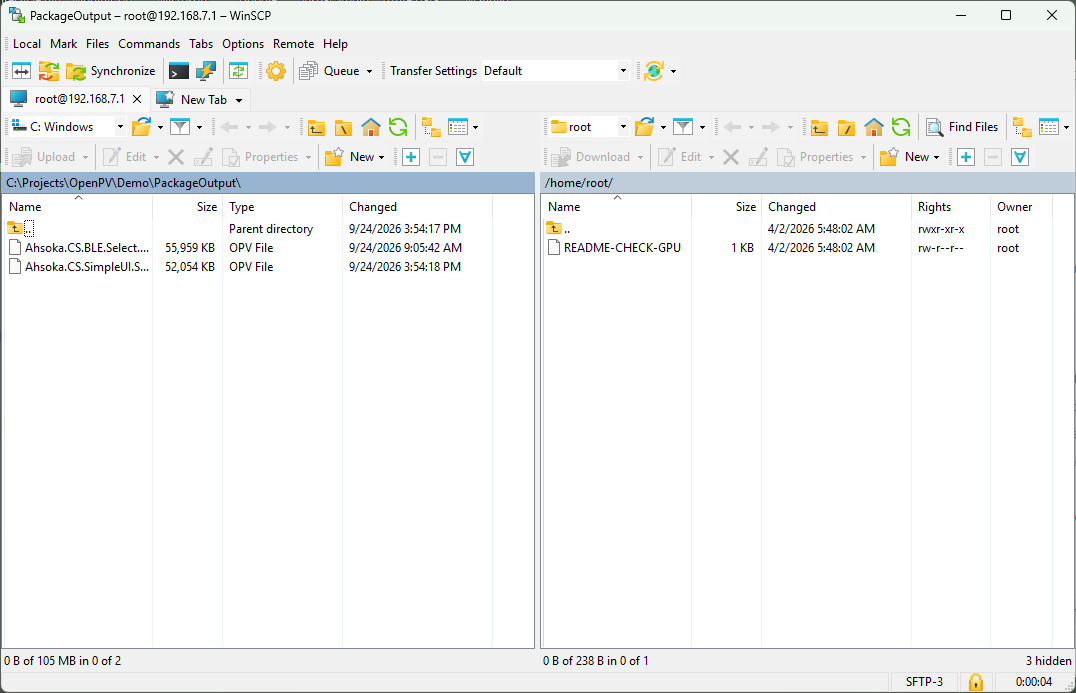
WinSCP connected to the locked display with DeviceDemoKey
Unlock Target
-
Unlock Target reverses Lock Target: it leaves any keys in place but allows password-less logins again. It connects to the display with the key it's locked with, so check that SSH Key File shows that key — here, DeviceDemoKey. Then click Unlock Target.
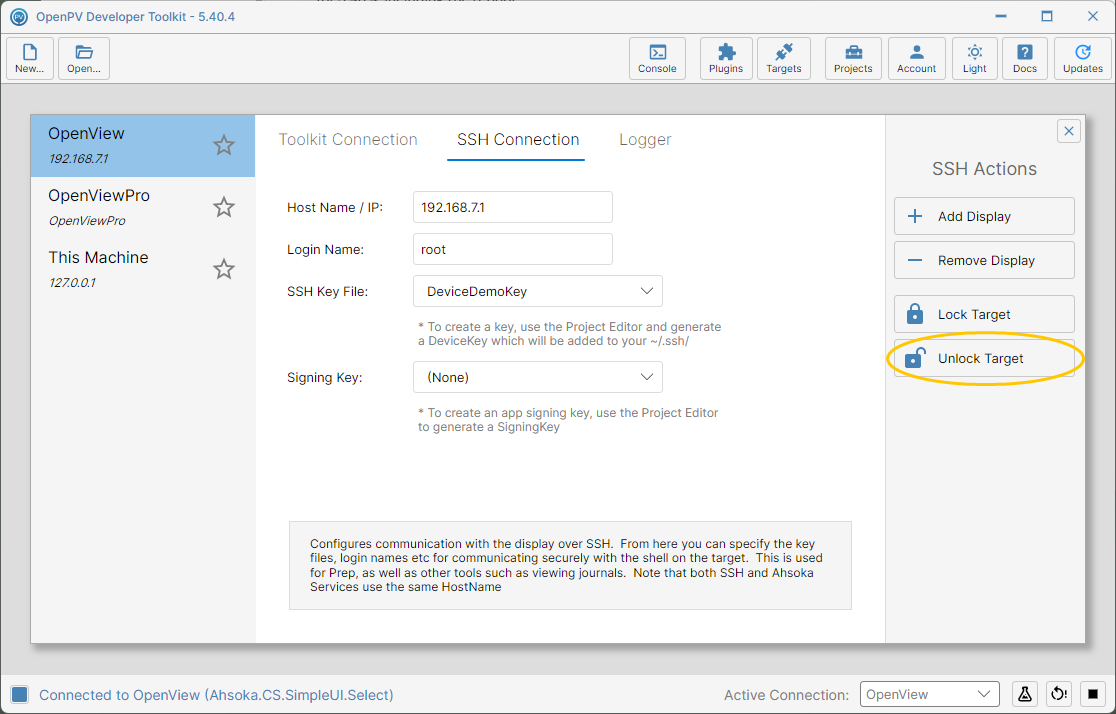
The Unlock Target button, with DeviceDemoKey selected -
A confirmation explains that it leaves any keys in place but allows standard logins. Click Yes.
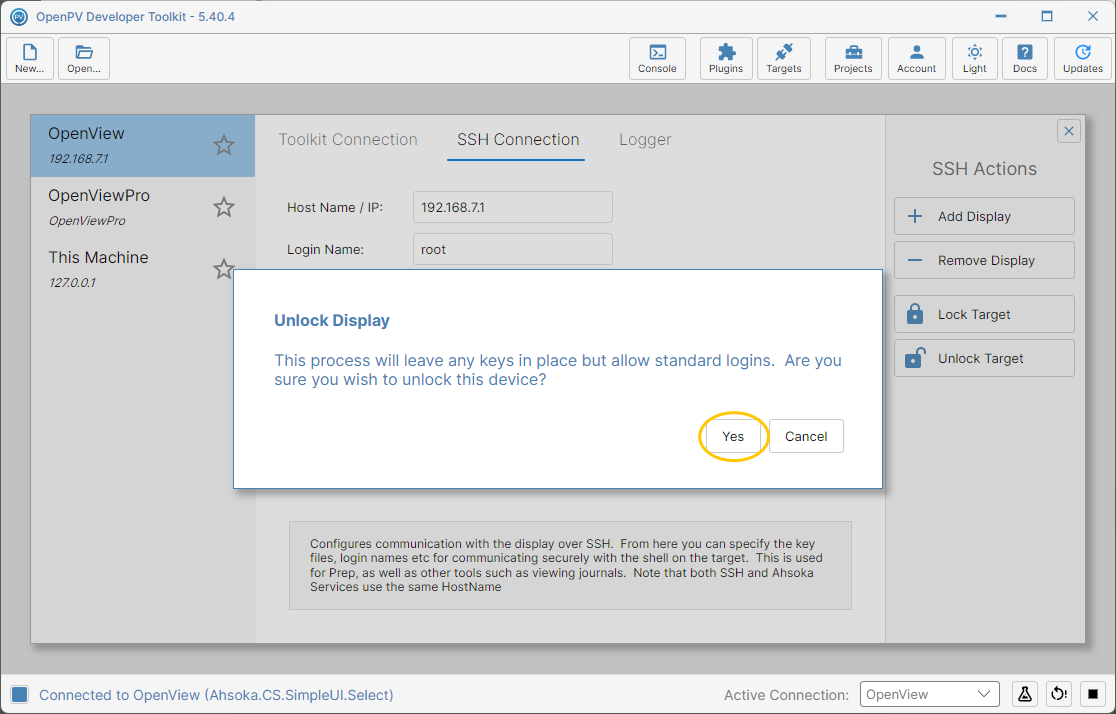
The Unlock Display confirmation dialog -
There's no progress screen or completion dialog — the app stays on the SSH Connection tab. Click Console to see what happened.
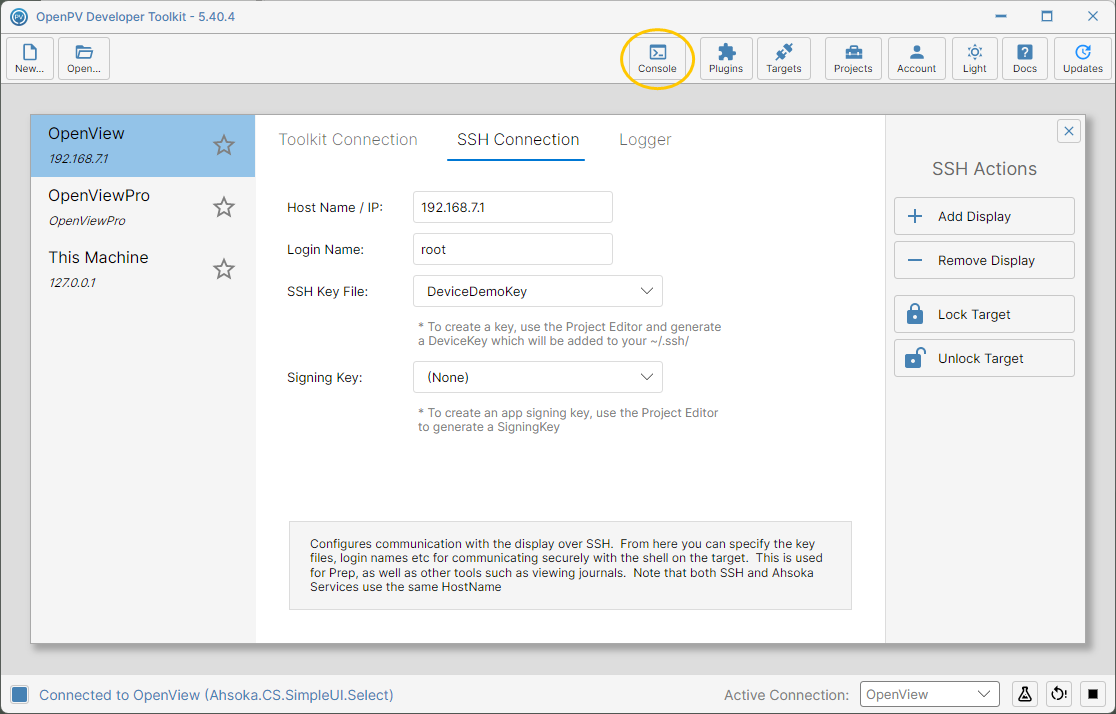
Back on the SSH Connection tab right after confirming -
The log shows Beginning Device Unlock Process and Device Unlocked. Close the Console with its X.
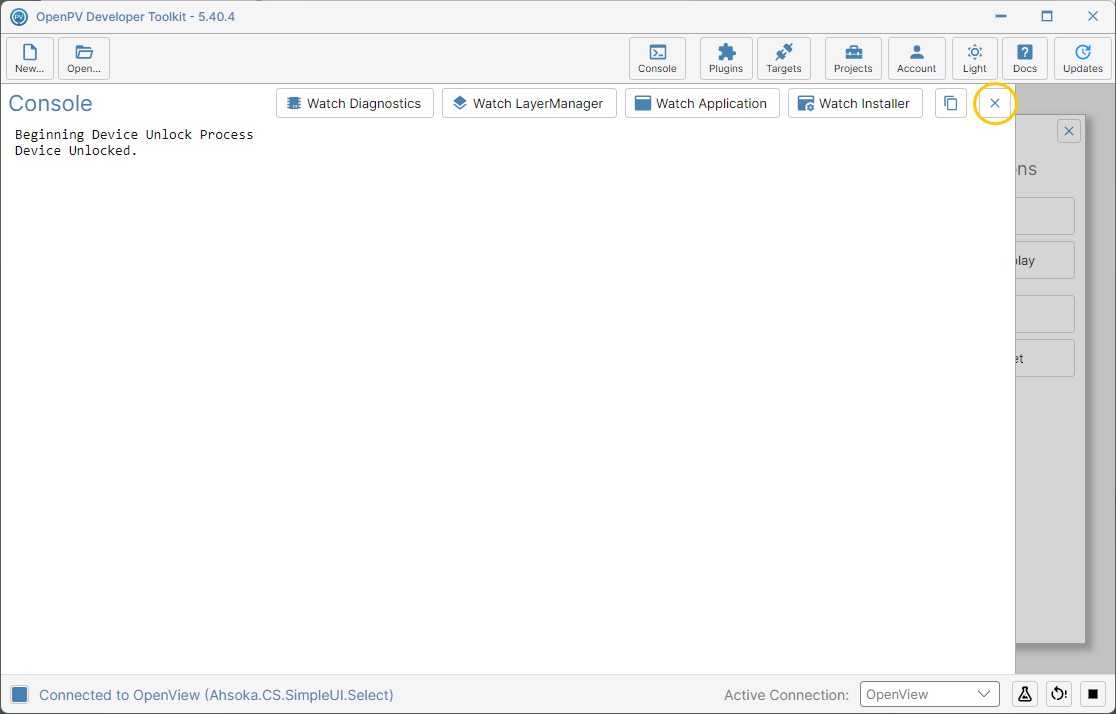
The Console log after Unlock Target -
Like the lock, the unlock doesn't take effect until the display restarts — until then, it still only accepts logins with the key. Click the Reboot Display icon at the bottom right.
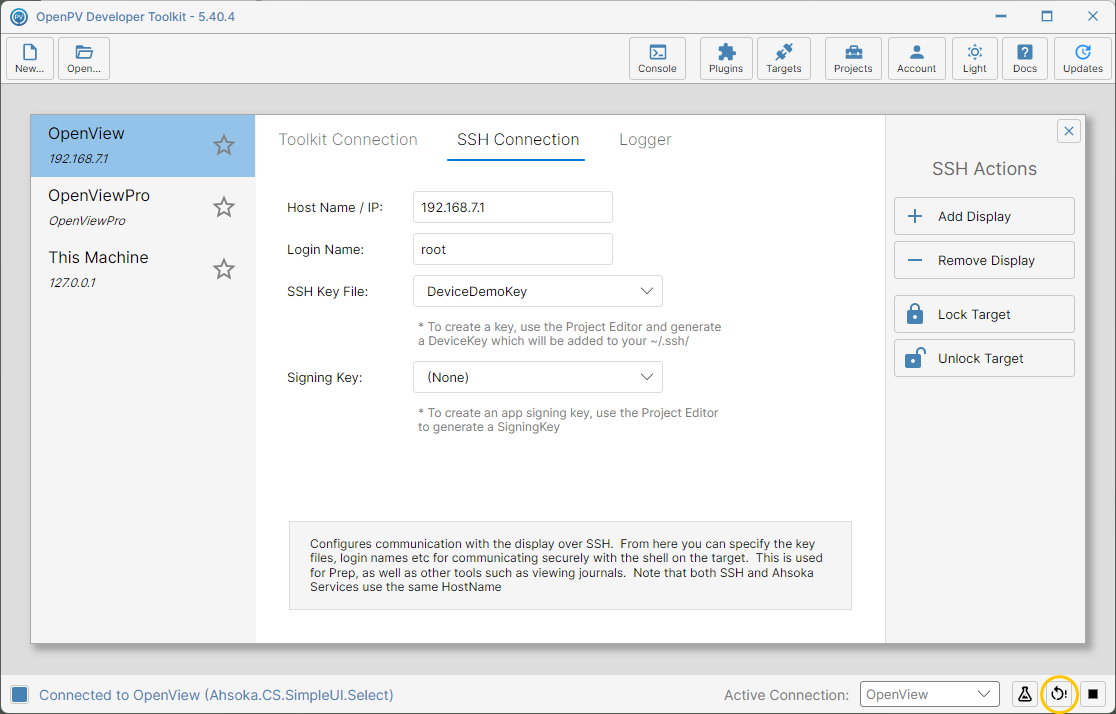
The Reboot Display icon in the status bar -
Once the display reconnects, it's unlocked: it accepts SSH logins as root without a key or password again, as in Connecting over SSH. Unlike Lock Target, SSH Key File keeps the key you had selected.
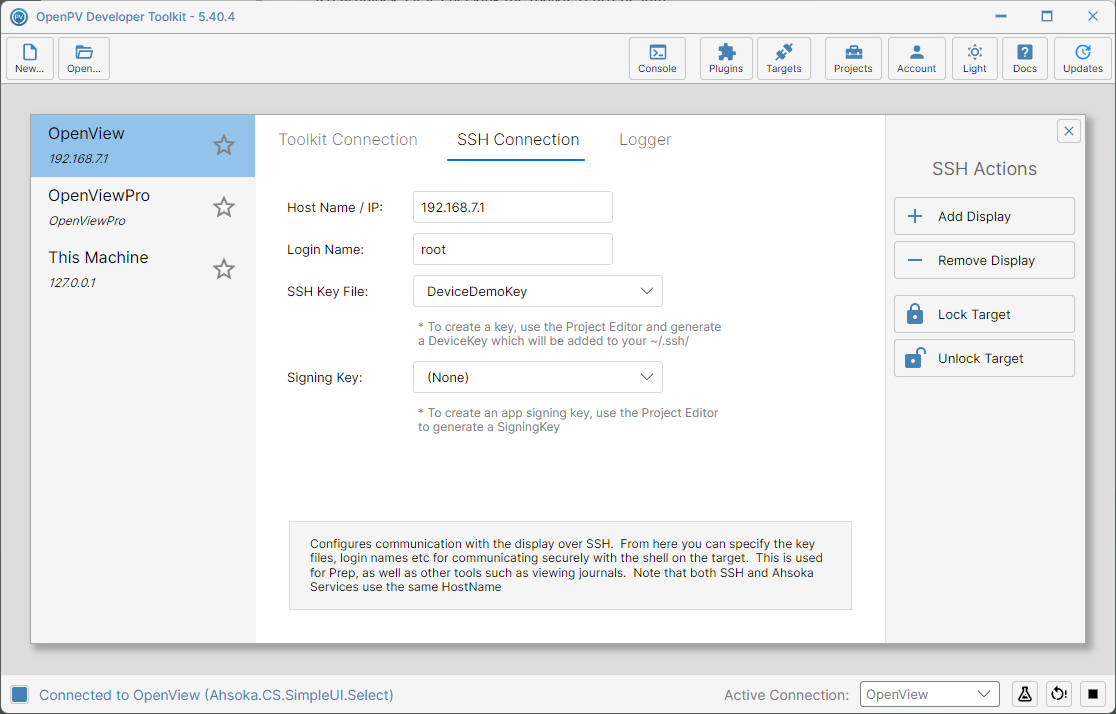
The SSH Connection tab after the display reconnects, unlocked