Startup
Packaging Tools Requires: project open
Choose when your app releases startup to the system, and set up the target's network, environment variables and GPS location service.
When the target boots, your app starts from a systemd service that holds the rest of the system — networking, SSH and so on — until the app releases it. Auto Release System and After Start Delay decide when that happens. The Network, Environment and Location sub-tabs set up the target's USB and Ethernet networking, environment variables for your app, and its GPS daemon (gpsd).
The Startup panel is shown below, on the Network sub-tab, with each numbered item described in turn:
- Auto Release System — when the app's start script tells
systemdthe app is ready, releasing the rest of the system: NoAutoStart (never — your app must call ApplicationContext.ReleaseStartup() itself), BeforeApplicationStart (just before the app starts) or AfterApplicationStart (after the app starts, once After Start Delay has passed). - After Start Delay — how many seconds (3, 5 or 10) to wait after the app starts. Only used with AfterApplicationStart.
- Network — the target's USB gadget addresses and its Ethernet port.
- Environment — environment variables set for your app when it starts.
- Location — the GPS daemon (gpsd) that feeds location data to your app.
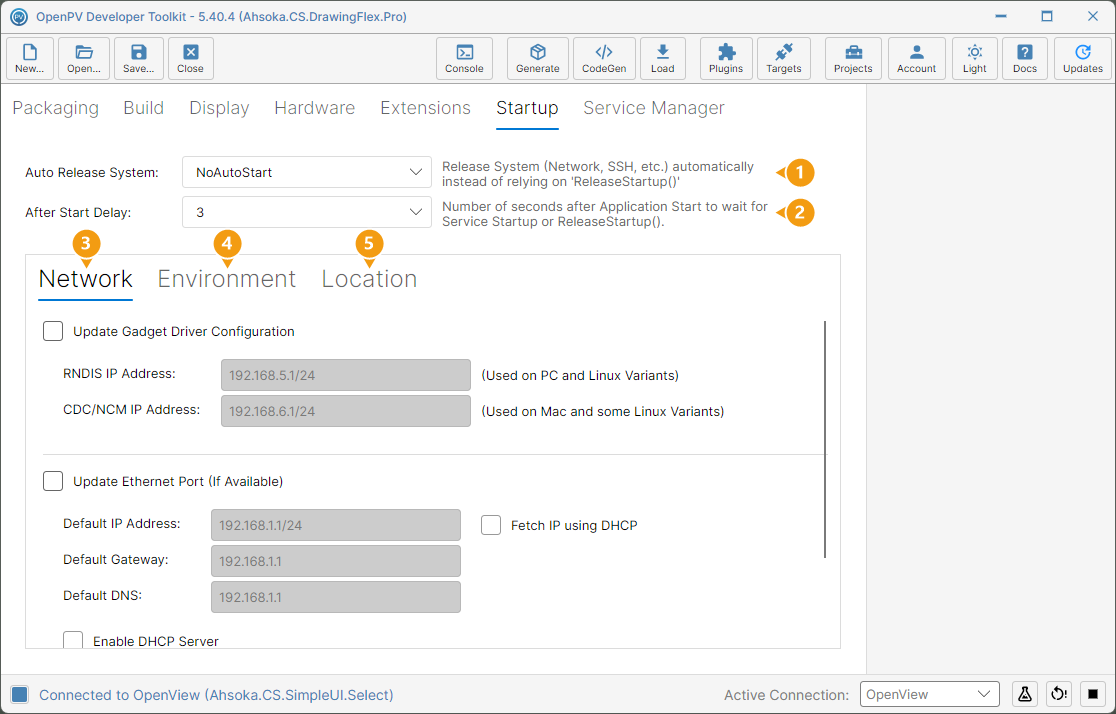
Set When Your App Releases Startup
-
Click Auto Release System and choose when the system is released — here, AfterApplicationStart.
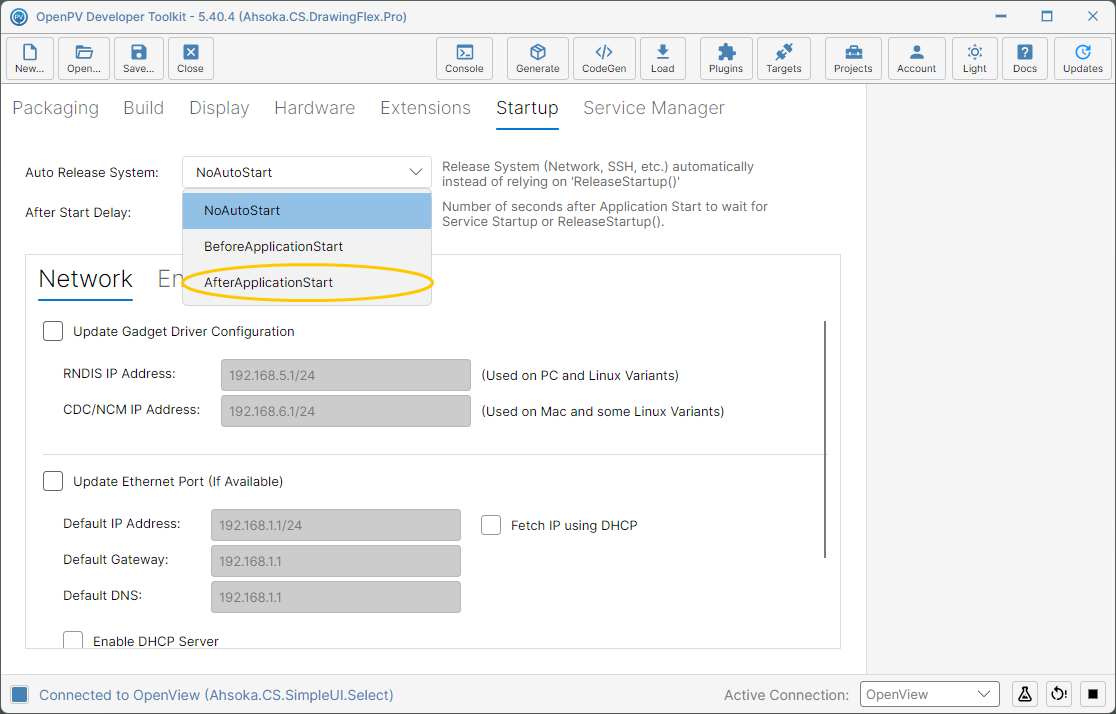
The Auto Release System choices -
Click After Start Delay and choose how long to wait after the app starts — here, 5 seconds.
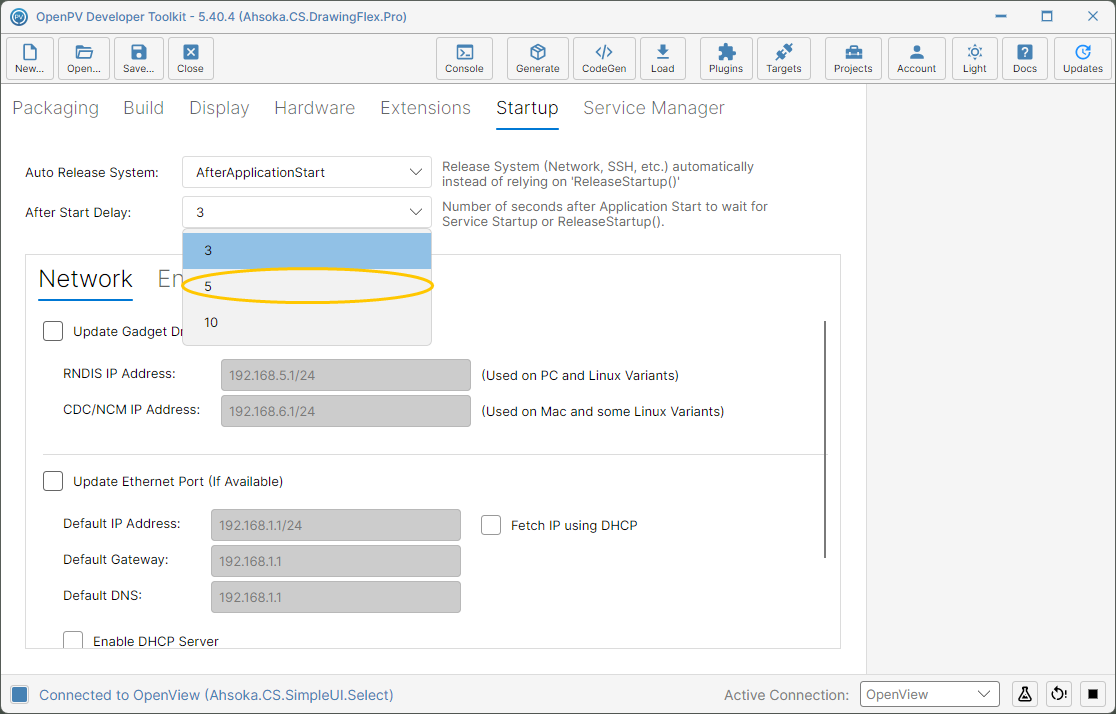
The After Start Delay choices -
When the package is built, the app's start script waits that long after starting your app, then releases the system.
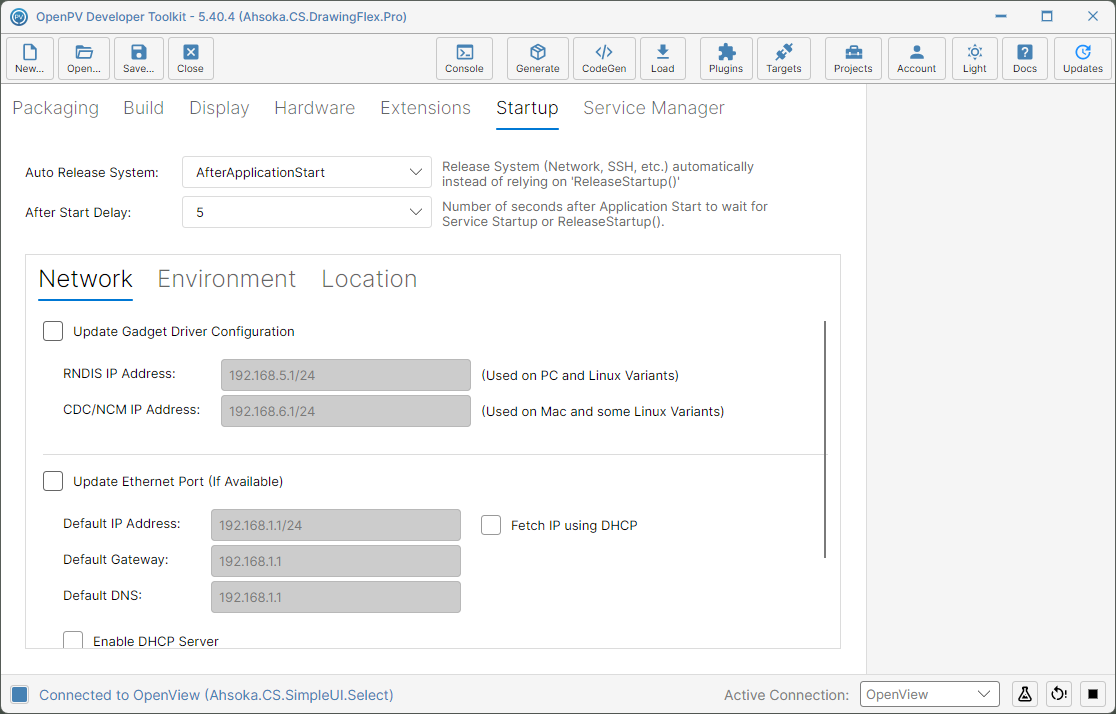
AfterApplicationStart with a 5-second delay
Configure the Network
-
The target shows up on your PC as a network adapter over its USB connection. To change its addresses, tick Update Gadget Driver Configuration.
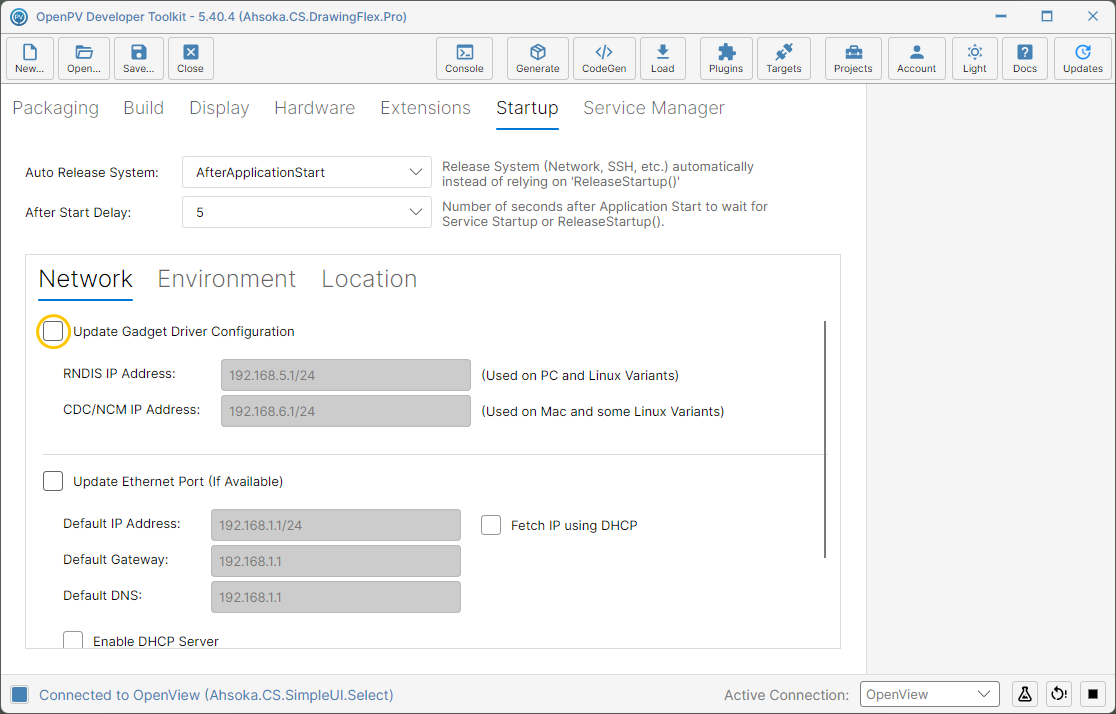
The Update Gadget Driver Configuration checkbox -
RNDIS IP Address (used by Windows PCs and some Linux hosts) and CDC/NCM IP Address (used by Macs and some Linux hosts) are now editable. To set up the target's physical Ethernet port as well, tick Update Ethernet Port (If Available).
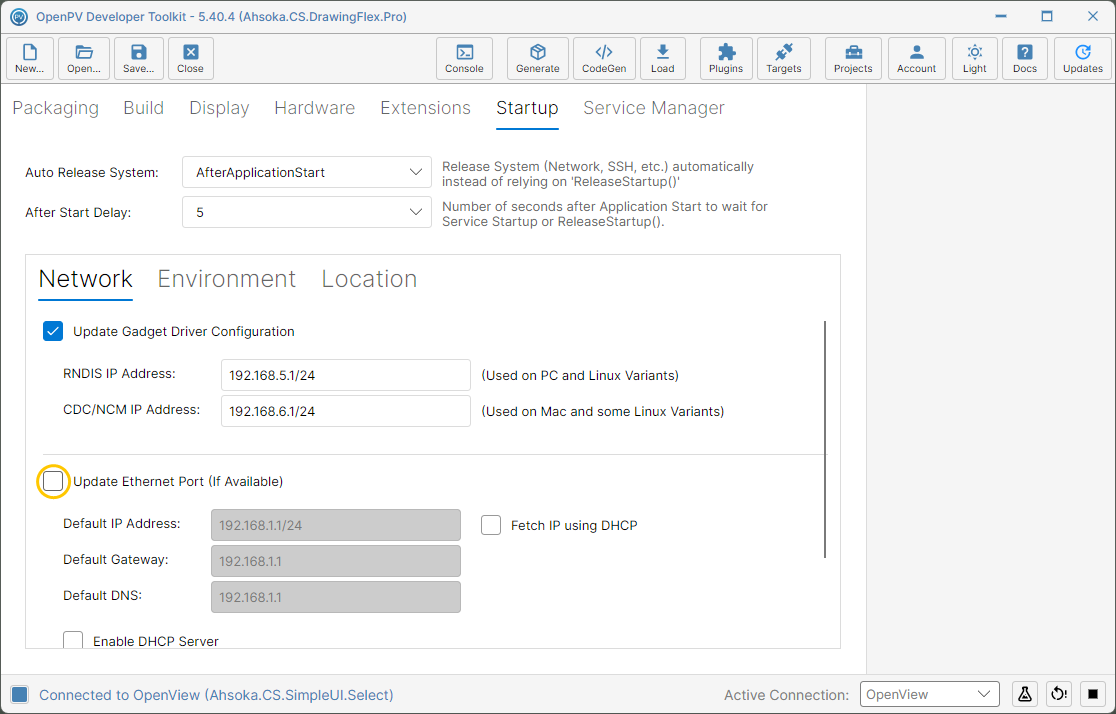
The gadget addresses unlocked, and the Update Ethernet Port checkbox -
Enter a static Default IP Address, Default Gateway and Default DNS for the port. To have the target hand out addresses to devices plugged into that port, tick Enable DHCP Server.
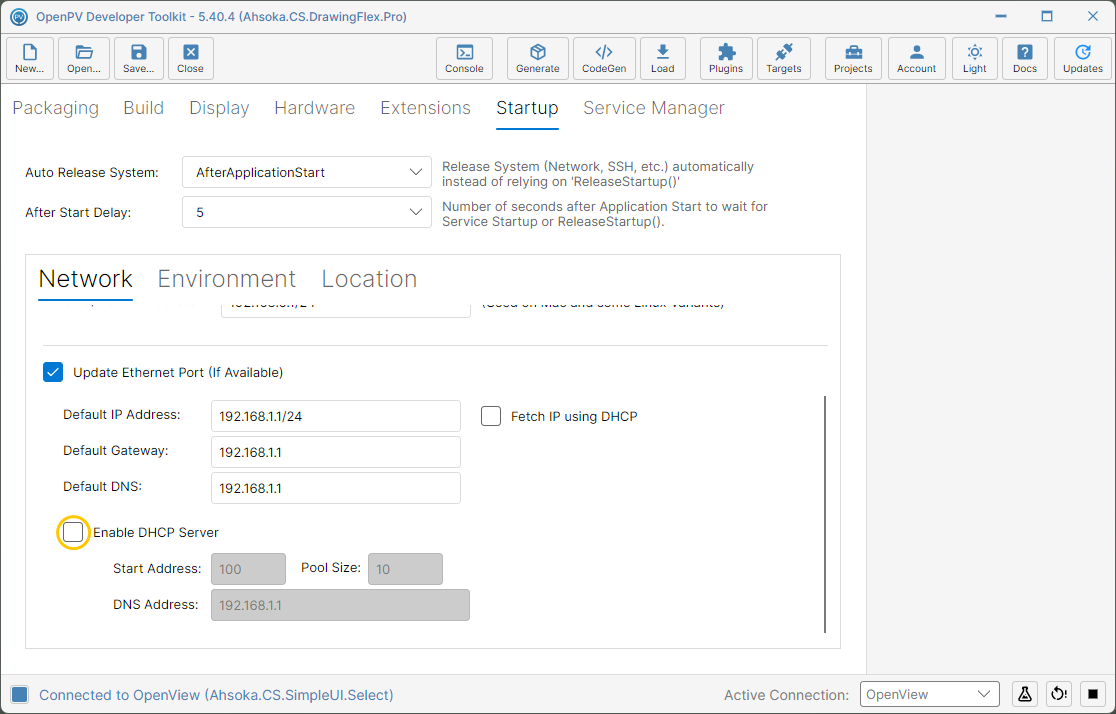
The Ethernet settings, with the Enable DHCP Server checkbox -
Set the pool's Start Address (the last part of the first address handed out) and Pool Size. DNS Address is the DNS server it tells those devices to use. If the port should get its own address from your network instead, tick Fetch IP using DHCP.
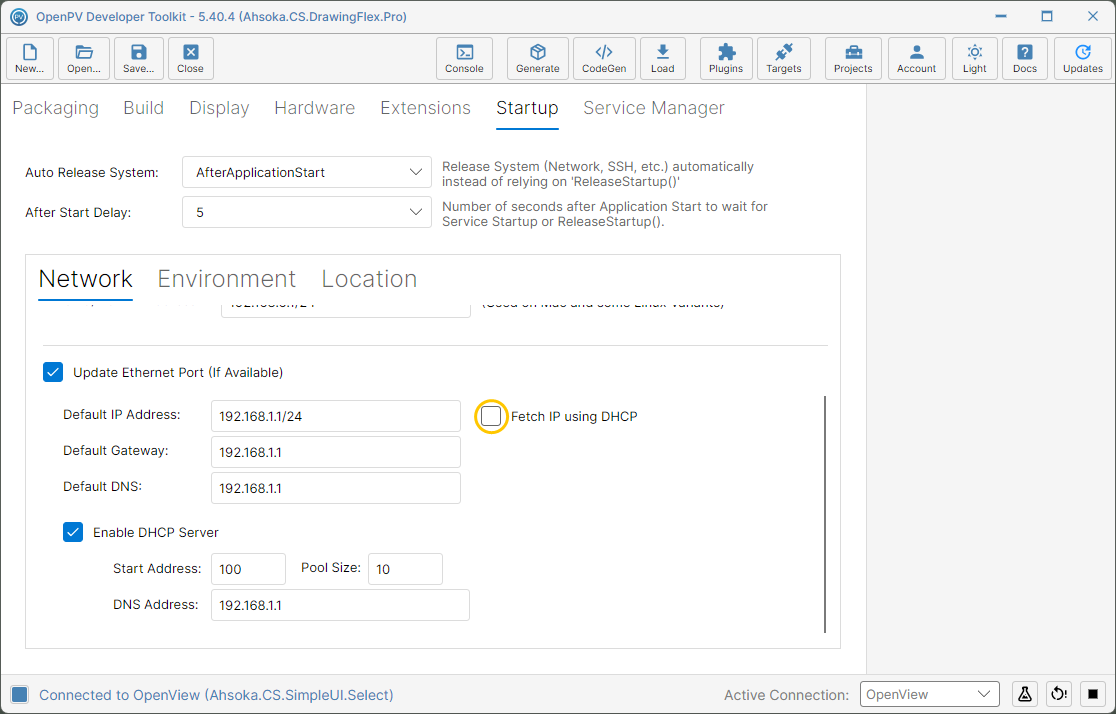
The DHCP Server settings, and the Fetch IP using DHCP checkbox -
The static address, gateway and DNS are greyed out — the port asks your network for them instead.
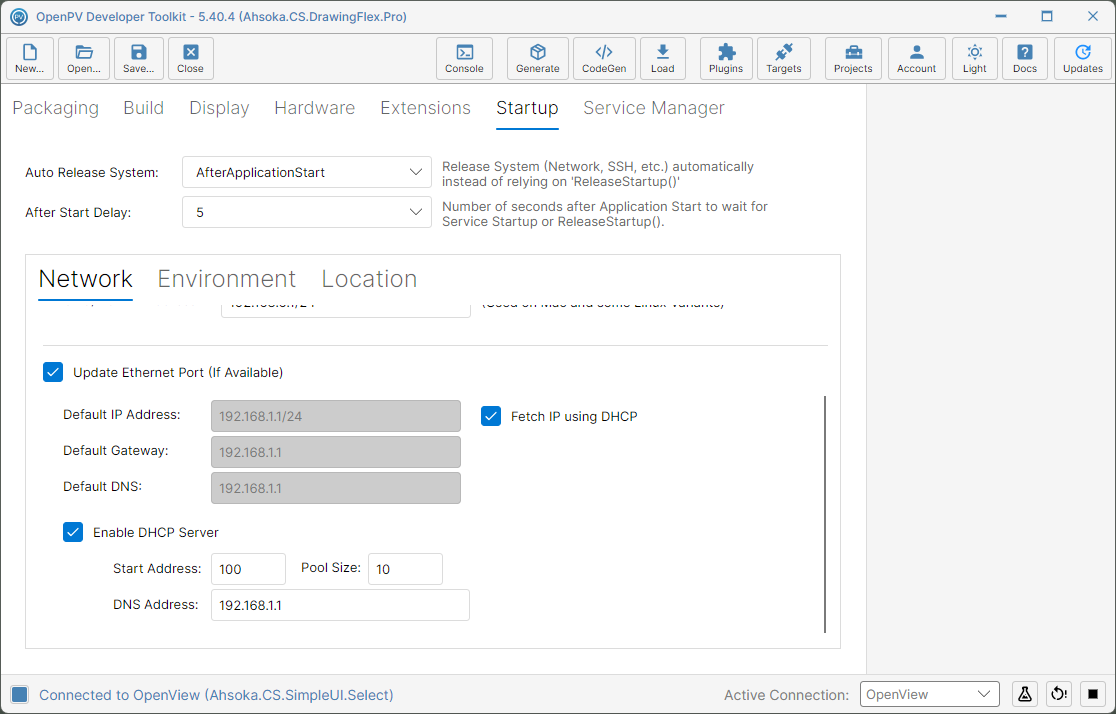
Fetch IP using DHCP ticked
Set Environment Variables
-
On the Environment sub-tab, click +.
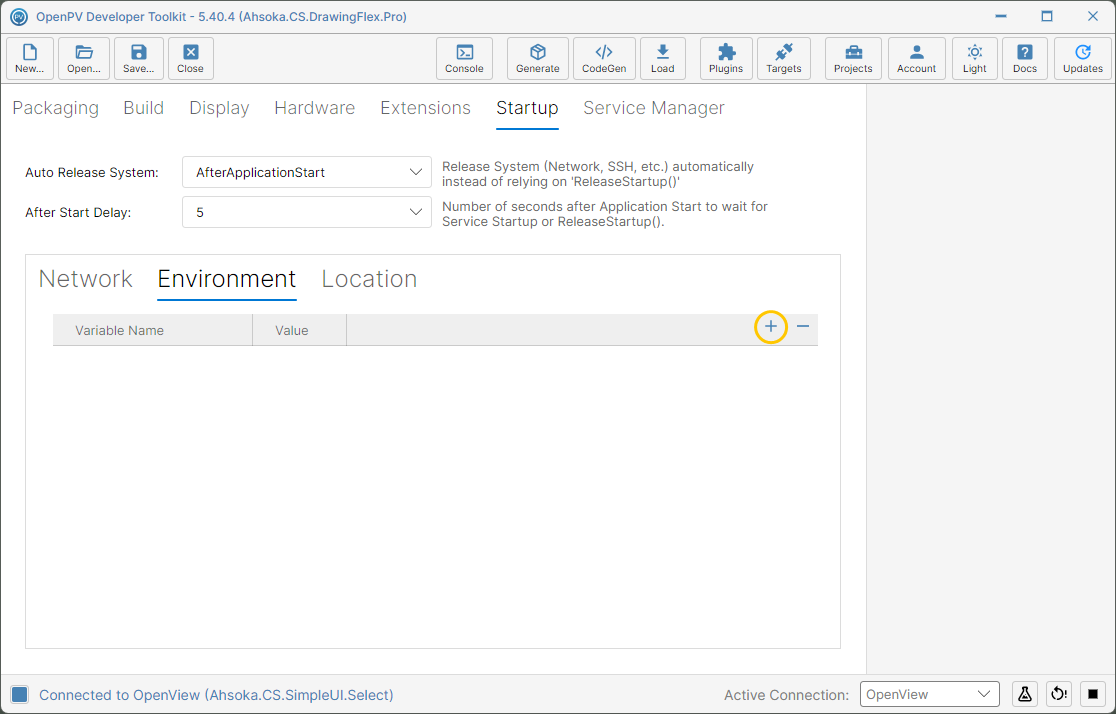
The + button on the Environment sub-tab -
A new row is added as New Variable = Value. Double-click New Variable to edit it.
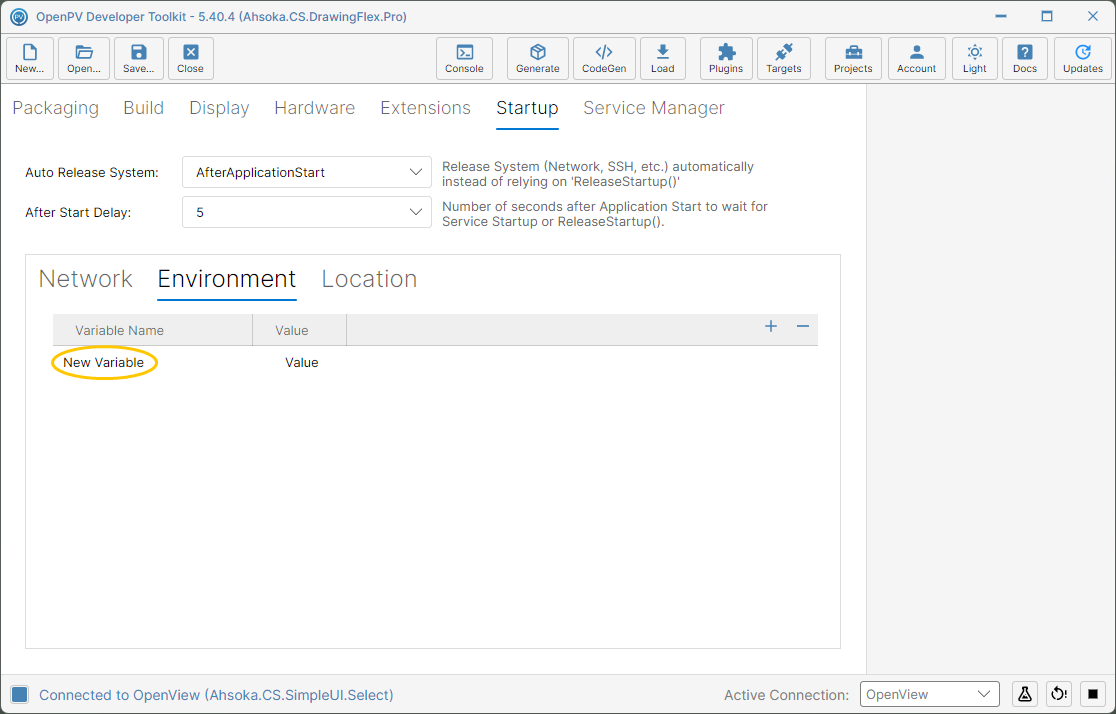
The new variable row -
Type the variable's name — here,
WAYLAND_DEBUG— and press Enter. Then double-click Value.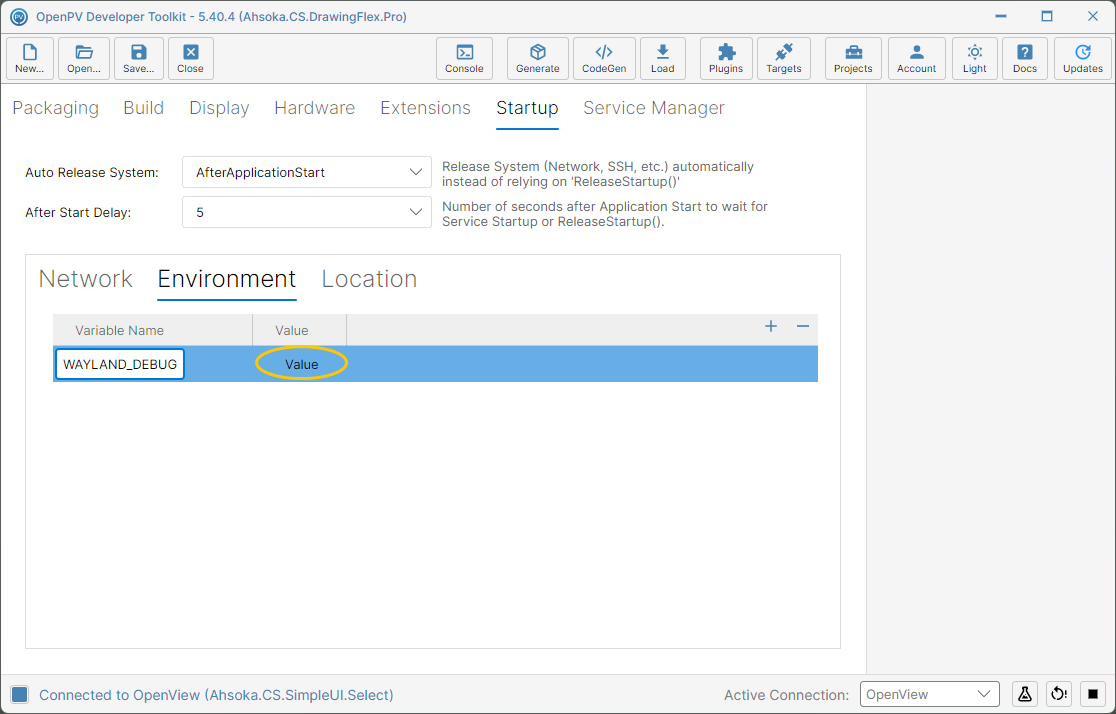
The variable name typed in -
Type its value — here,
1— and press Enter.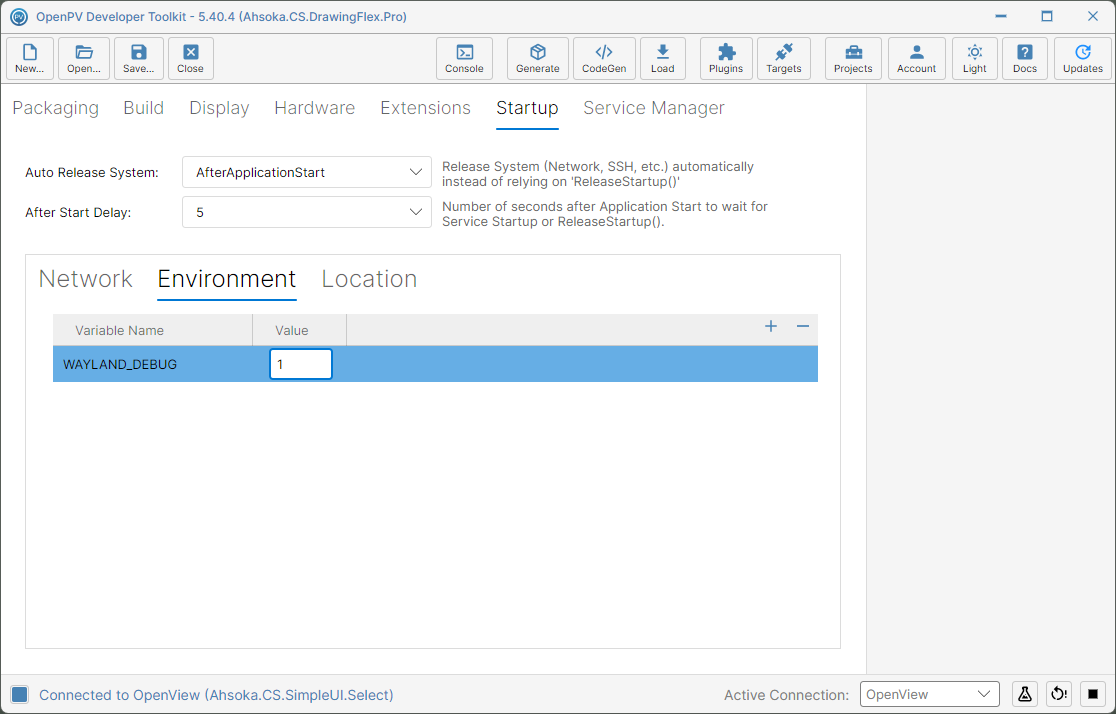
The value typed in -
To remove a variable, select its row and click −.
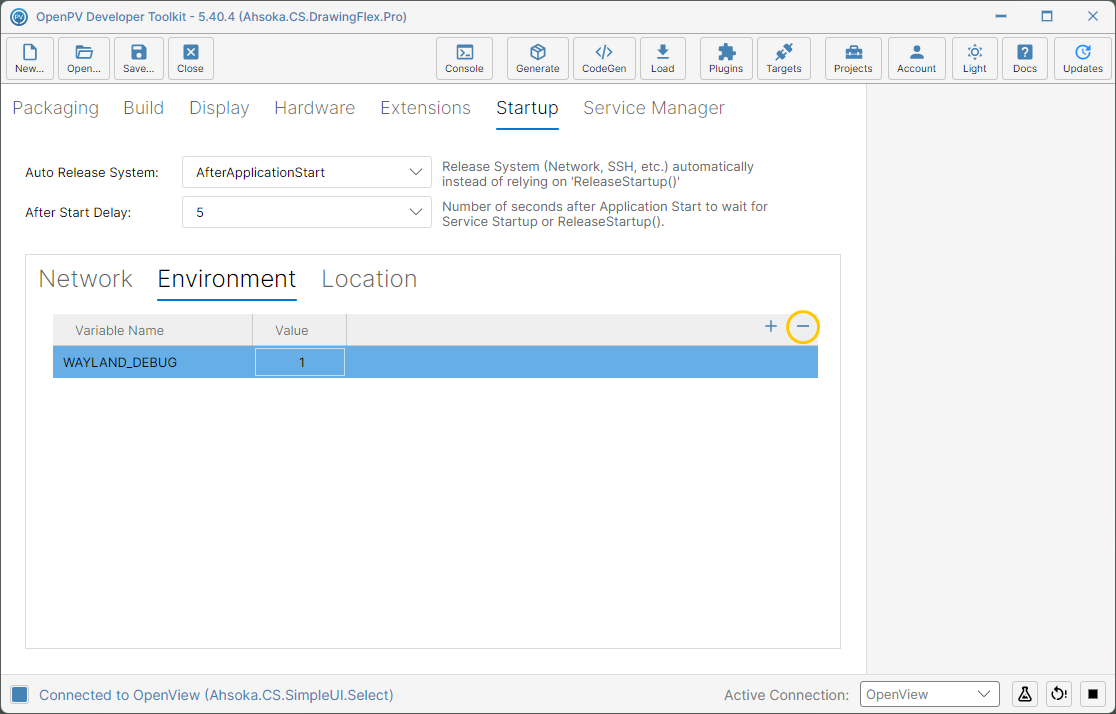
WAYLAND_DEBUG selected, with the − button -
It's removed right away, with no confirmation.
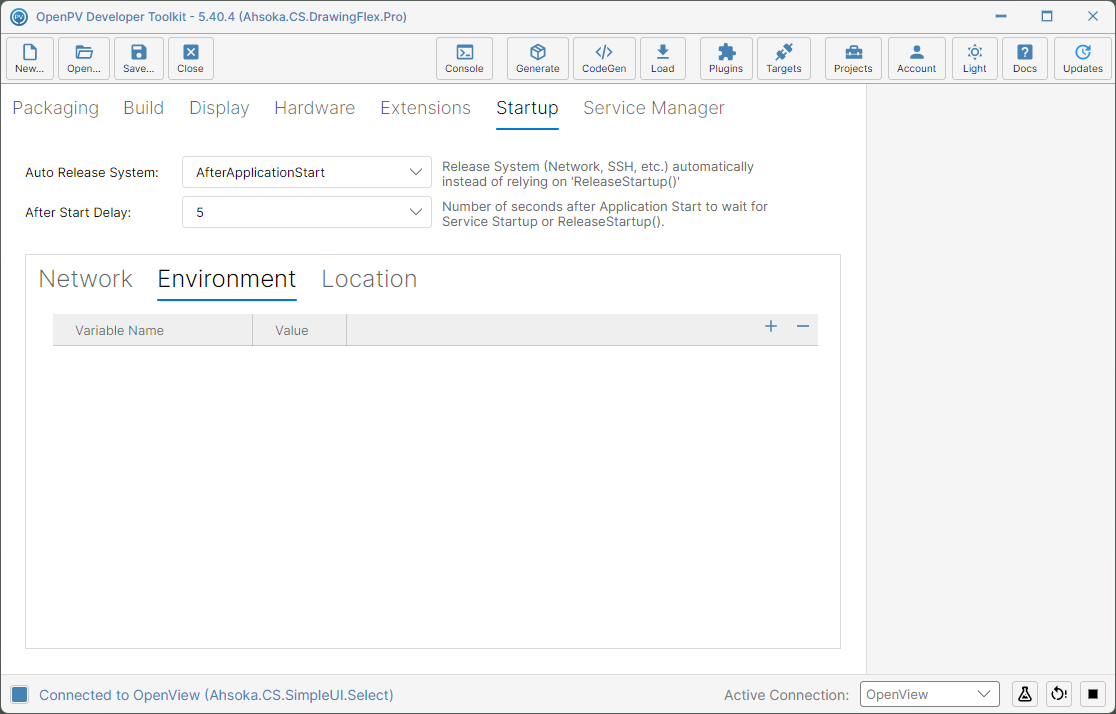
The variable list after removing the variable
export Name=Value line in the app's start script, so it's set before your app starts.Configure the Location Service
-
On the Location sub-tab, Connection Type starts on Serial, for a GPS receiver on a serial port. Set Device Path to the receiver's port (such as
/dev/ttyUSB0) and tick Start Daemon to start gpsd at boot. Under GPSD Arguments, Don't wait to poll (-n), Read-Only mode (-b), Debug Level (-d) and Baud Rate (-s) set gpsd's own options — leave Baud Rate blank to detect it automatically.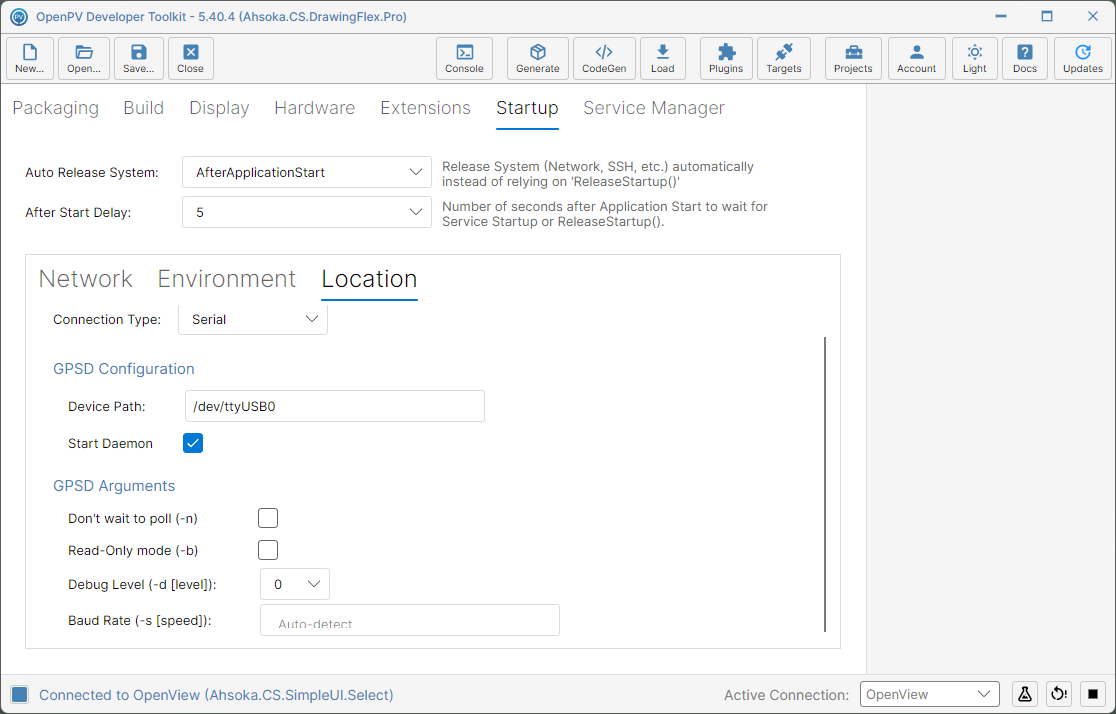
The Location sub-tab, with Serial settings -
If the GPS data comes over CAN instead, click Connection Type and choose CAN.
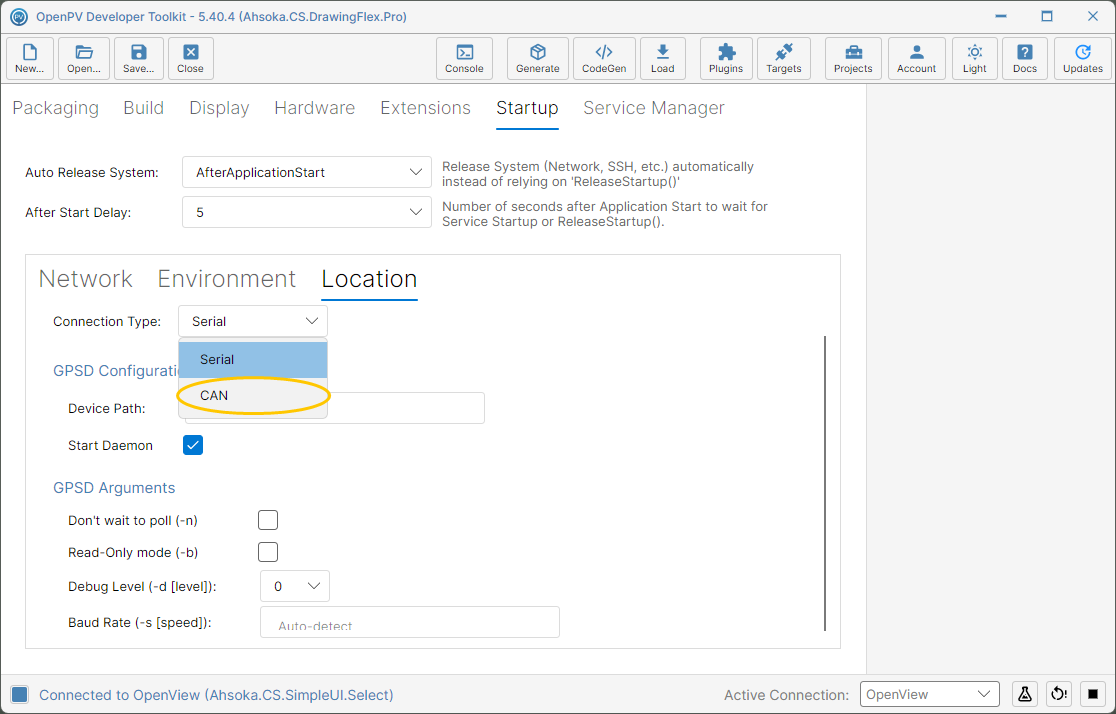
The Connection Type choices -
The serial settings are hidden — with CAN, the toolkit sets gpsd up itself when the package is built.
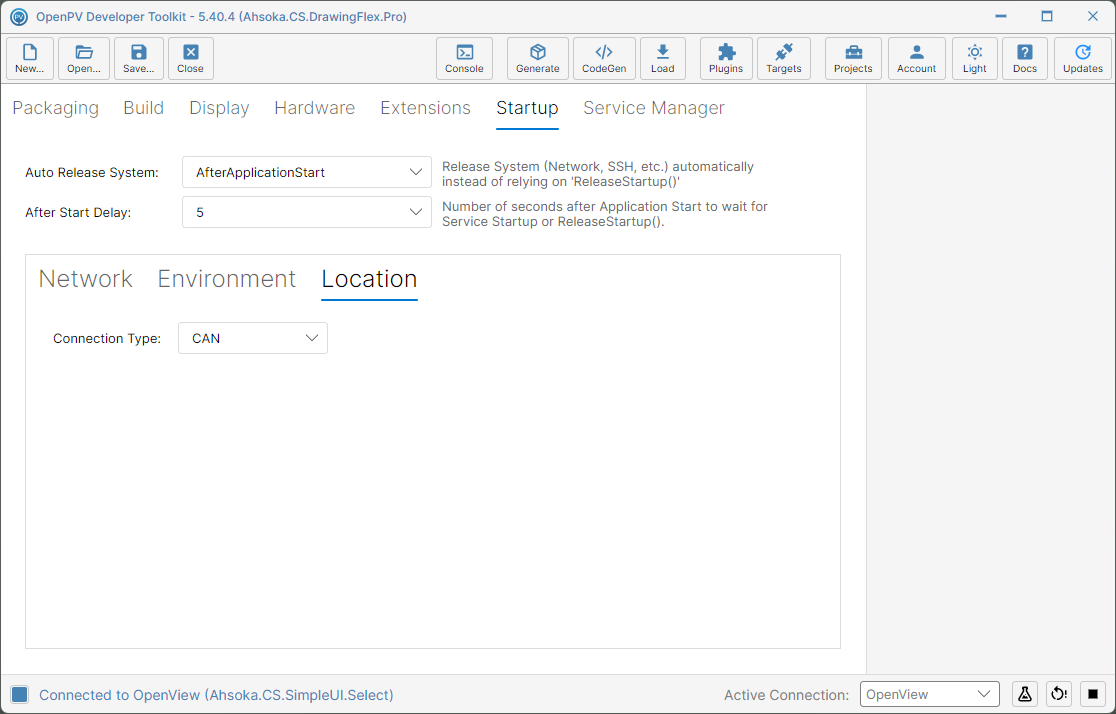
CAN selected, with the serial settings hidden