Toolkit Connection
Utilities Targets Requires: signed in
Configure how the toolkit connects to a target device.
Overview
The Toolkit Connection panel, with each field numbered. Your changes save automatically as you type.
- Platform Family — The display model this connection targets; enables features and configuration specific to that display type.
- Description — A friendly name for this connection, shown in the connection list on the left.
- Host Name / IP — The target's network address.
- Service Port — Talks to a System Service running on the target to get information about the system. (Default = 5001)
- Security Port — Talks to a Security Service running on the target if secure services are being used. (Default = 5007)
- API Key — Authenticates this connection with the target, if its Security Service requires one.
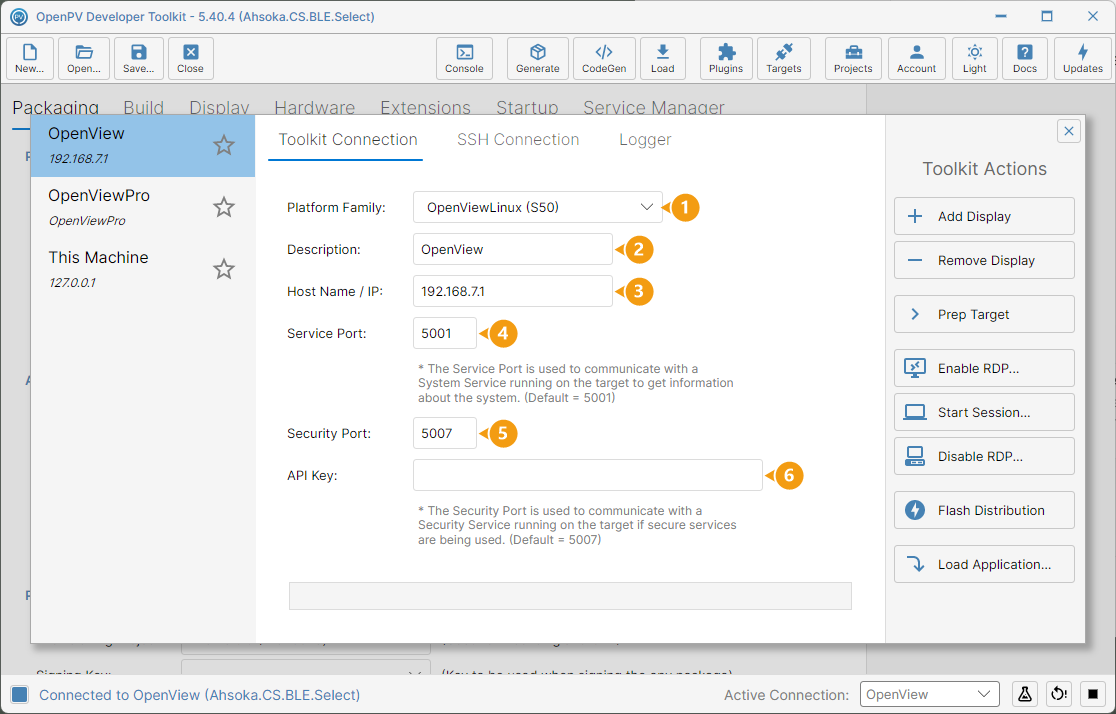
While this tab is selected, Toolkit Actions on the right offers device actions like Prep Target, Enable/Disable RDP, and Load Application.
Flash Distribution
-
A new display needs the most current BSP (Board Support Package) before it can be prepped for this version of the toolkit — that's what Flash Distribution installs. Before starting, verify the display powers on to the installer or application screen, then connect it to your computer with a USB-C cable. Power to the display must stay stable and uninterrupted for the whole flash.
(Confirming power and the USB-C connection before flashing)
-
Remove power from the display, then boot it into DFU Flash Mode. On an S50 or S70, place a high-powered magnet over the triangle/circle icon on the back of the display, in the area below the USB port.
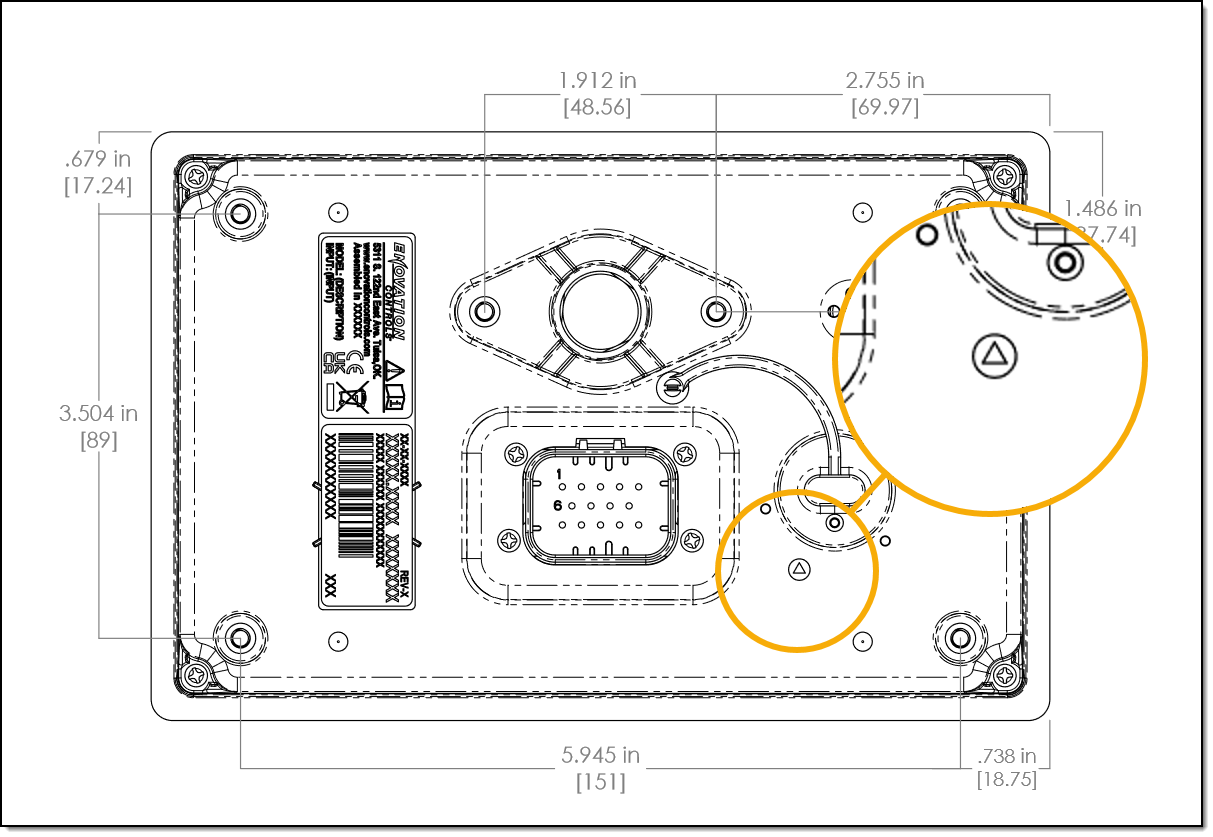
Magnet placement for DFU mode on an S50 or S70 -
On a P100, place the magnet over the microphone hole on the front of the display instead.
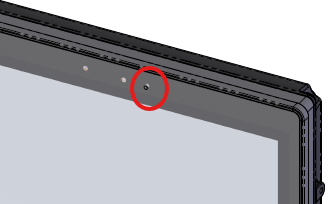
Magnet placement for DFU mode on a P100 -
Apply power to the display while holding the magnet in place, then remove the magnet after a few seconds — the screen stays black if DFU mode was entered successfully.
(The display in DFU mode — the screen stays black)
-
Select the Targets button from the toolbar, then verify the correct Platform Family is selected and the correct Host Name / IP is set for DFU: 192.168.7.1 for an S50 or S70, 192.168.5.1 for a P100.
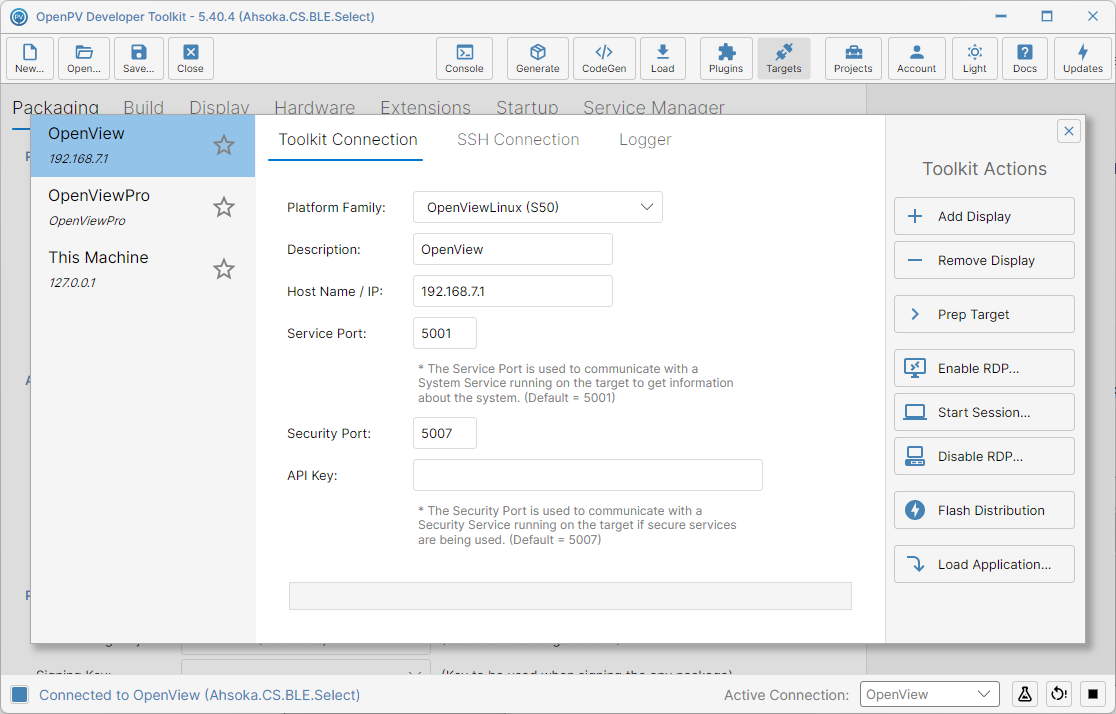
Verifying the platform and IP address before flashing -
Click Flash Distribution. The app switches to Console and looks for a display in DFU mode.
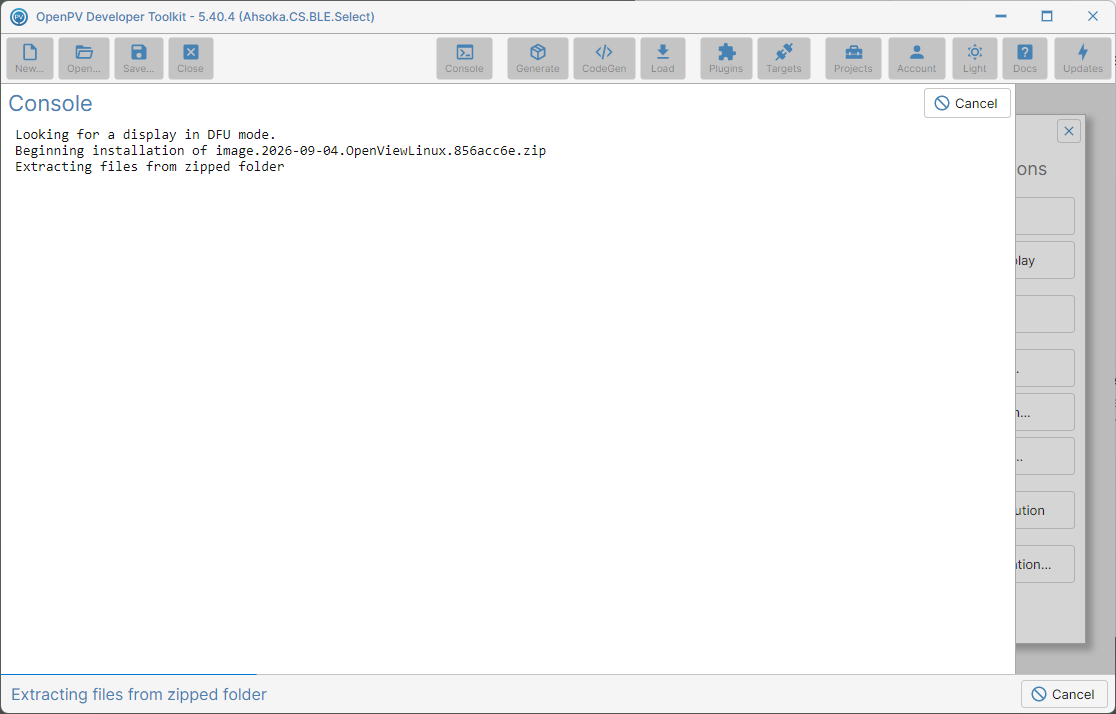
Console finding the display in DFU mode and extracting the firmware image -
If no display in DFU mode is found, a Device Not Found dialog explains why: the mask ROM enters DFU mode regardless of what's on the flash, so a display that's connected and still not found isn't a firmware problem — more likely its USB driver isn't installed. Open Plugins and press Install Drivers on that display's platform support card, then try again.
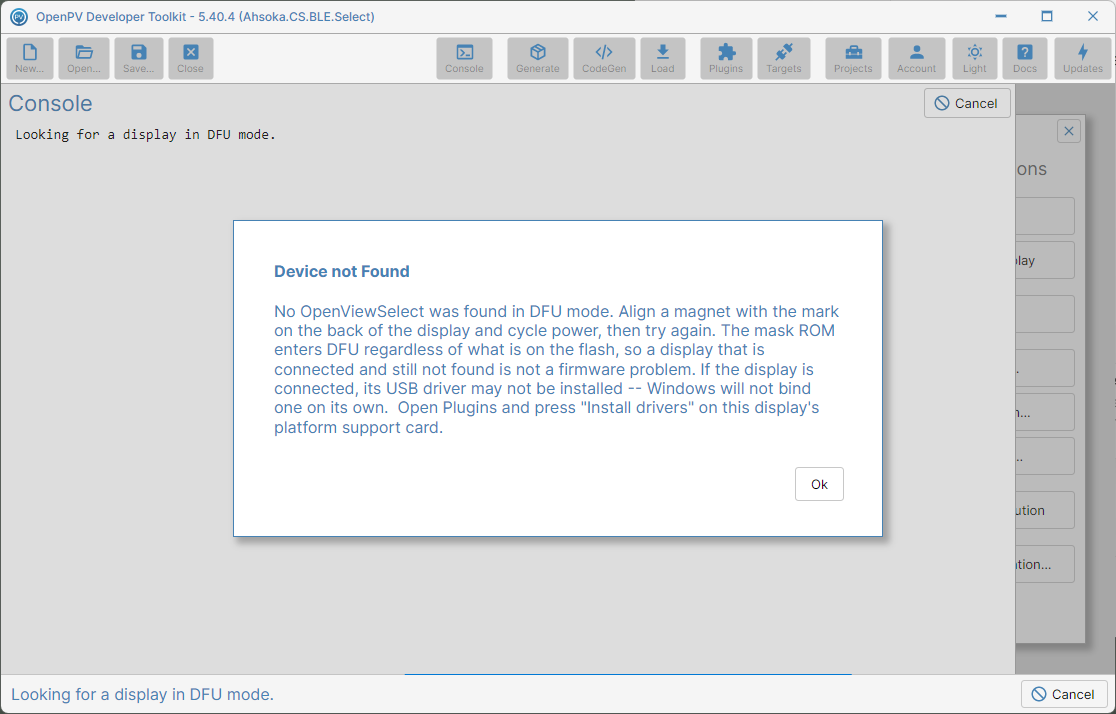
The Device Not Found dialog, with troubleshooting steps -
Once a display in DFU mode is found, the console downloads and writes each firmware partition in turn — fsbl-boot, fip-boot, metadata2, fip-a, bootfs, and more — with its own progress bar, which can take several minutes in total.
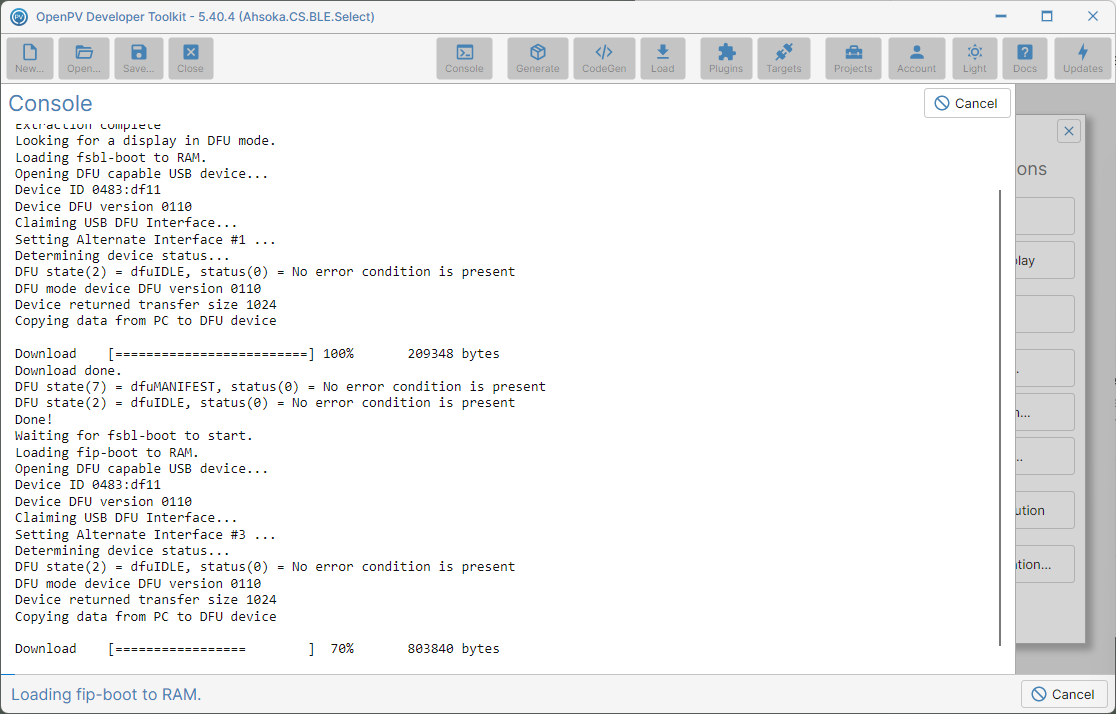
Console output while a firmware partition is being written -
Once every partition finishes writing, power-cycle the display and click Continue once it finishes booting back up.
(Confirming the display has rebooted with the new firmware)
Prep Target
-
Prep Target sets up the display's hardware profile — required before it can run a package. Before starting, power-cycle the display unit and wait for it to finish booting to the Helios/Enovation logo screen.
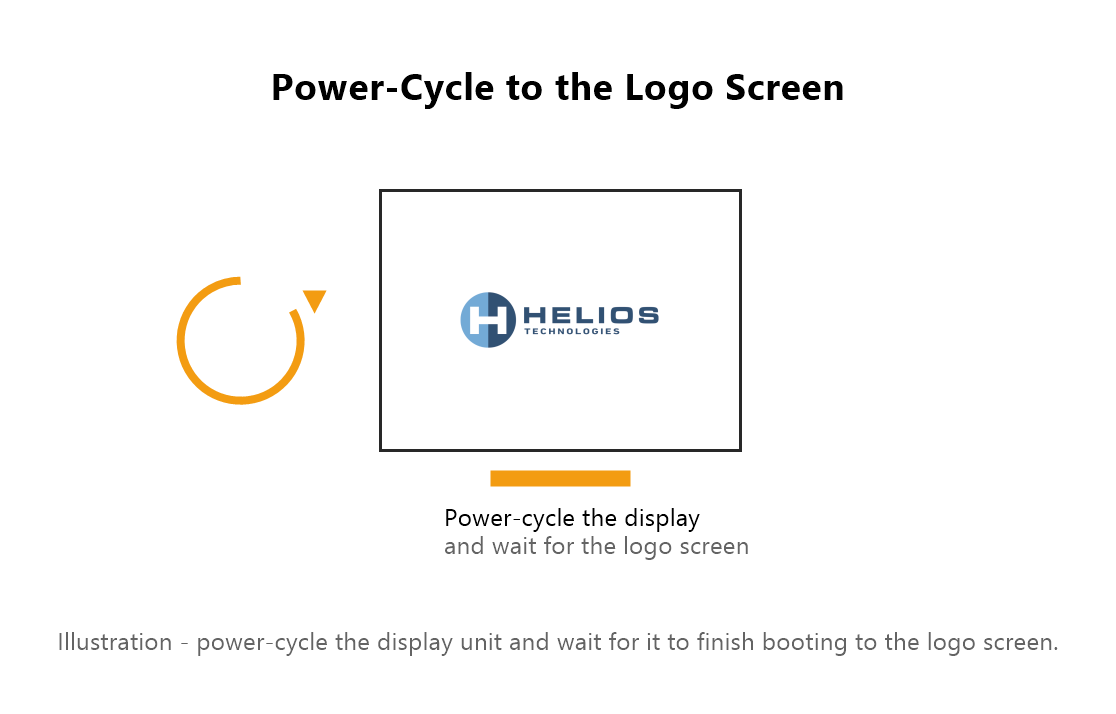
The display waiting at the Helios/Enovation logo screen -
Select the Platform Family that matches the device's real model — here, OpenViewLinux (S70).
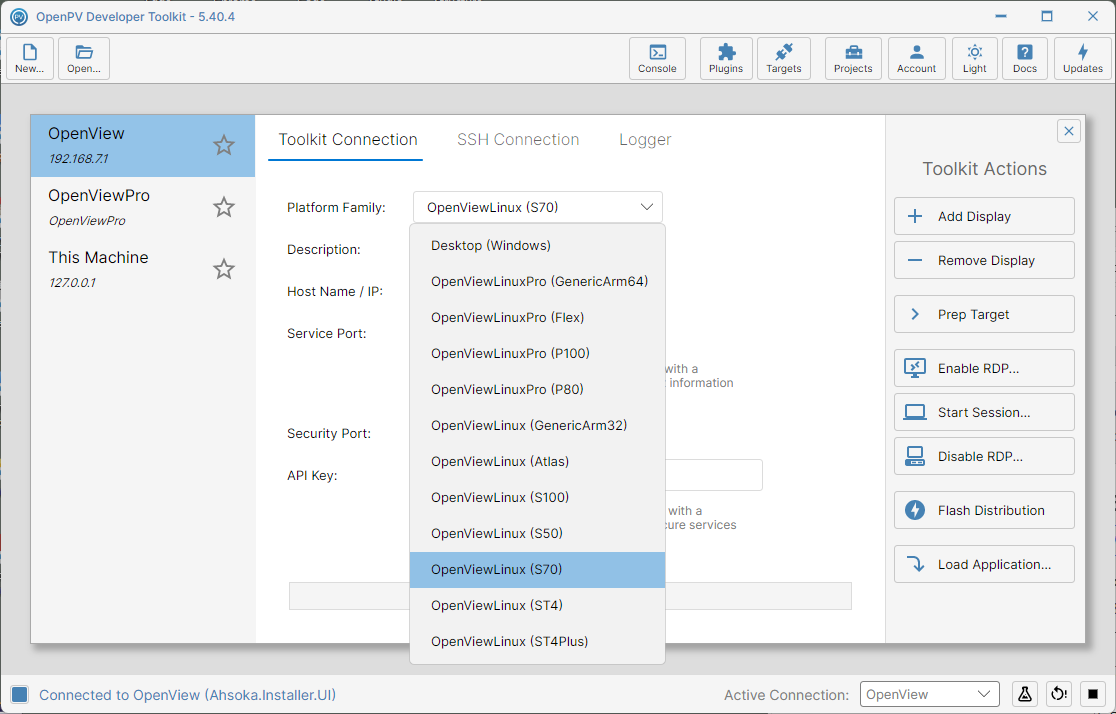
The Platform Family dropdown, expanded -
With a connection to that device selected, Toolkit Actions offers device actions including Prep Target. Click it. A confirmation dialog appears — verify it names the correct display model, here an OpenViewLinux (S70) unit, before clicking Yes to continue.
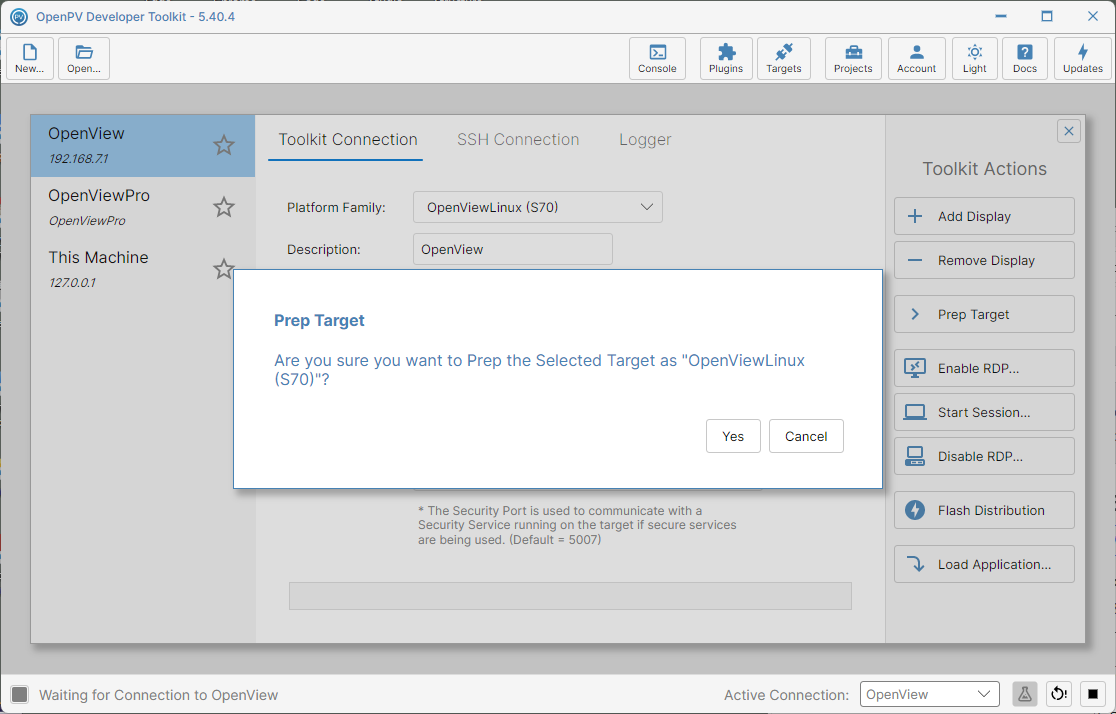
The Prep Target confirmation dialog -
The app switches to the Console panel to run the prep process on the device, with a Cancel button while it's in progress. The display won't show a connected status during this phase — that's expected.
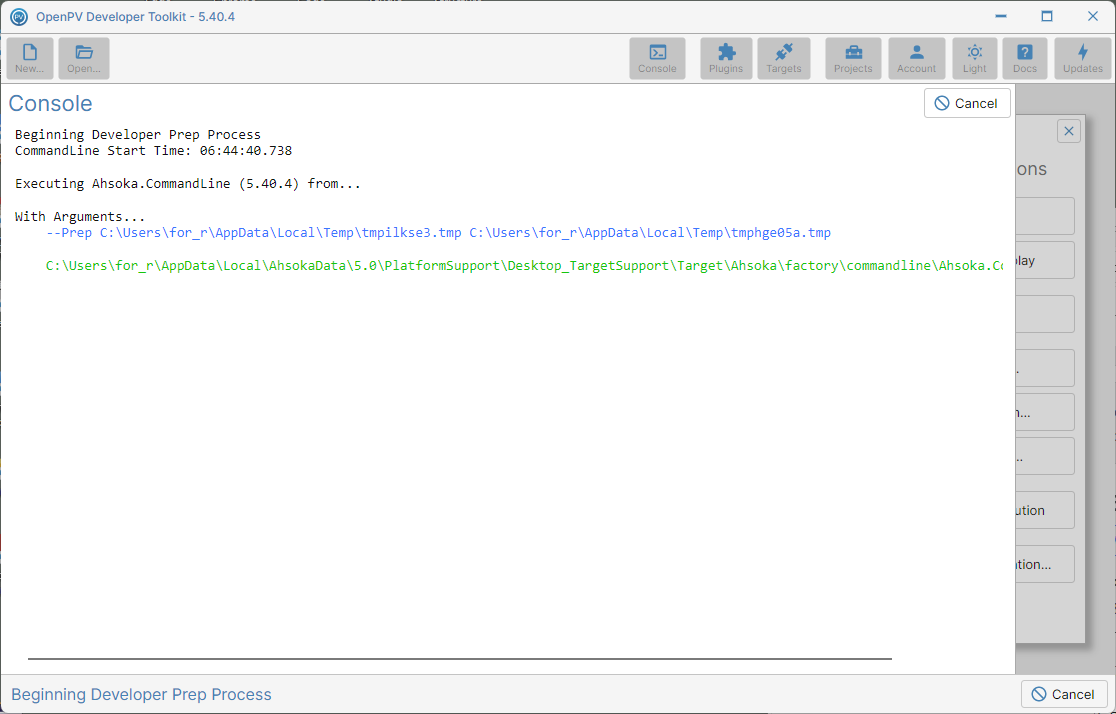
The Console panel showing the prep process starting -
Once prep finishes, the display reboots automatically and the app returns to the Targets panel — no confirmation dialog.
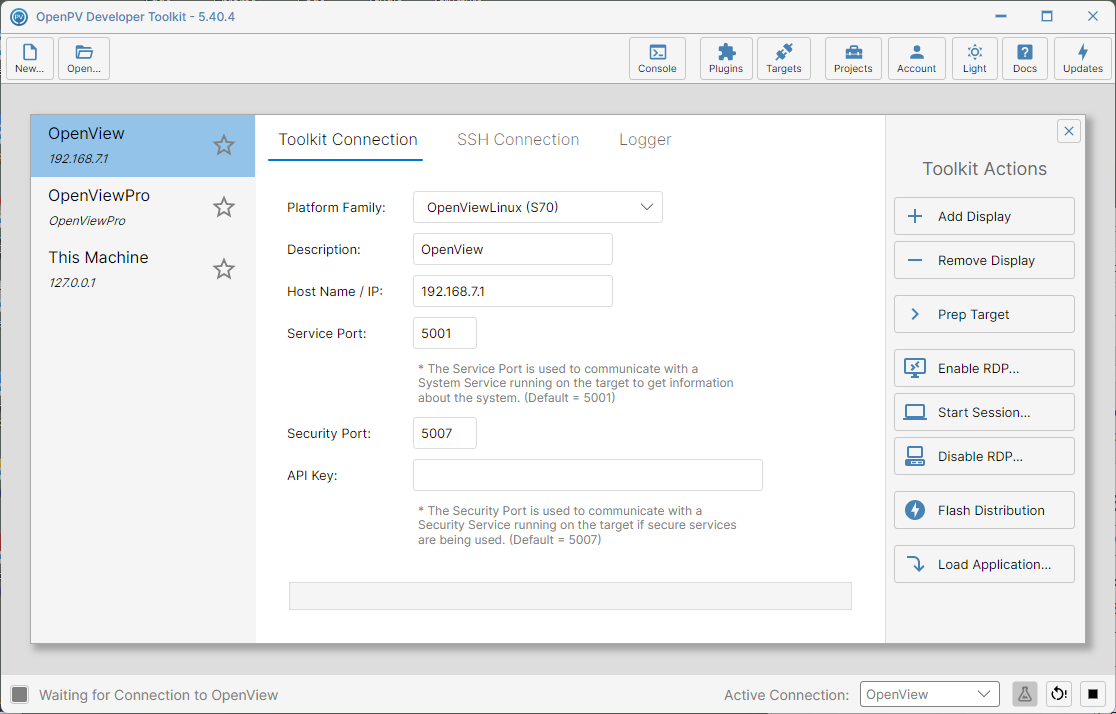
Back on the Targets panel after prep completes -
Click Console to review the full log. A successful run verifies each required service and file (All checks passed), reports prep.sh complete, and schedules a reboot on the device to apply it. Once the display finishes rebooting, it reconnects and shows a connected status again — it's now ready to load a package via Load To Target (see Packaging).
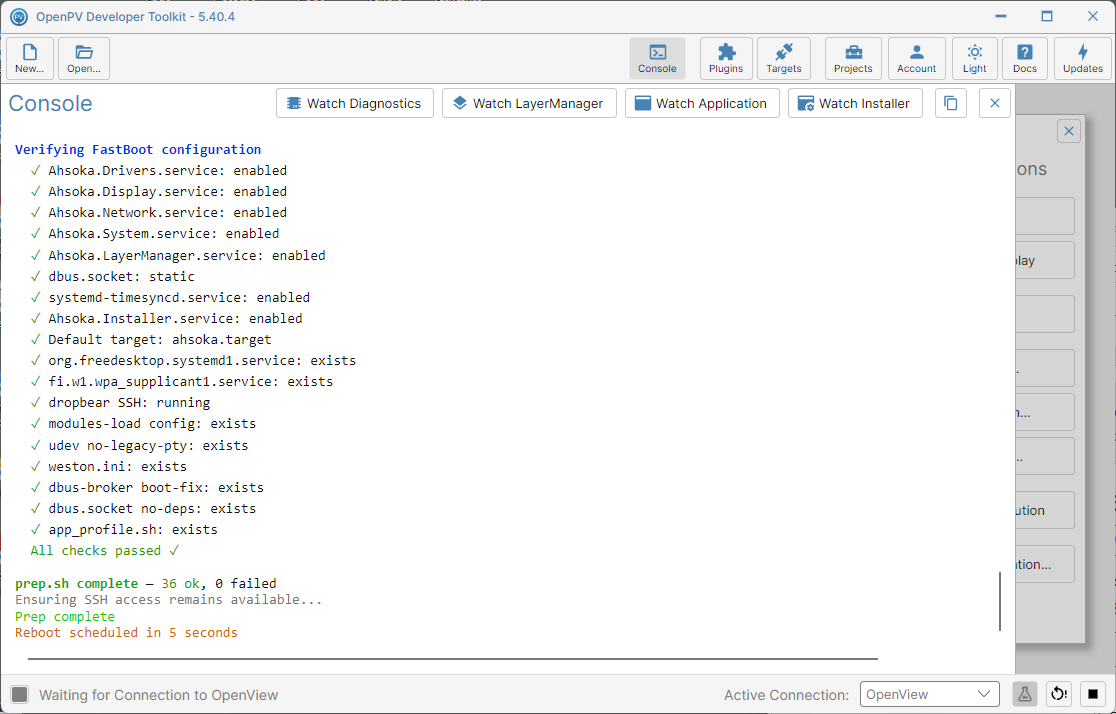
The Console panel's full Prep Target log
Enable RDP
-
Enable RDP... in Toolkit Actions turns on the target's Remote Desktop (RDP) service so you can connect to it with a standard Remote Desktop client. Click Enable RDP... (highlighted).
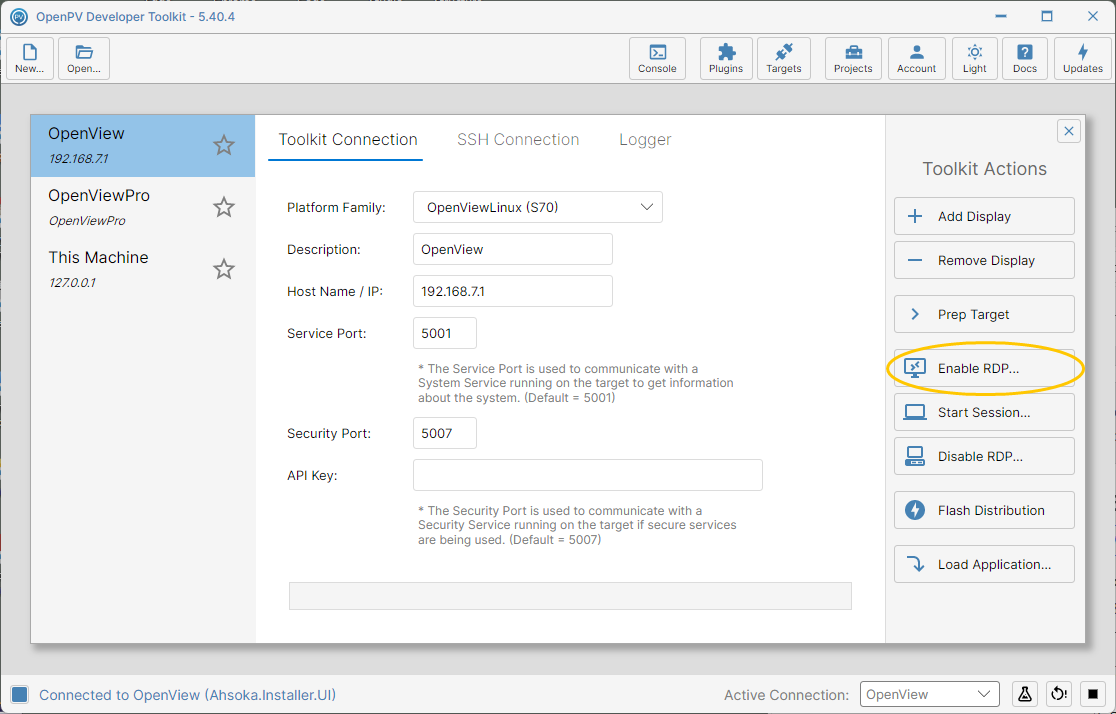
The Enable RDP button in Toolkit Actions -
A confirmation dialog explains what it does. Click Yes to continue.
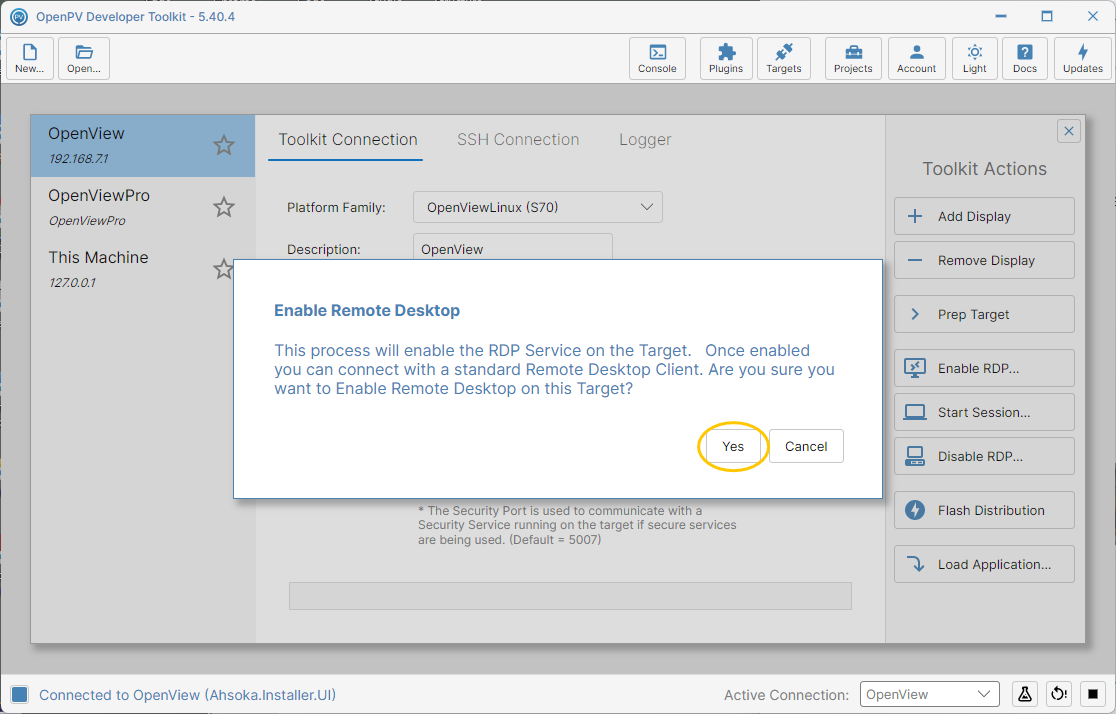
The Enable RDP confirmation dialog -
The app switches to Console to show progress — generating a device certificate for RDP.
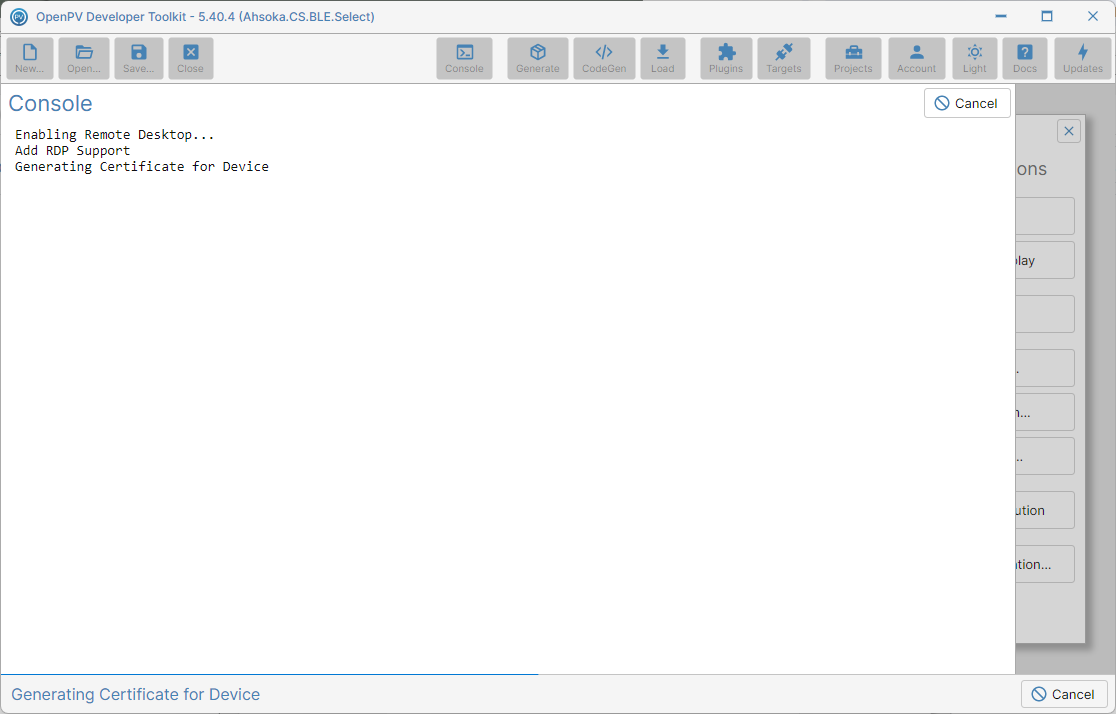
The Console panel while Enable RDP generates a device certificate -
It then returns to the Targets panel on its own once that step starts; the display drops its connected status while the process finishes. Click Console to see the full log.
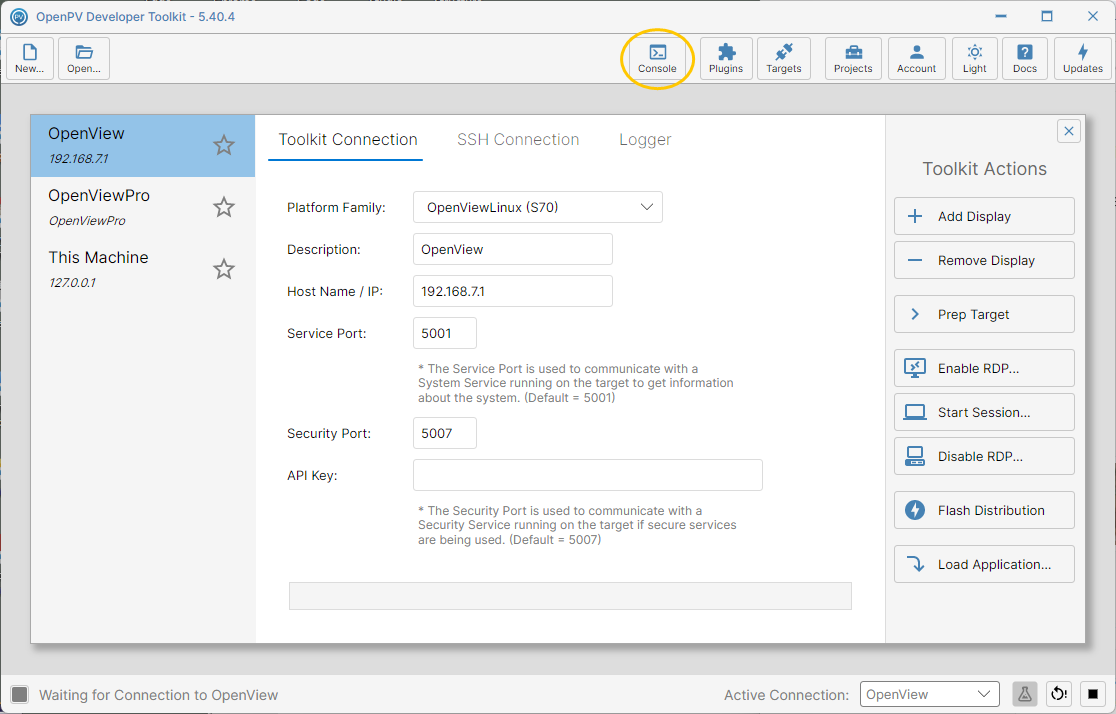
Back on the Targets panel — the display shows Waiting for Connection while RDP finishes enabling -
A successful run generates a device certificate, then reports Modifying Display Configuration and Rebooting Display — enabling RDP reboots the target, so wait for it to reconnect before continuing.
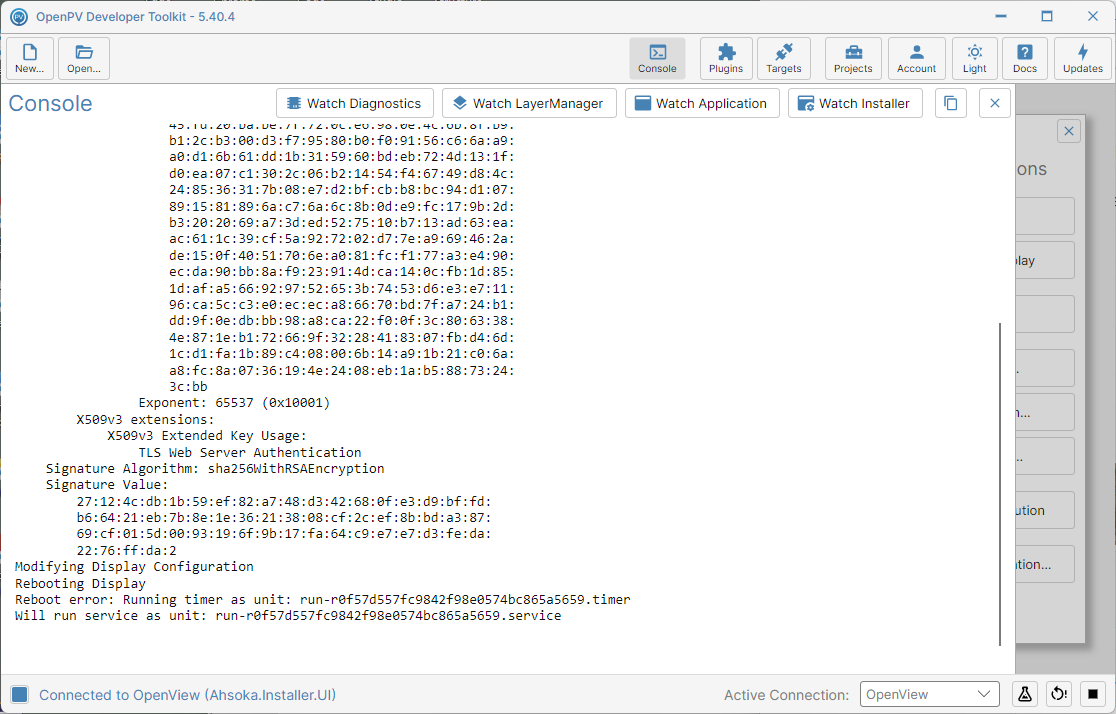
The Console log after Enable RDP — certificate generated, display configured and rebooted
Start Session
-
Once RDP is enabled on the target, Start Session... opens a Remote Desktop connection to it. Click it.
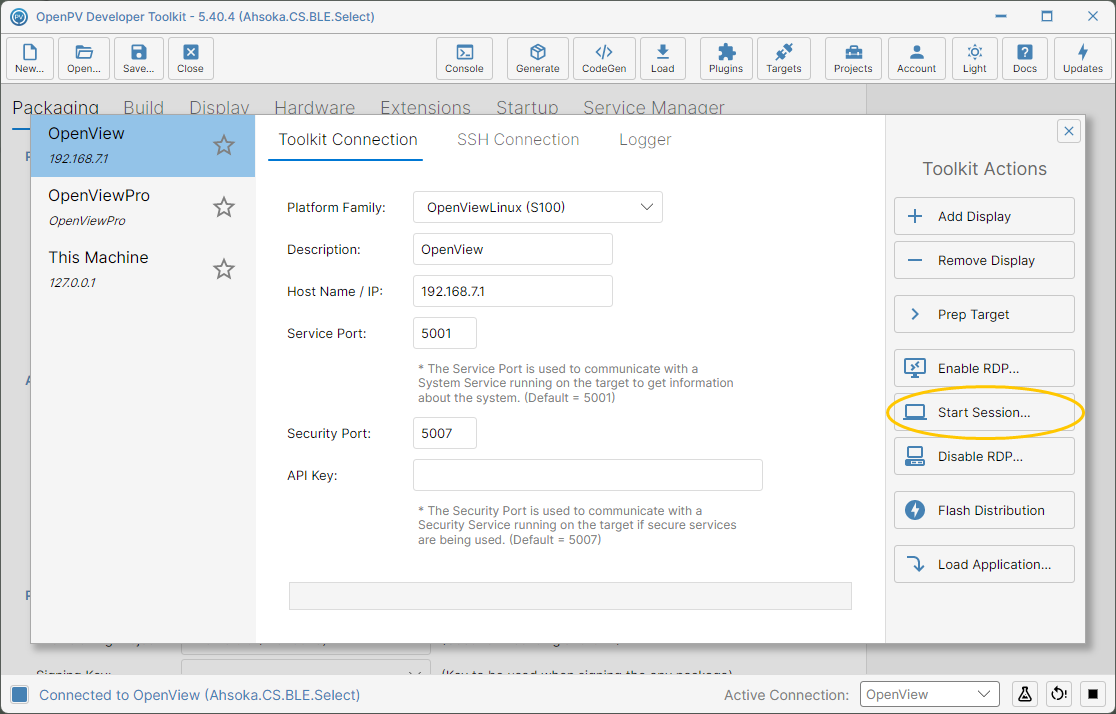
The Start Session button in Toolkit Actions -
The app immediately shows its own Session Started dialog, while Windows' own Remote Desktop Connection client opens separately and asks whether you trust the connection. That trust prompt is a real Windows dialog, not part of the toolkit. Click Connect.
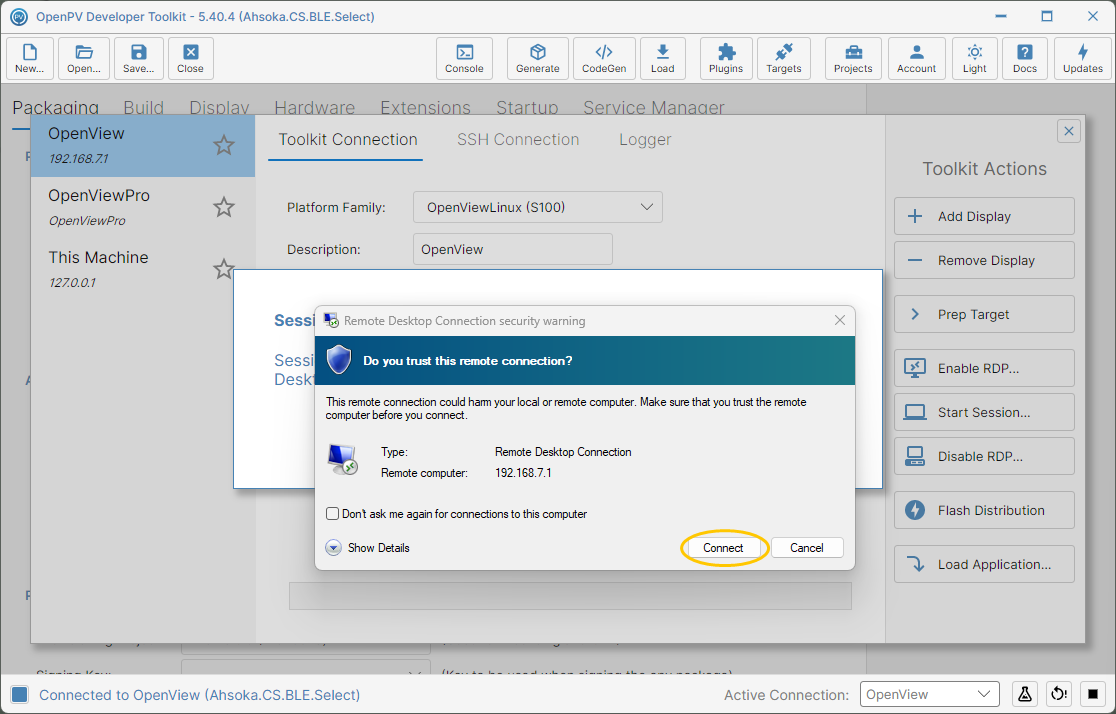
The Windows Remote Desktop trust prompt, alongside the app's own Session Started dialog -
Remote Desktop then warns that the identity of the remote computer cannot be verified — this is expected, since Enable RDP gives the display its own self-signed certificate rather than one from a trusted authority. Check that the requested remote computer is your display's IP address, then click Yes.
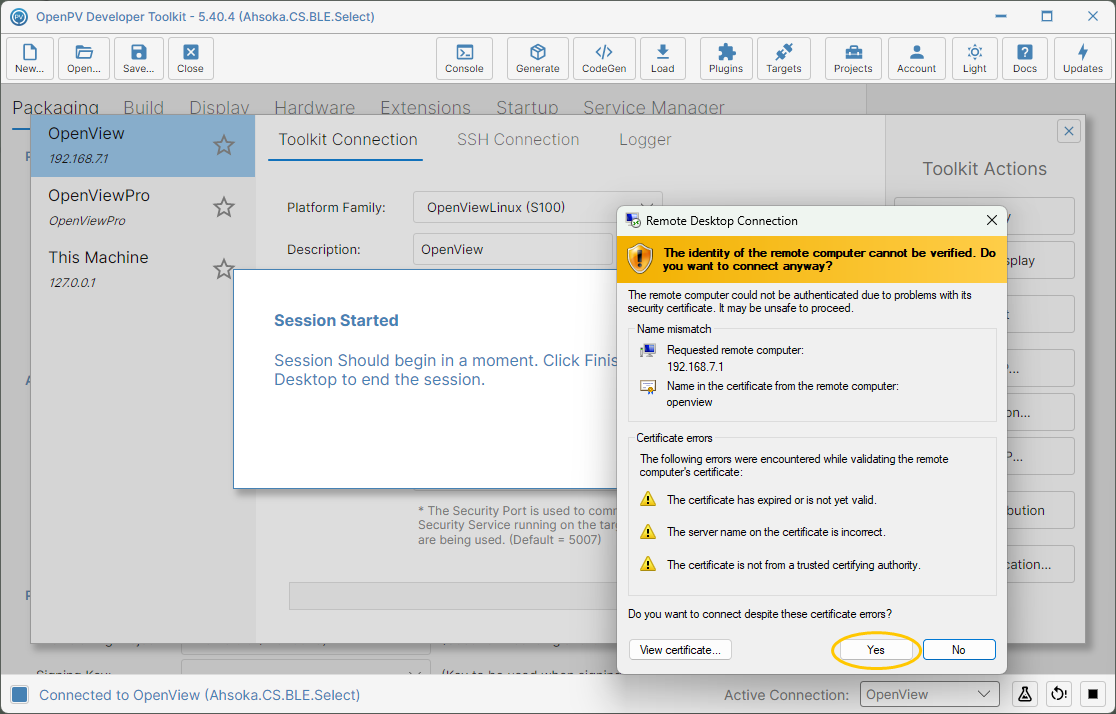
Remote Desktop's certificate warning for the display's self-signed certificate -
Remote Desktop connects and opens full-screen, showing whatever is running on the display — here, the Ahsoka.CS.BLE.Select demo project's own UI. The bar at the top shows the display's IP address, with buttons to minimize, restore, or close the session.
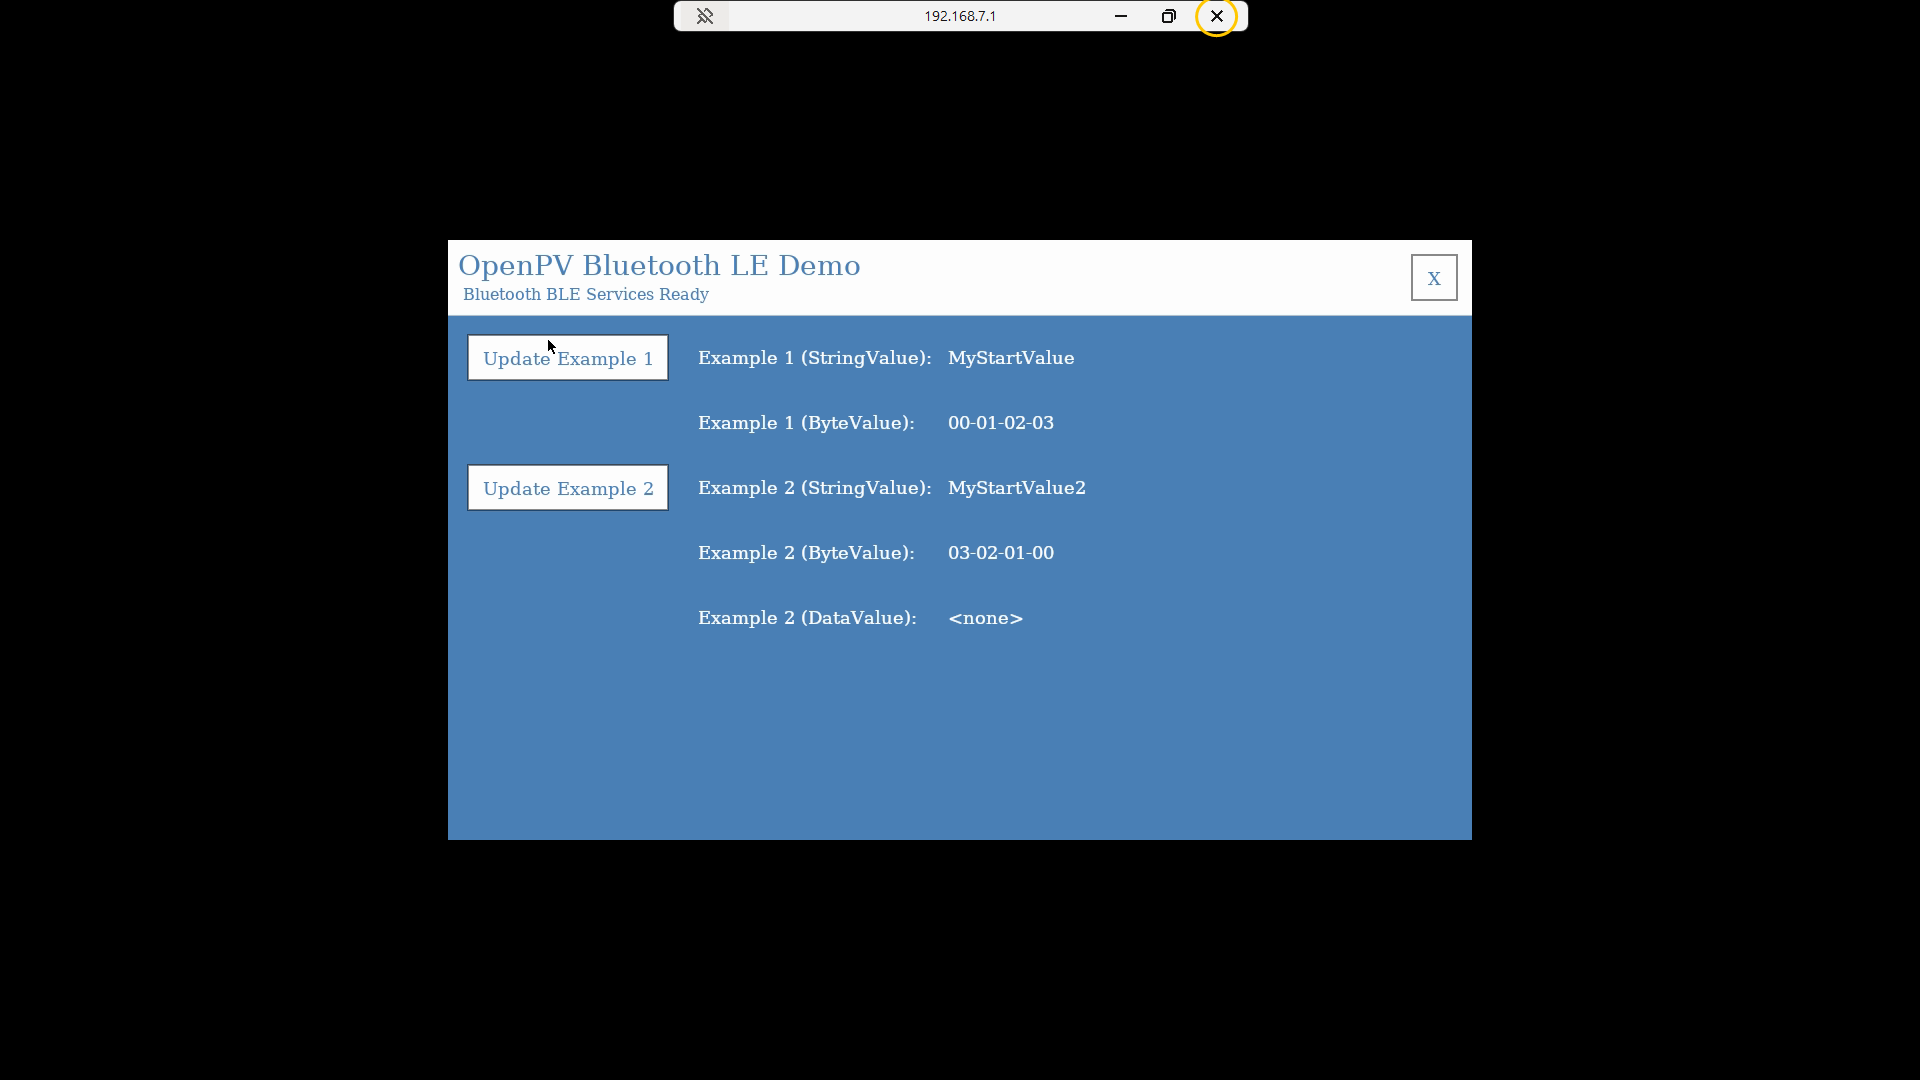
The display's screen in a full-screen Remote Desktop window -
When you're done, close the Remote Desktop window with the X on that bar — it closes right away, without asking. The app's own Session Started dialog is still open behind it.
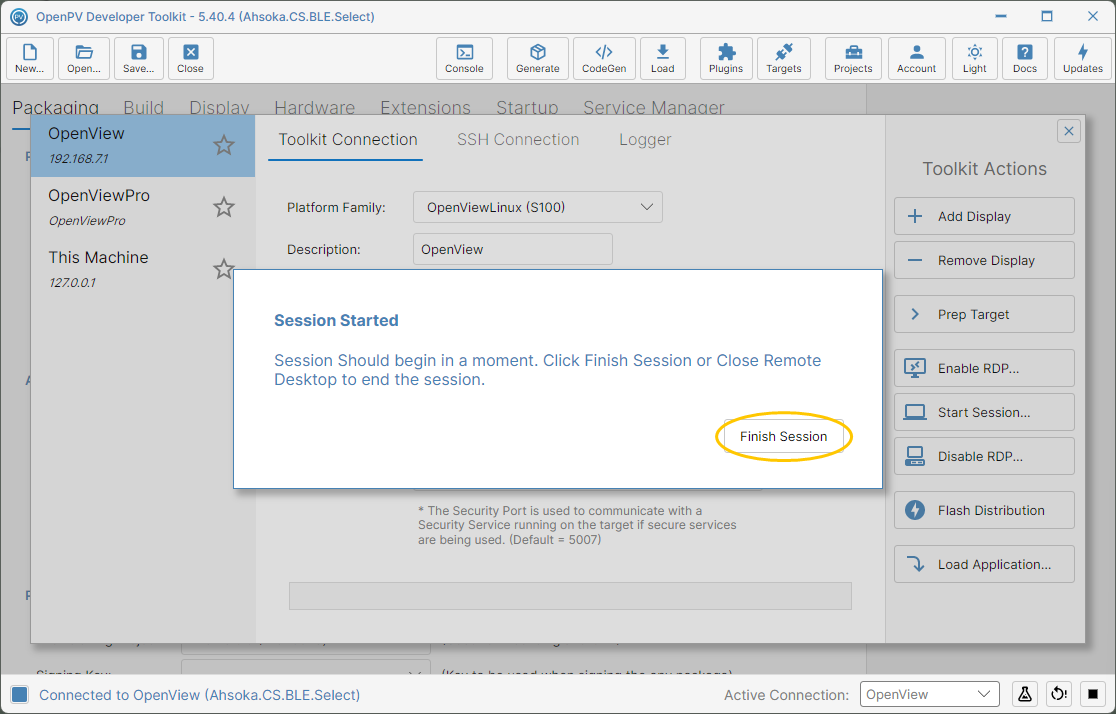
The app's Session Started dialog, with its Finish Session button -
Click Finish Session to close out and return to the Targets panel.
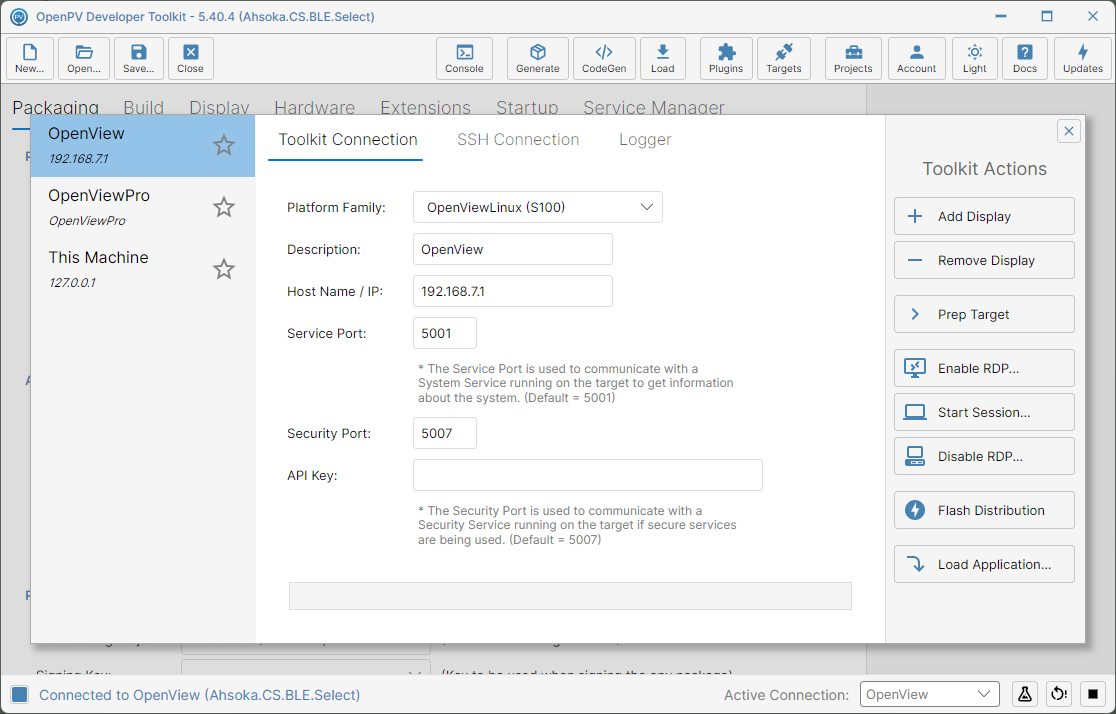
Back on the Targets panel after closing out
Disable RDP
-
Disable RDP... reverses Enable RDP, turning the target's Remote Desktop service back off. Click it.
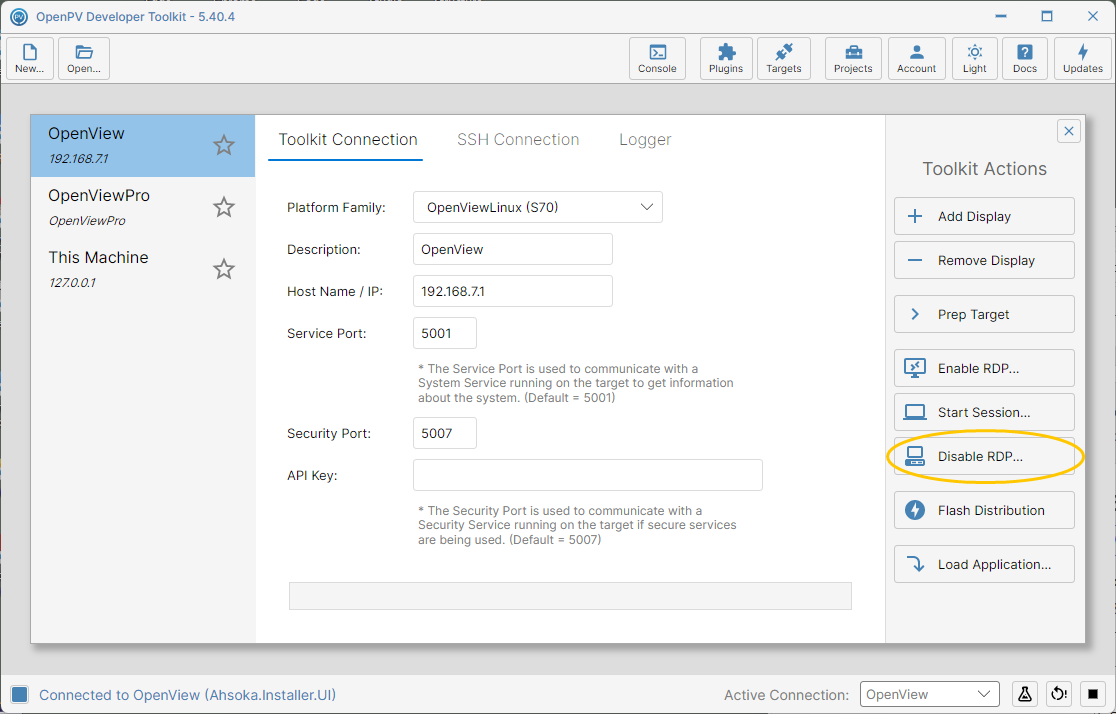
The Disable RDP button in Toolkit Actions -
A confirmation dialog asks you to confirm before continuing. Click Yes.
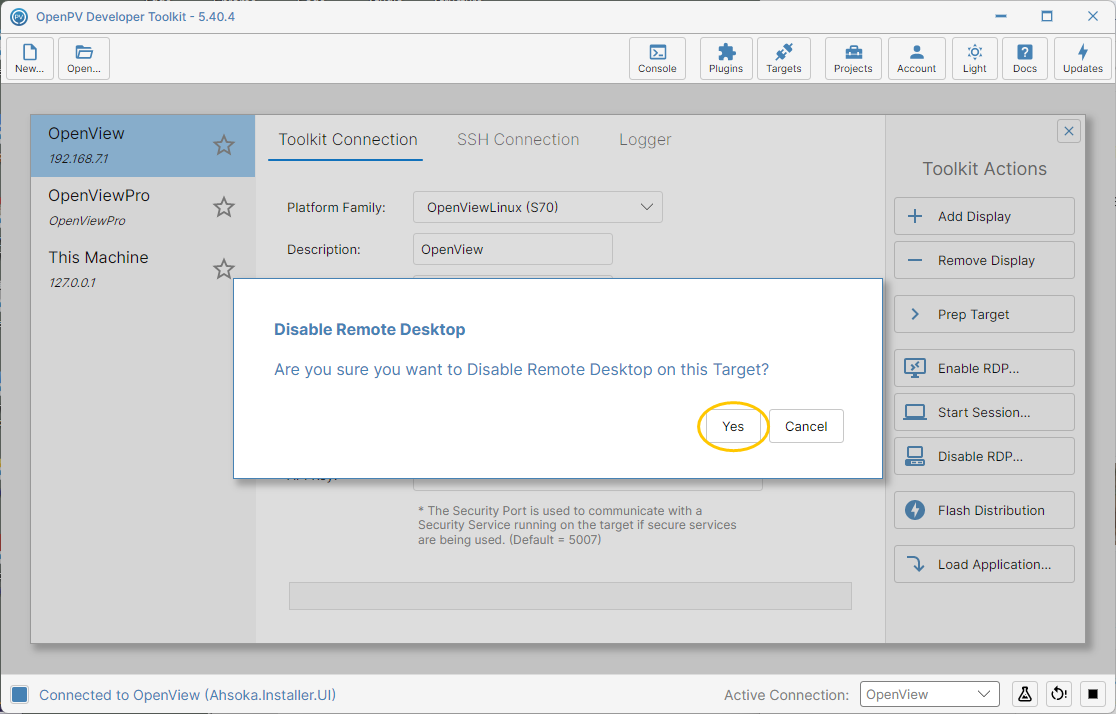
The Disable RDP confirmation dialog -
Unlike Enable RDP, there's no progress screen — the app returns to the Targets panel right away. Click Console to see what actually happened.
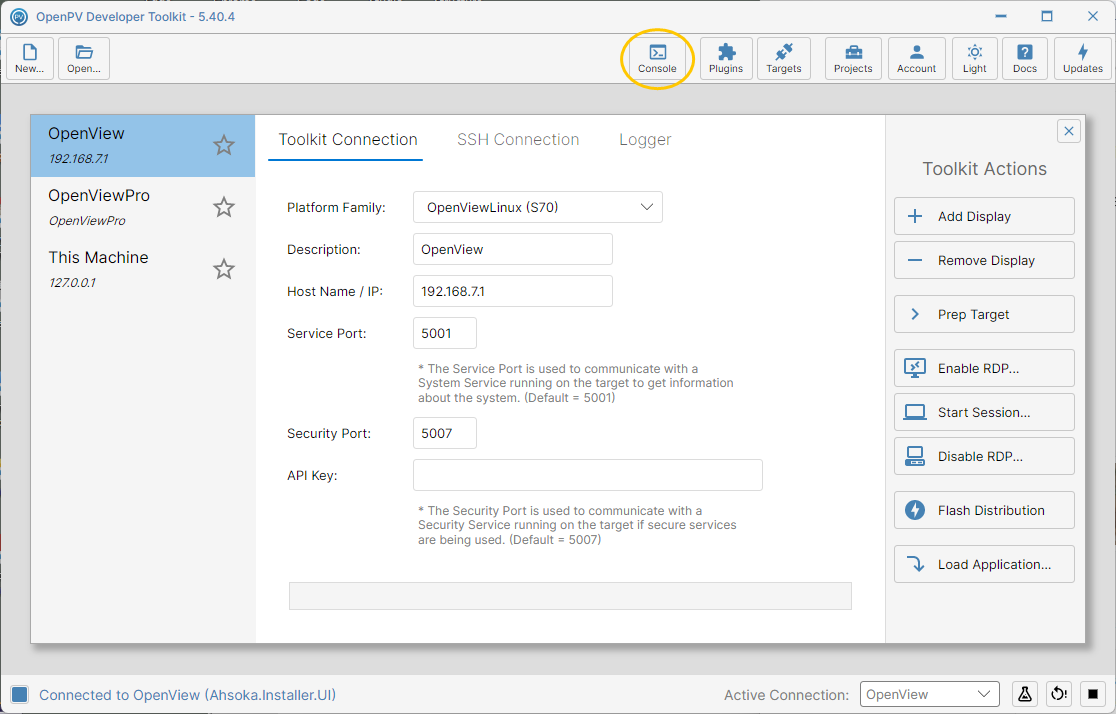
Back on the Targets panel immediately after confirming -
This one doesn't check whether RDP was ever installed — it unconditionally reports Removing Device Certificate, Modifying Display Configuration, and Rebooting Display, and the display drops its connected status while it restarts.
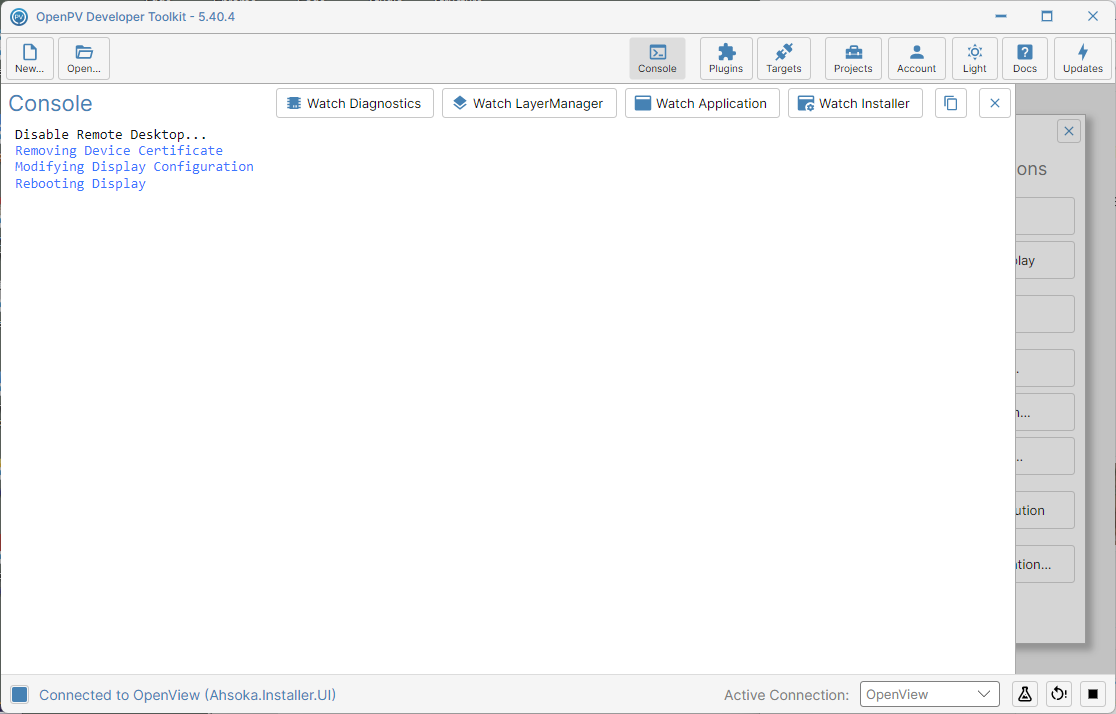
The Console log after Disable RDP — it ran and rebooted the device regardless
Load Application
-
Load Application... installs an .opv package straight onto the target, without going through Load To Target on the Packaging panel. Click Load Application....
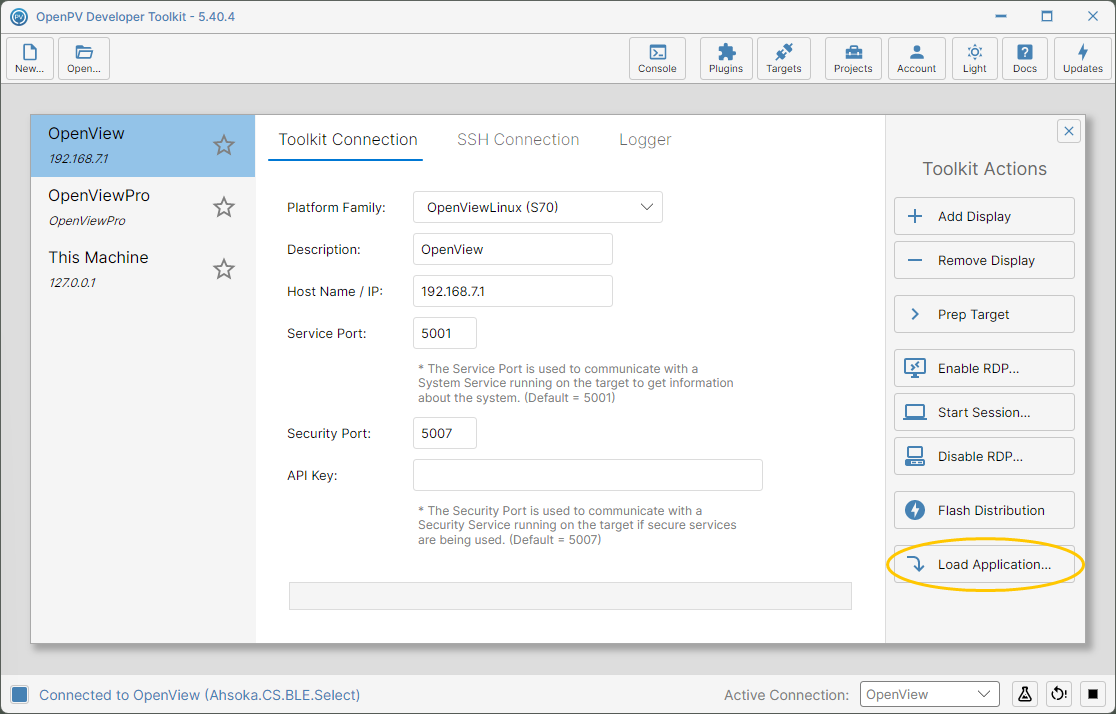
The Load Application button in Toolkit Actions -
If the display is already running an application, the app shows a Connection Error — No connection available or target is running an application currently. Click Ok.
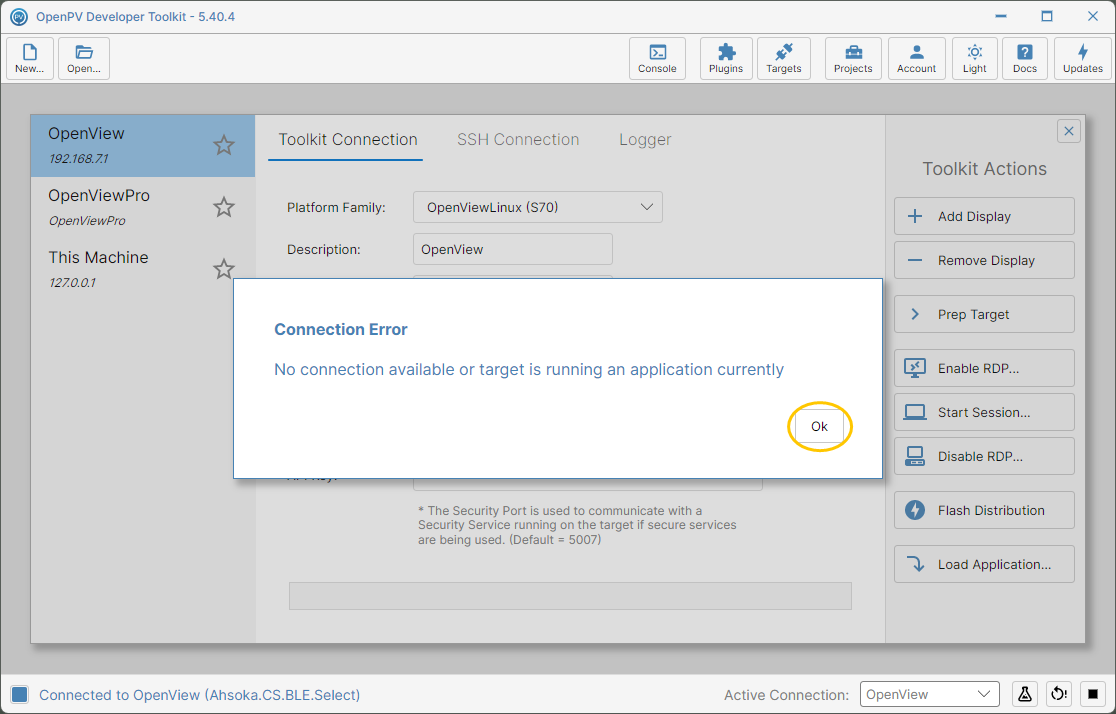
The Connection Error shown while an application is running on the display -
Stop the running application first: click the Stop Application icon (the square) at the bottom right.
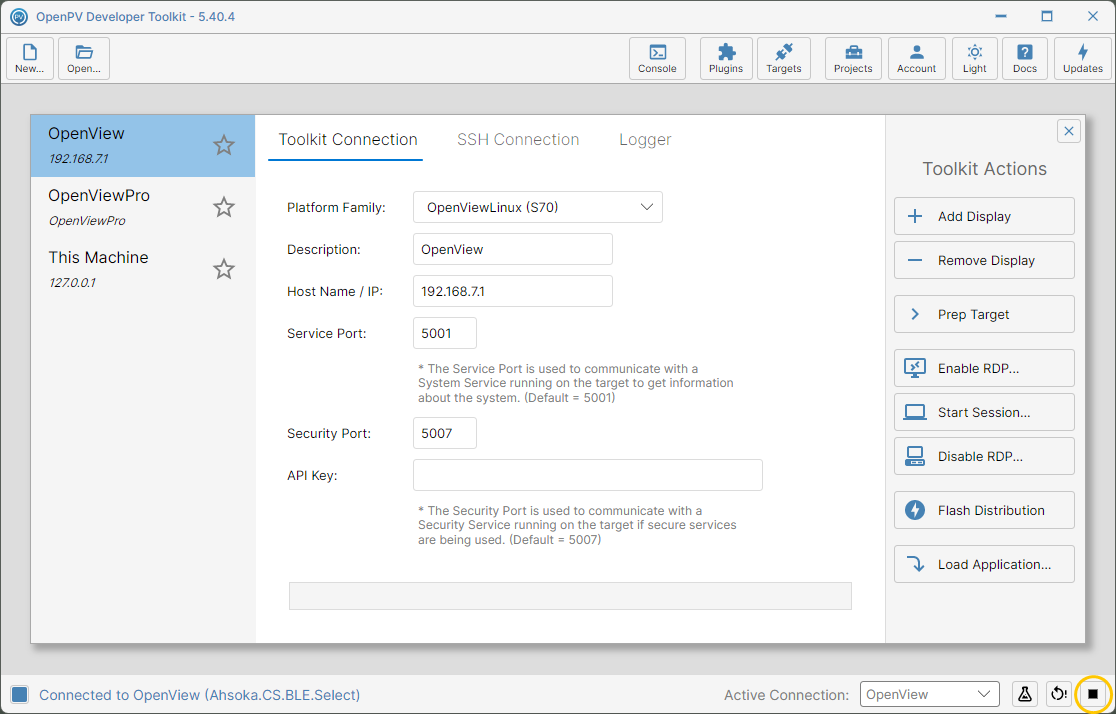
The Stop Application icon in the status bar -
There's no confirmation — the application stops right away, and the status shows Waiting for Connection while the display returns to its installer. Click Console to confirm.
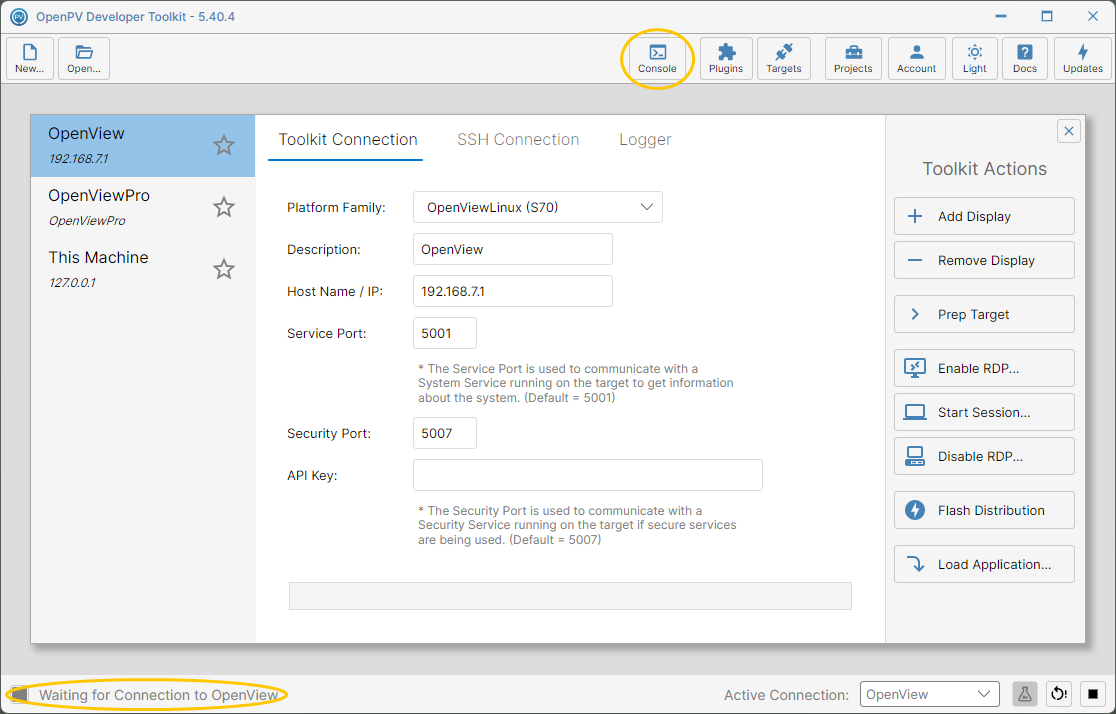
The Targets panel right after stopping the application -
The Console shows Stop Application Sent, and the status bar now shows the display connected to its installer (Ahsoka.Installer.UI). Close the Console with its X to return to the Targets panel.
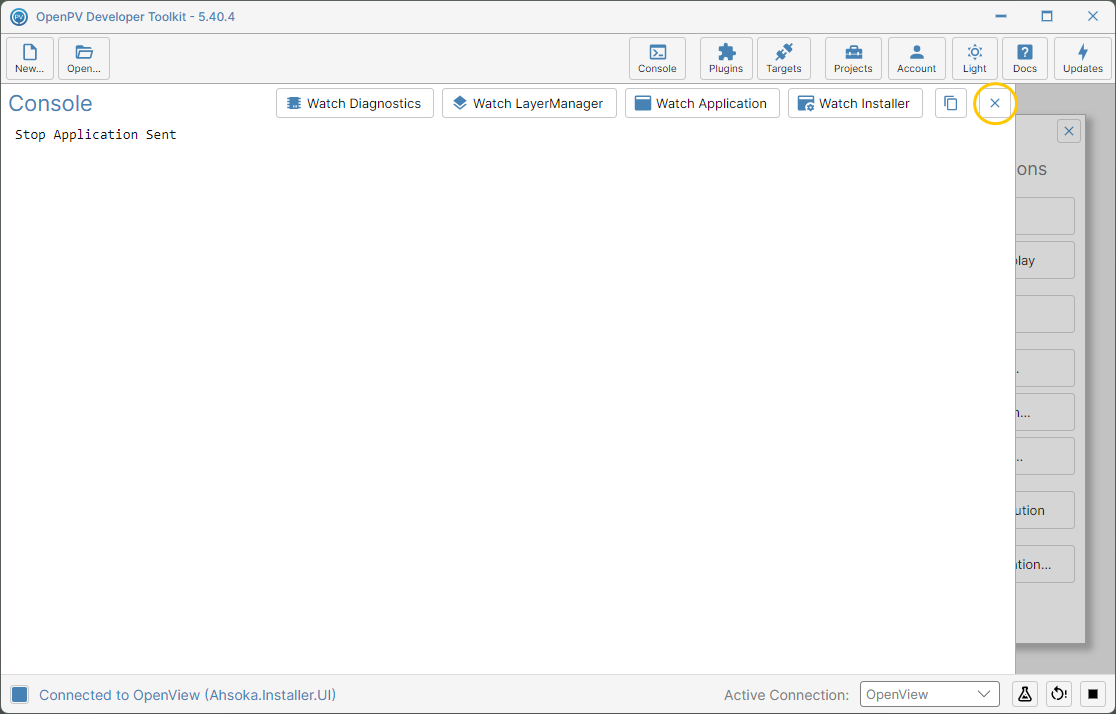
The Console after stopping the application -
Click Load Application... again.
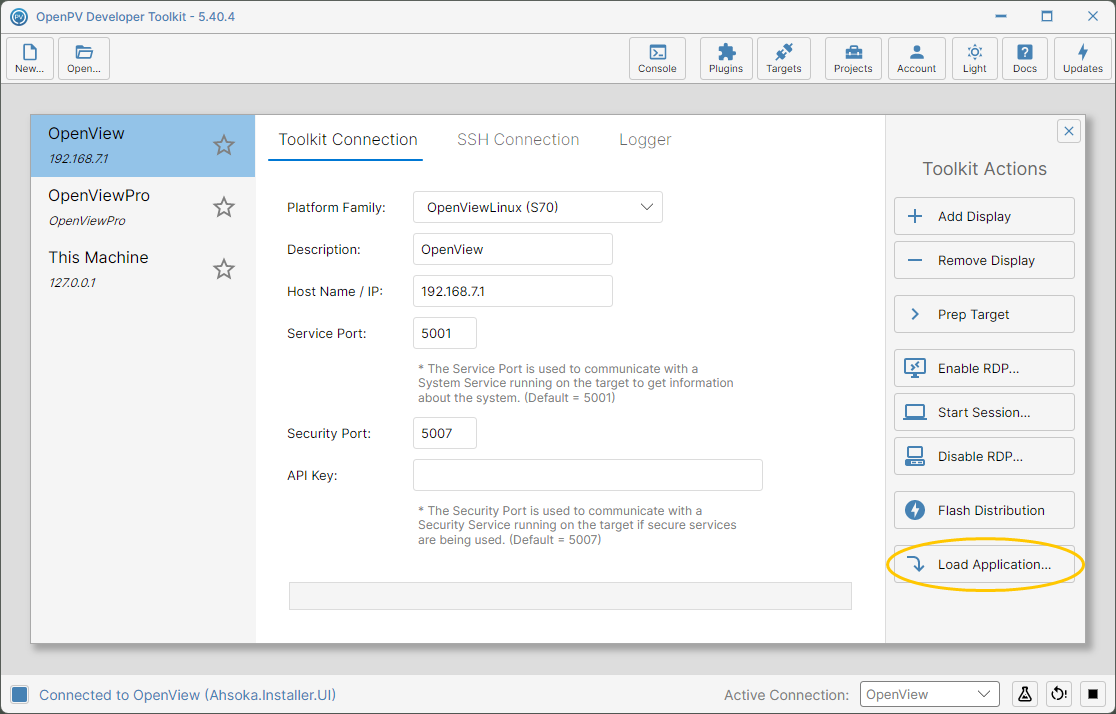
Back on the Targets panel, with the display connected to its installer -
This time a Pick Application File dialog opens, filtered to
.opvfiles. Navigate to your PackageOutput folder — where Generate Package writes packages — and double-click it.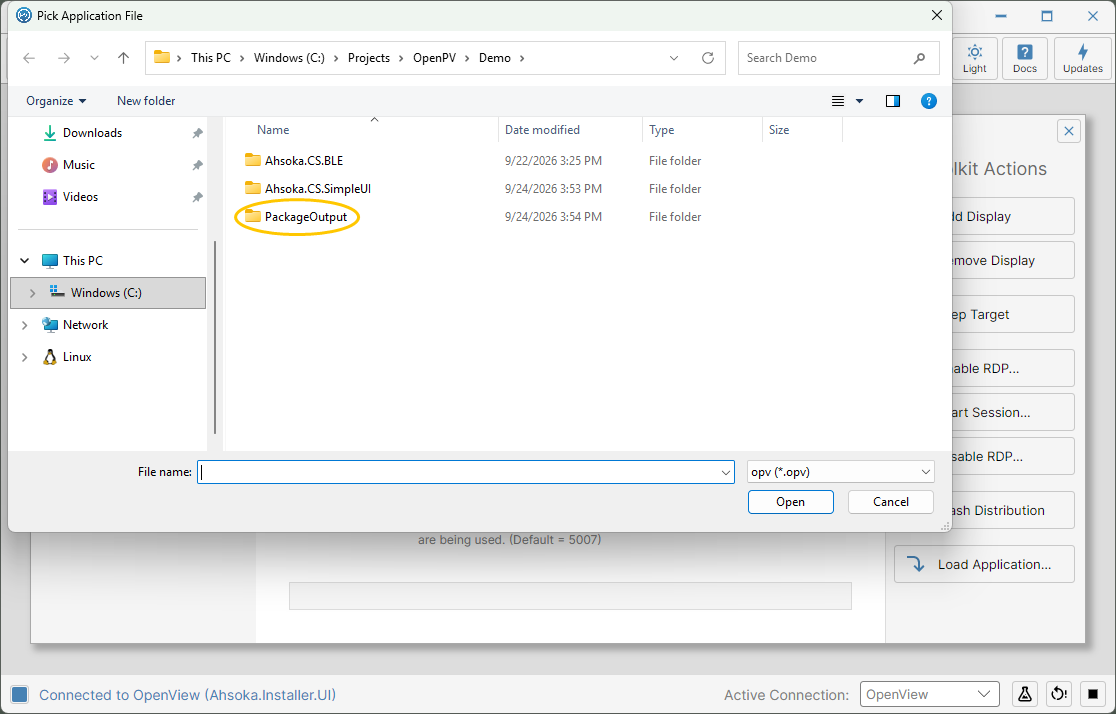
The Pick Application File dialog, filtered to .opv packages -
Select the package to install — here, Ahsoka.CS.SimpleUI.Select.opv.
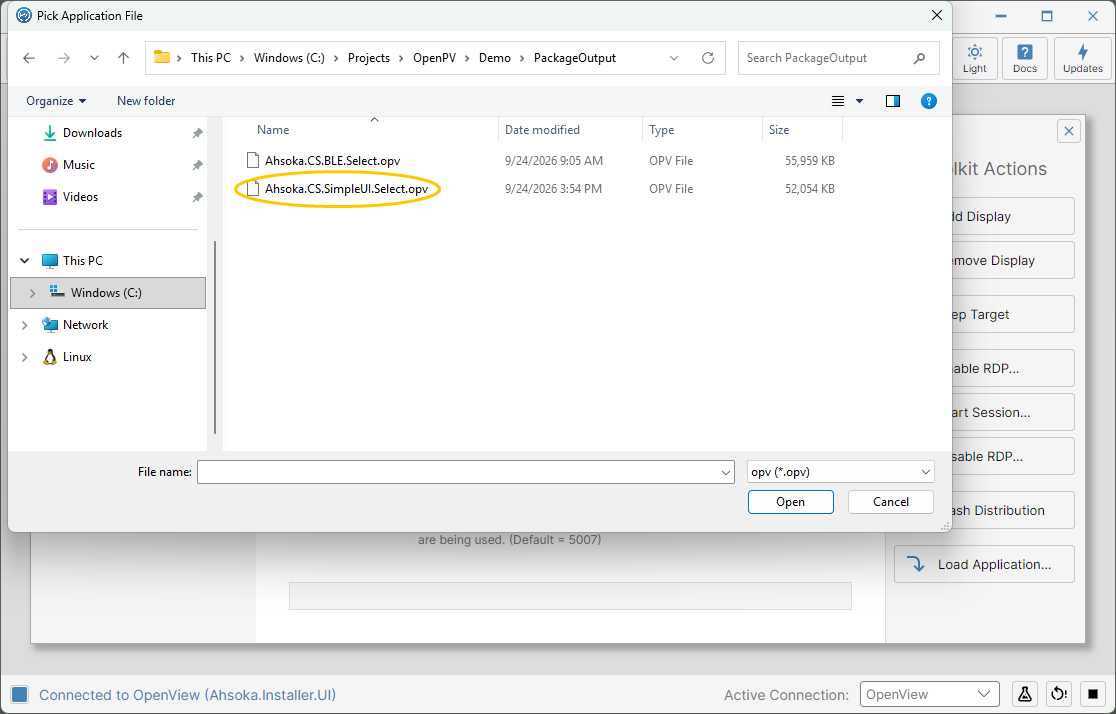
The packages in the PackageOutput folder -
Click Open. The install starts right away — there's no separate confirmation.
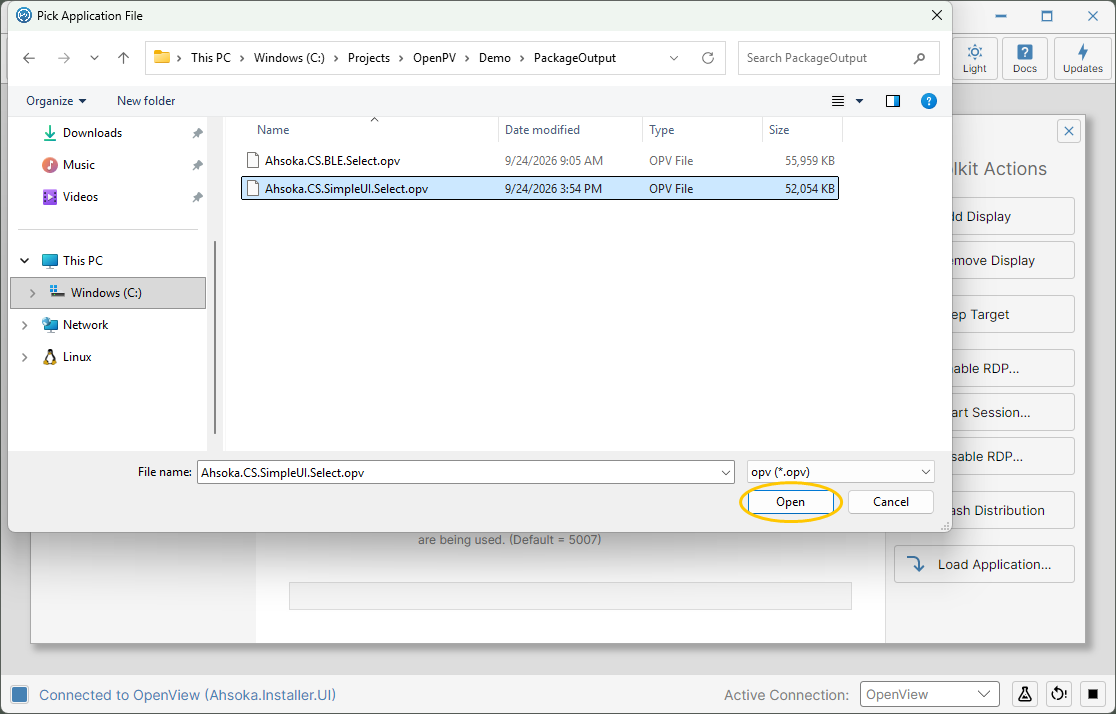
The SimpleUI package selected, ready to open -
When the install finishes, the status bar shows the new application running — here, Ahsoka.CS.SimpleUI.Select. Click Console to see the log.
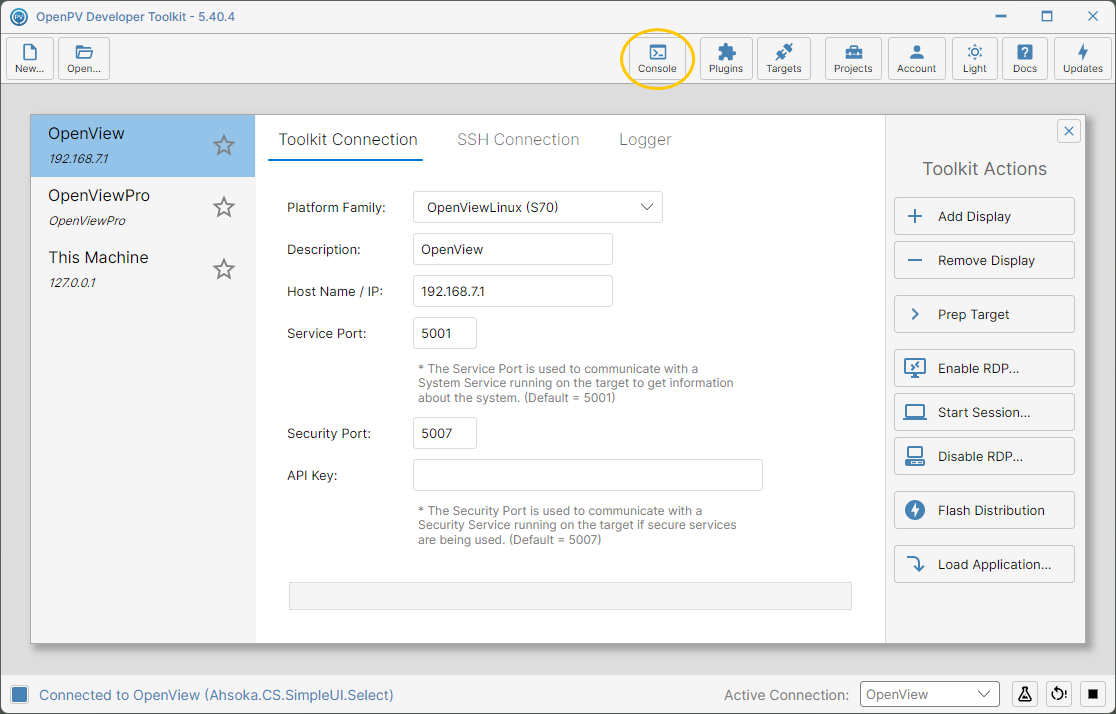
The Targets panel after the install, with the new application running -
The log ends with Finished File Transfer for File:autoload.opv with Result:Success and Package Load Completed — confirmation the load worked.
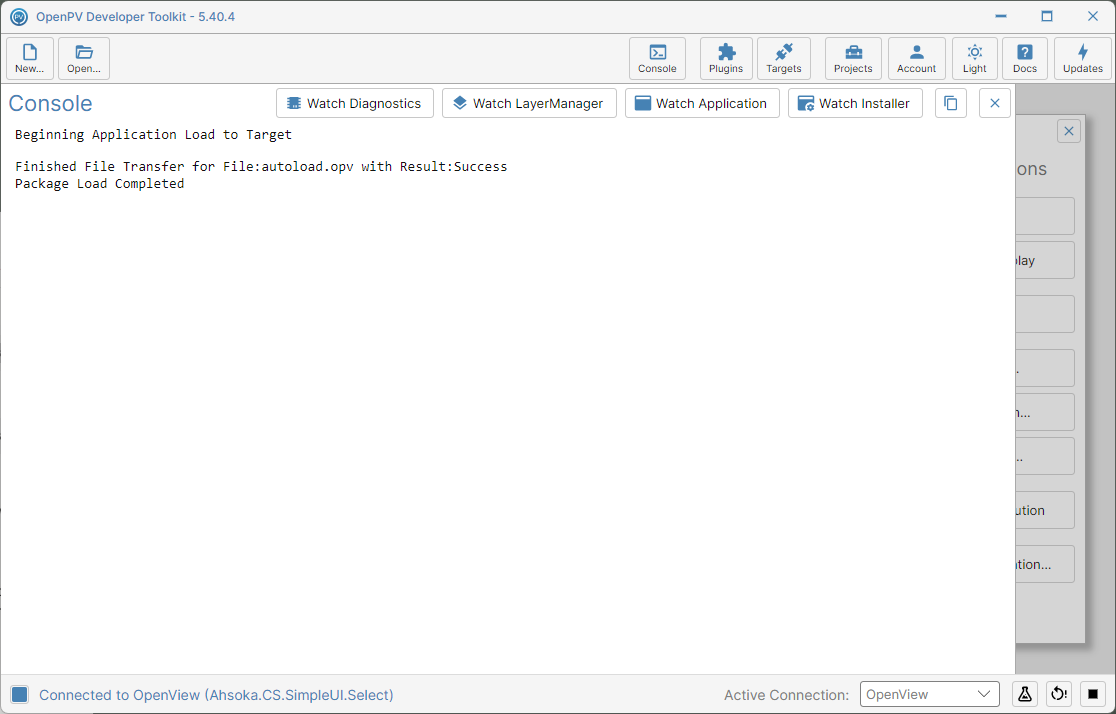
The Console log after a successful Load Application -
The display itself now shows the installed application — here, the Simple UI Demo's own screen, confirming the package is actually running on the target and not just reported as loaded in the console log.
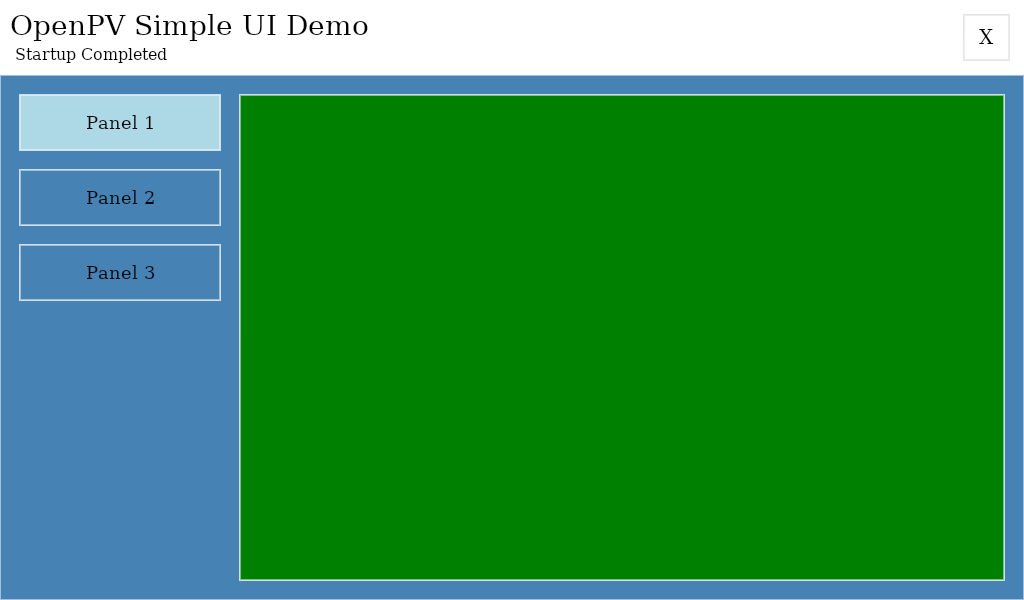
The Simple UI Demo running on the physical display after a successful Load Application