Actions
Utilities Projects Requires: internet connection
Create, rename, remove, and refresh your team's online projects.
The Actions list on the right side of the Projects panel offers five actions for the currently selected project: Create Project, Rename Project, Remove Project, Refresh Project, and Show History.
Create Project
-
The Projects panel with no project yet — shows None, and every action except Create Project... is grayed out. Click Create Project... in the Actions list on the right.
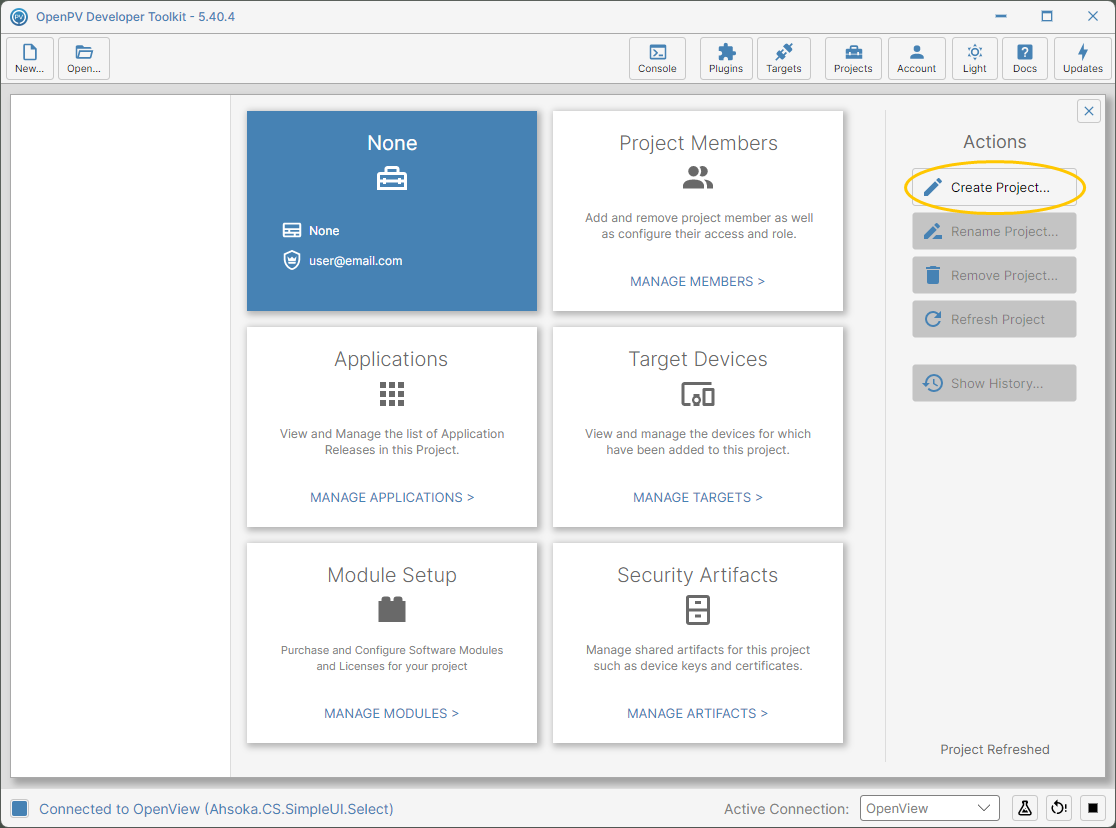
The Projects panel with no project selected -
A dialog opens for you to name it — project names can only be changed later by the project's owner (see Rename Project below).
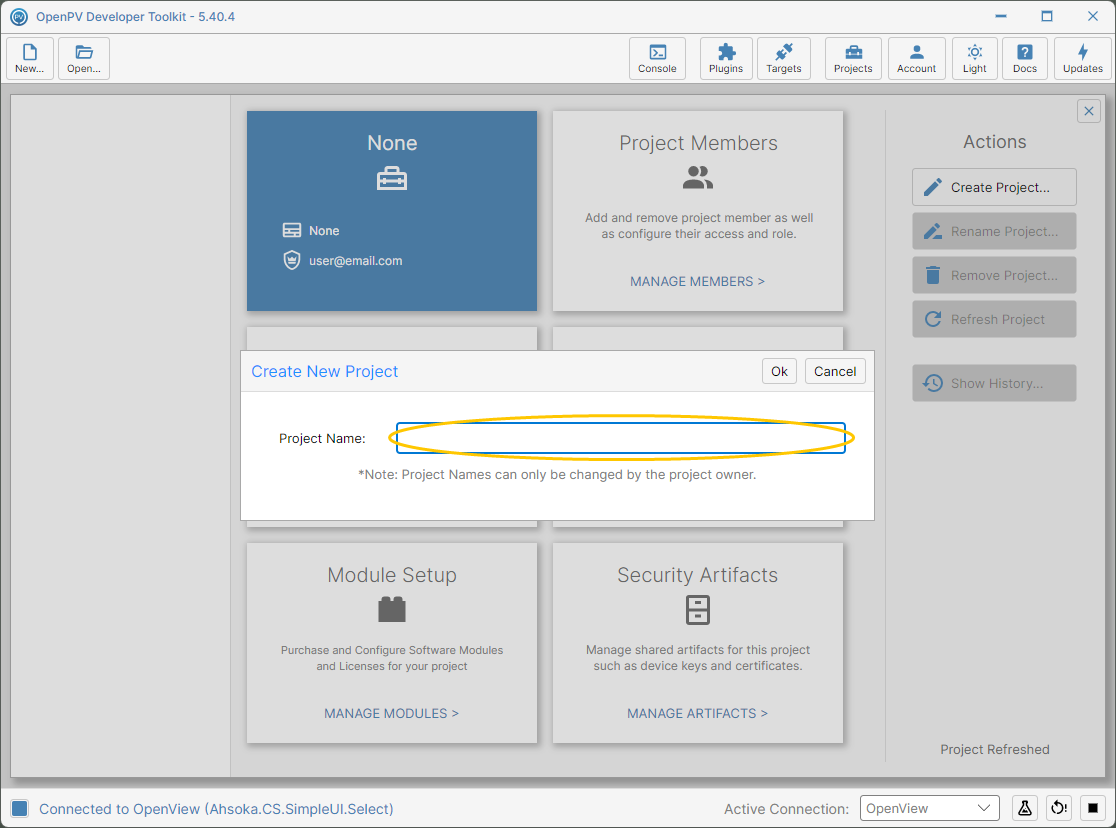
Naming a new project -
Type a name — here, Demo — then click Ok.
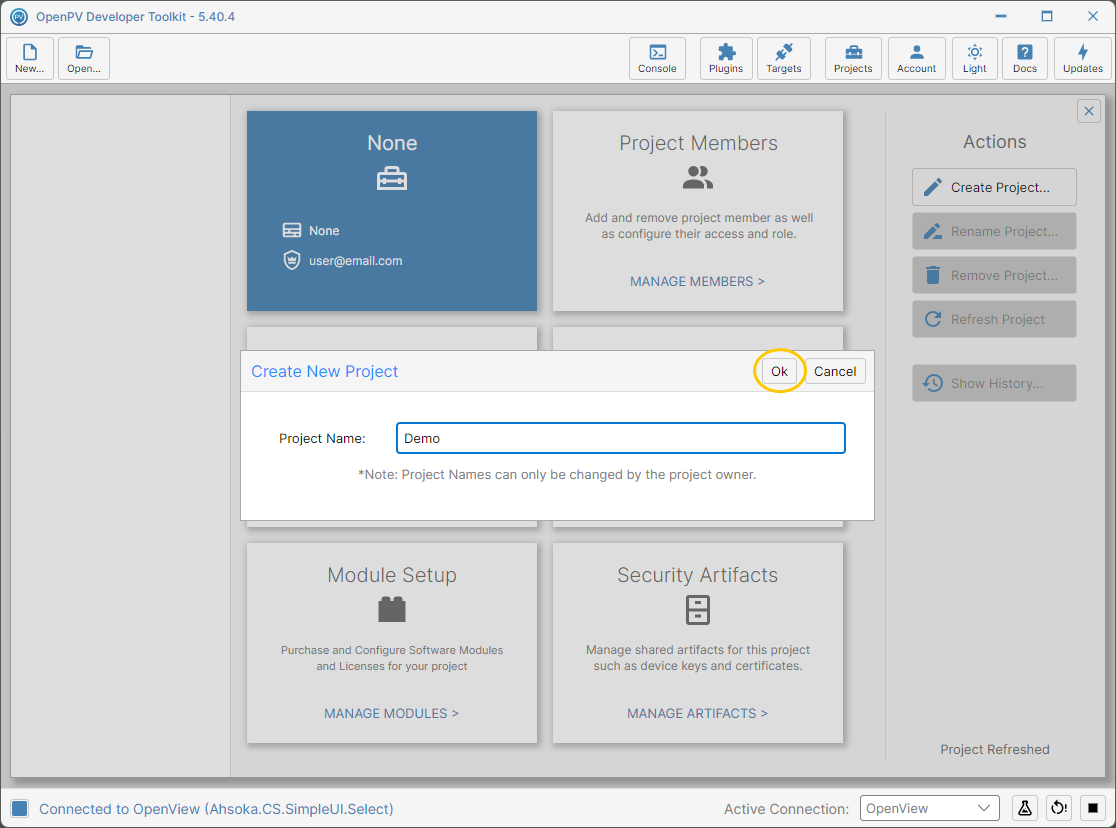
The project name "Demo" entered -
A confirmation appears once your project is ready. Click Ok to dismiss it.
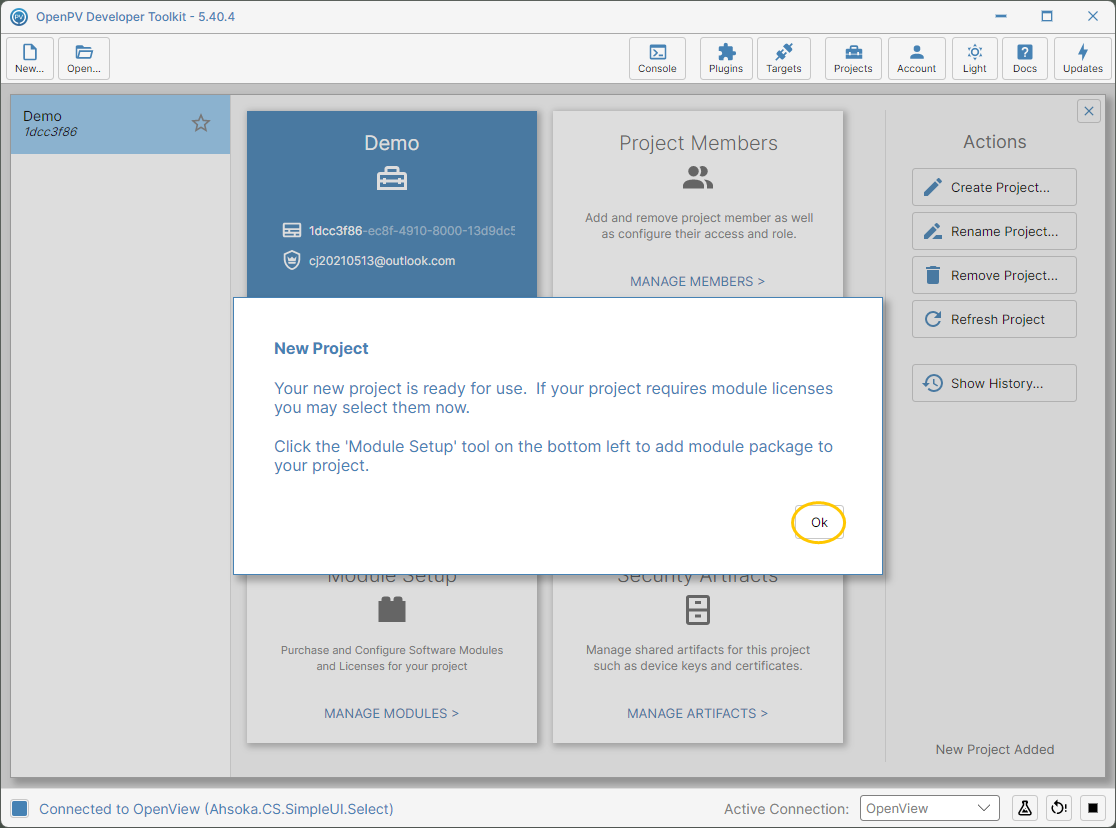
The new project confirmed -
Your new project is now selected, ready for you to add members, applications, and target devices to, set up modules, and manage security artifacts.
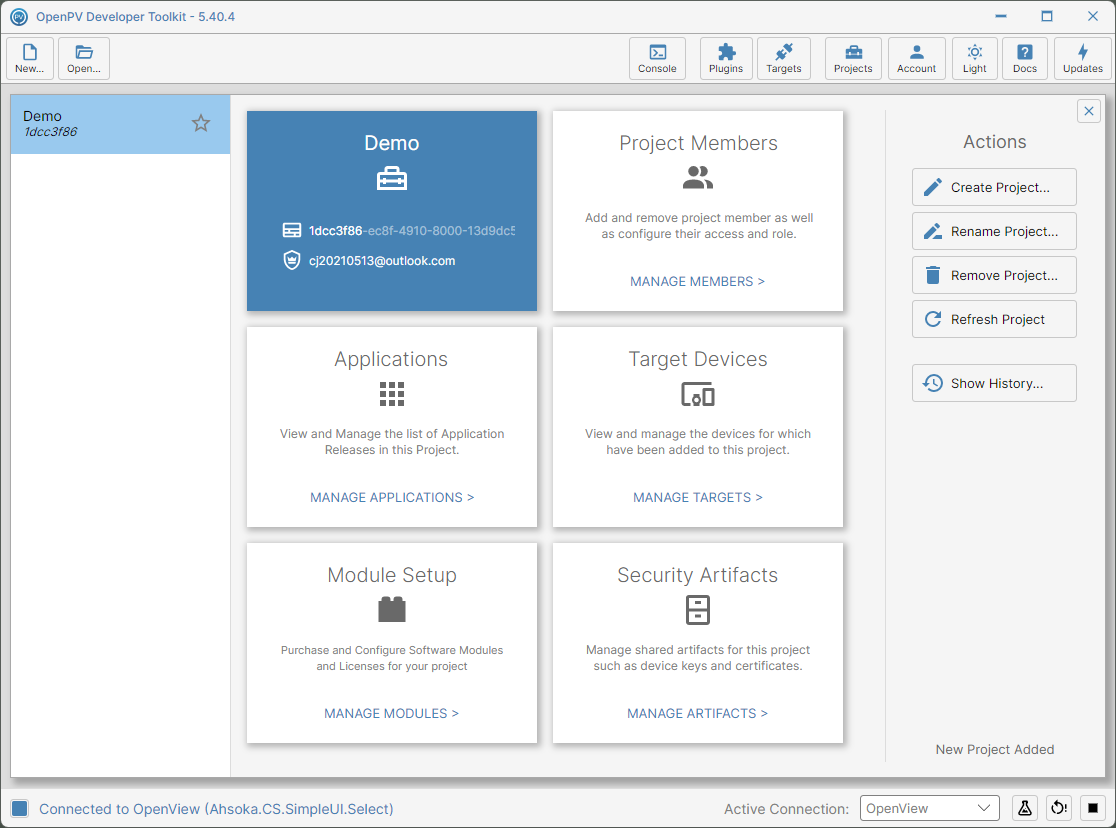
The finished project, selected and ready
Rename Project and Refresh Project
-
Click Rename Project... in the Actions list on the right. Since this affects every device and group in the project, a confirmation dialog opens first, asking you to type the project's current name to verify. The field starts out pre-filled with RENAME as a placeholder — that text won't verify on its own, so you'll need to clear it.
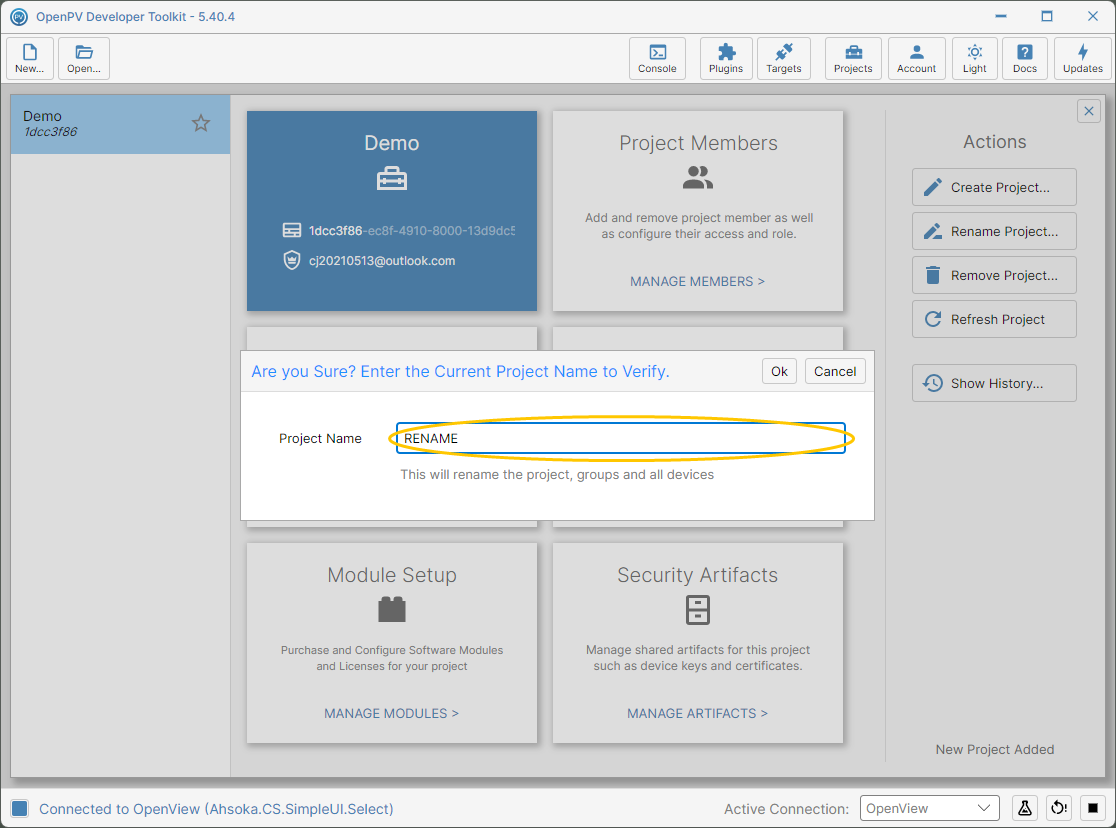
Confirming the rename by typing the current project name -
Clear the field and type the project's current name — here, Demo — then click Ok.
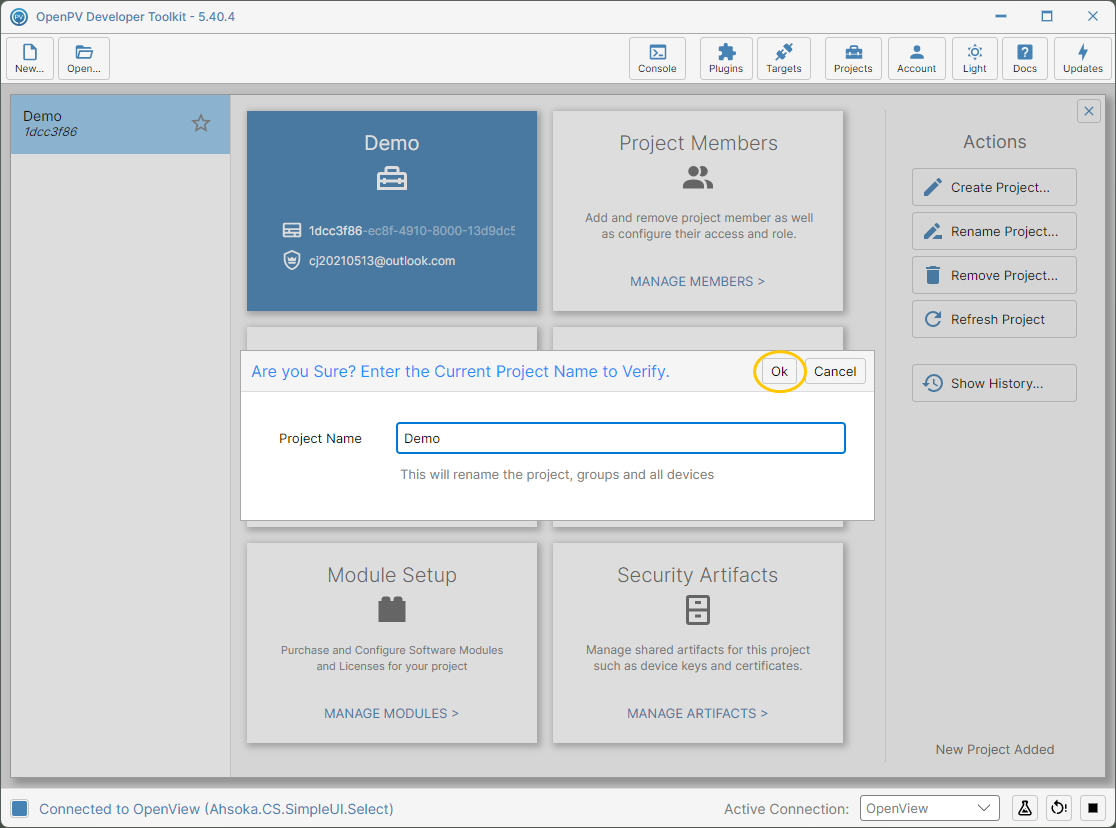
The current project name entered to verify -
A second dialog opens for you to enter the new name. It's also pre-filled with RENAME, so clear it first.
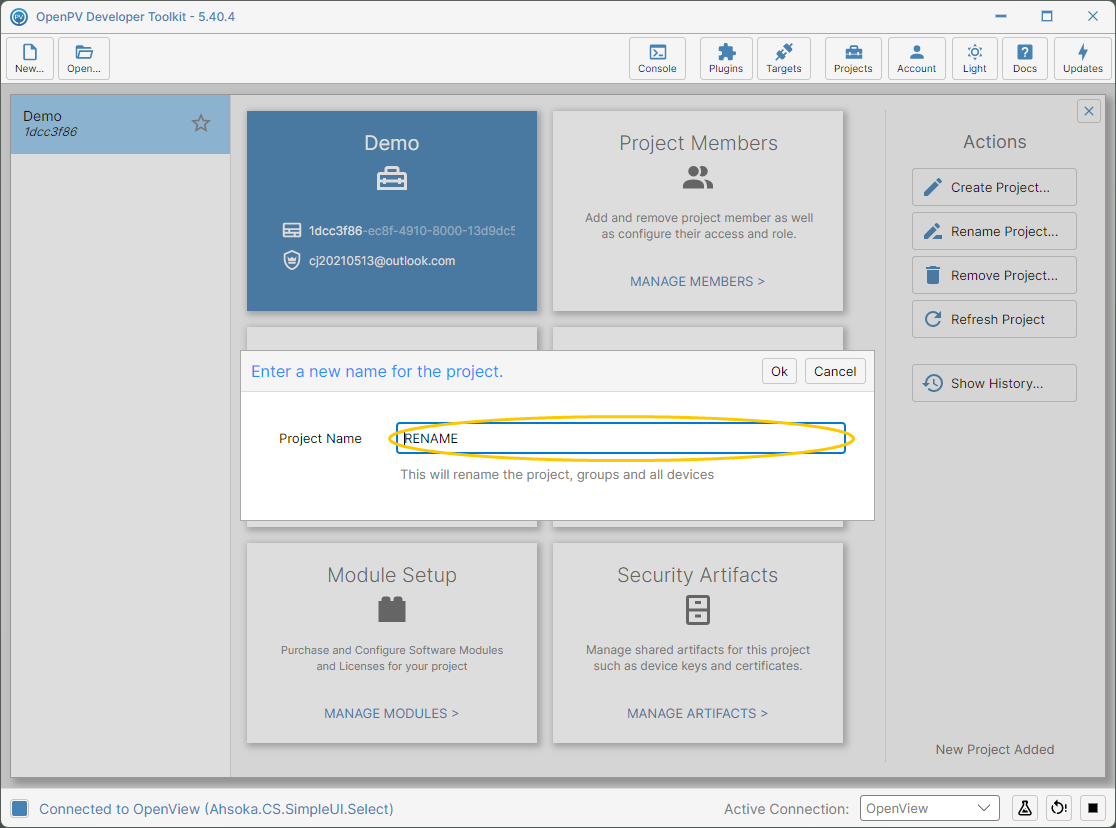
The new-name dialog -
Clear the field, type the new name — here, Demo 5.0 — then click Ok.
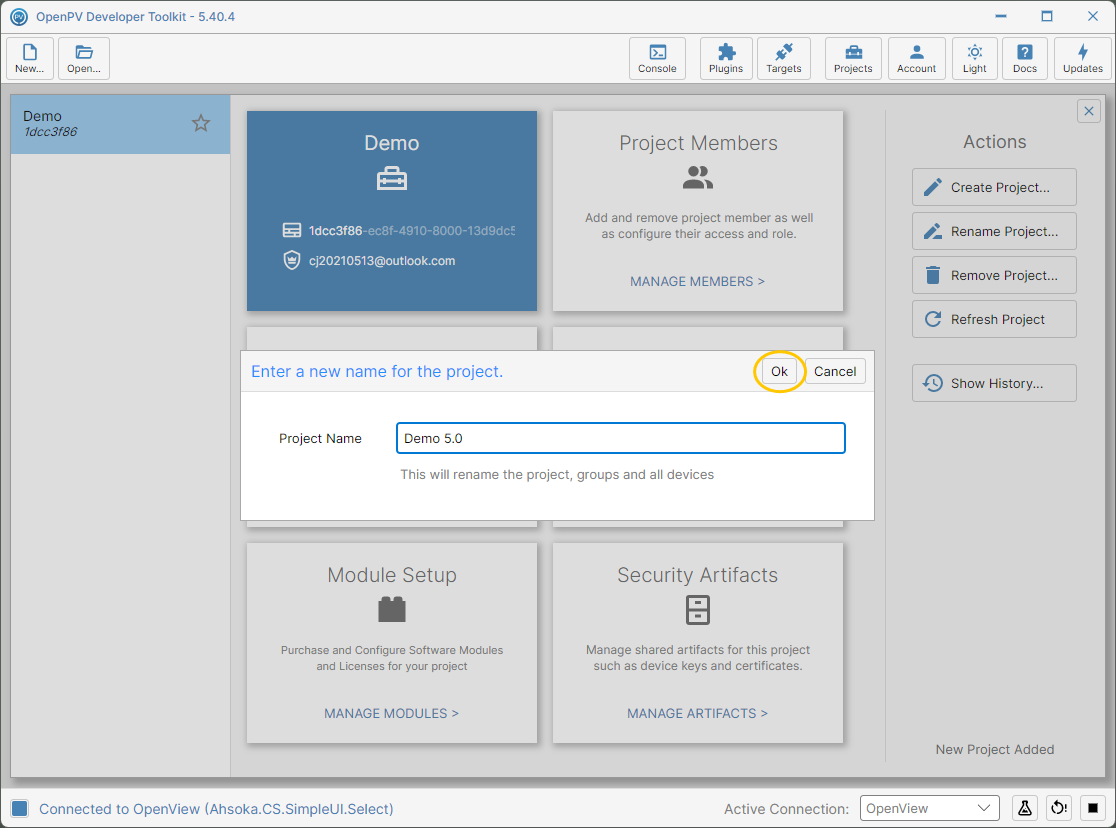
The new project name entered -
The project card and the project list update to the new name straight away.
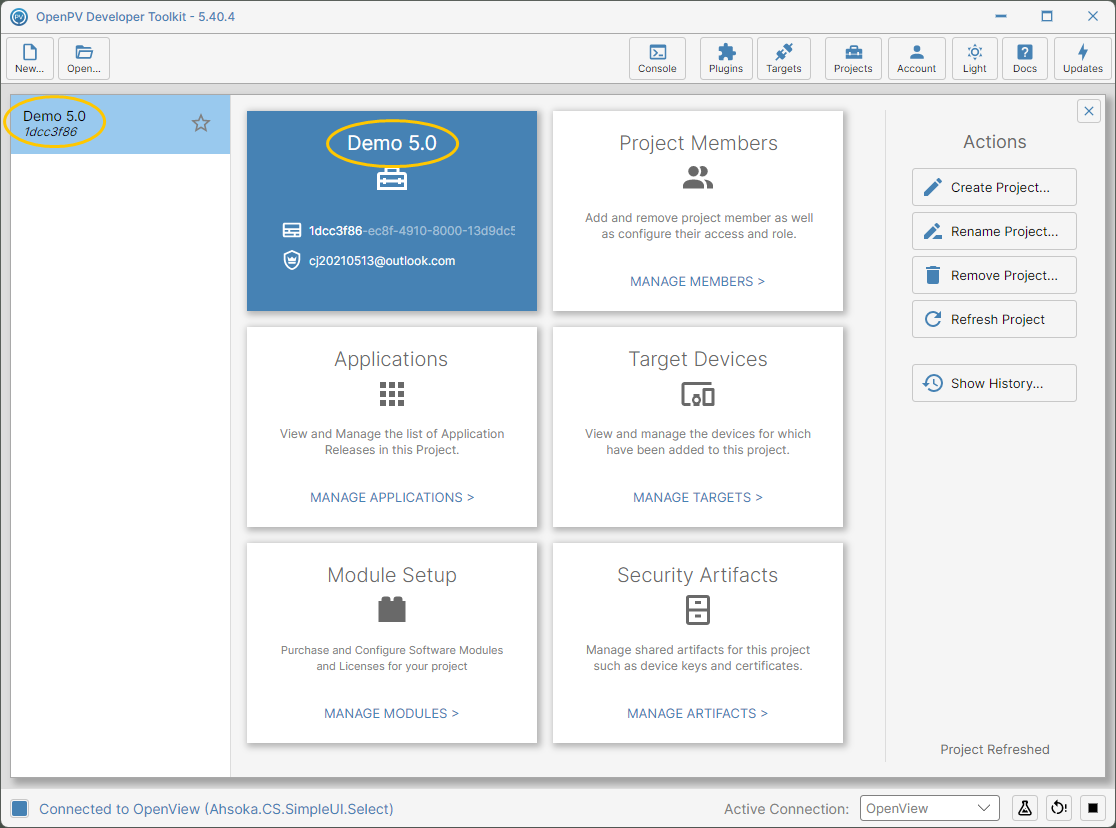
The project renamed to Demo 5.0 -
To reload the project's details from Spark at any time — for example, after a teammate changes something — click Refresh Project. The status shows Project Refreshed.
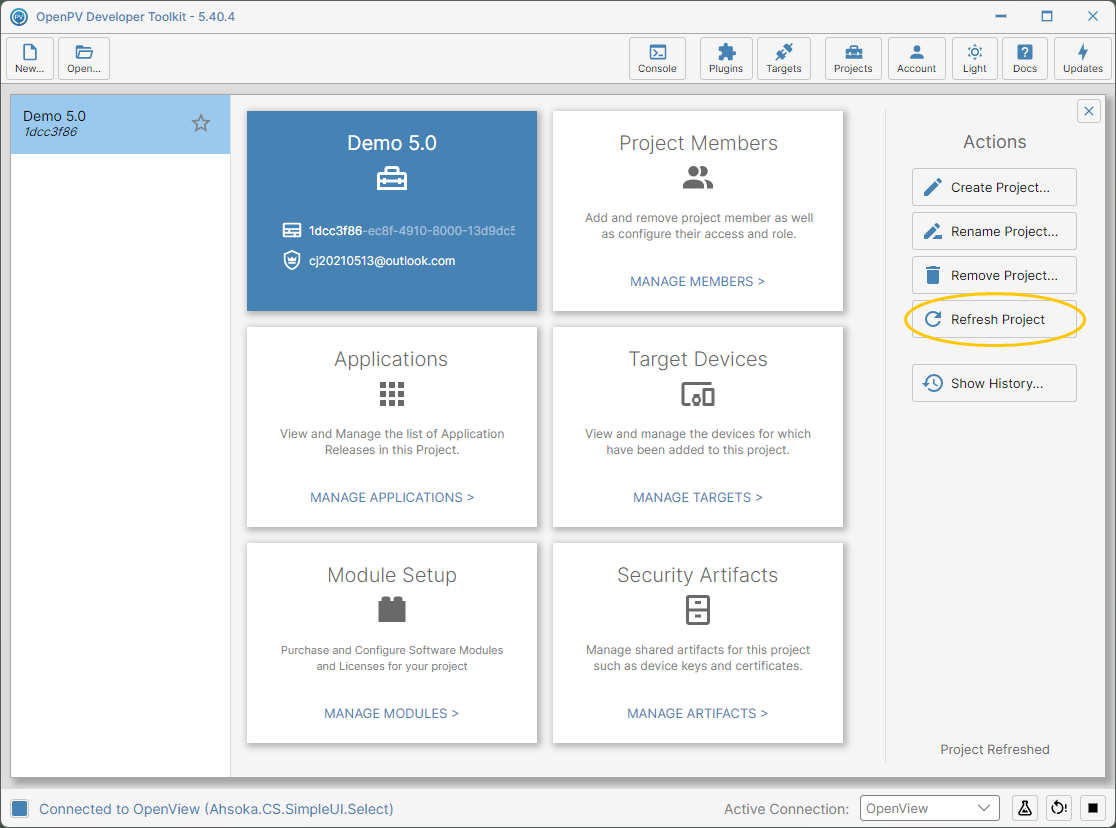
The Refresh Project button
Remove Project
-
Starting from a selected project — here, Demo 5.0 — click Remove Project... in the Actions list on the right.
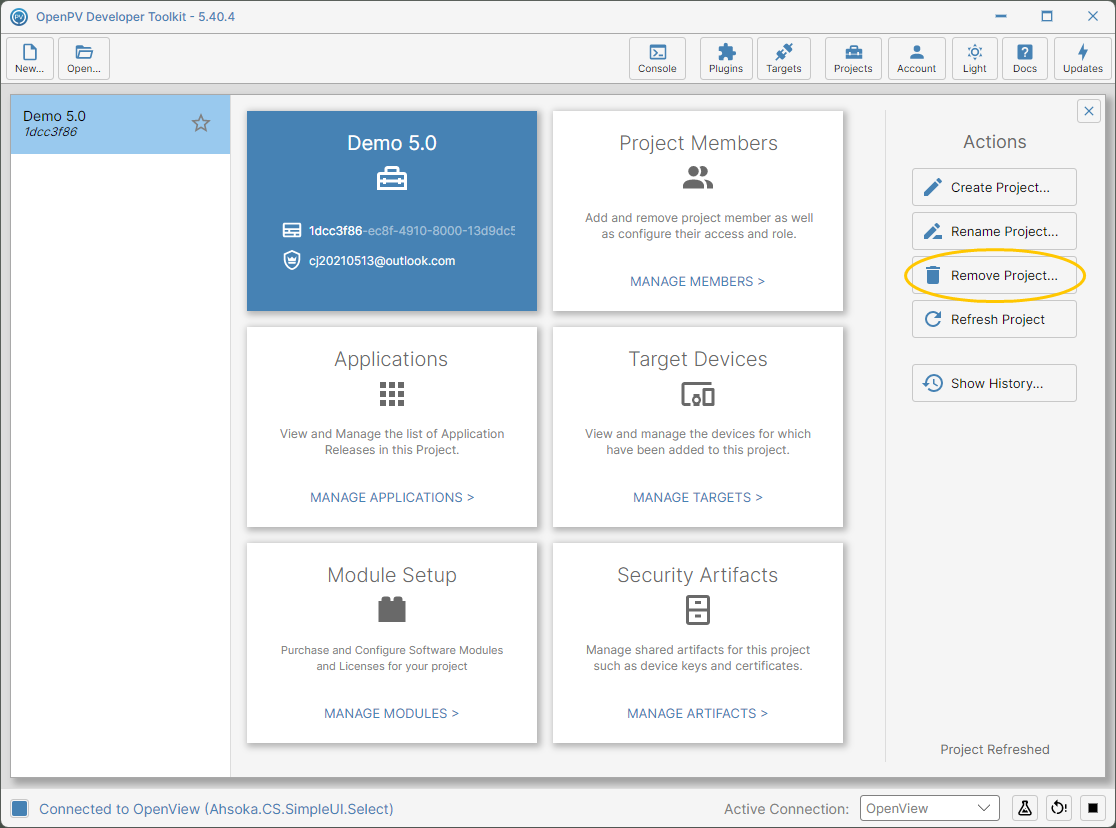
The Projects panel with a project selected, ready to remove -
Since this permanently deletes the project, its groups, and all its devices, a confirmation dialog opens first, asking you to type the project's name to verify. The field starts out pre-filled with DELETE as a placeholder — that text won't verify on its own, so you'll need to clear it.
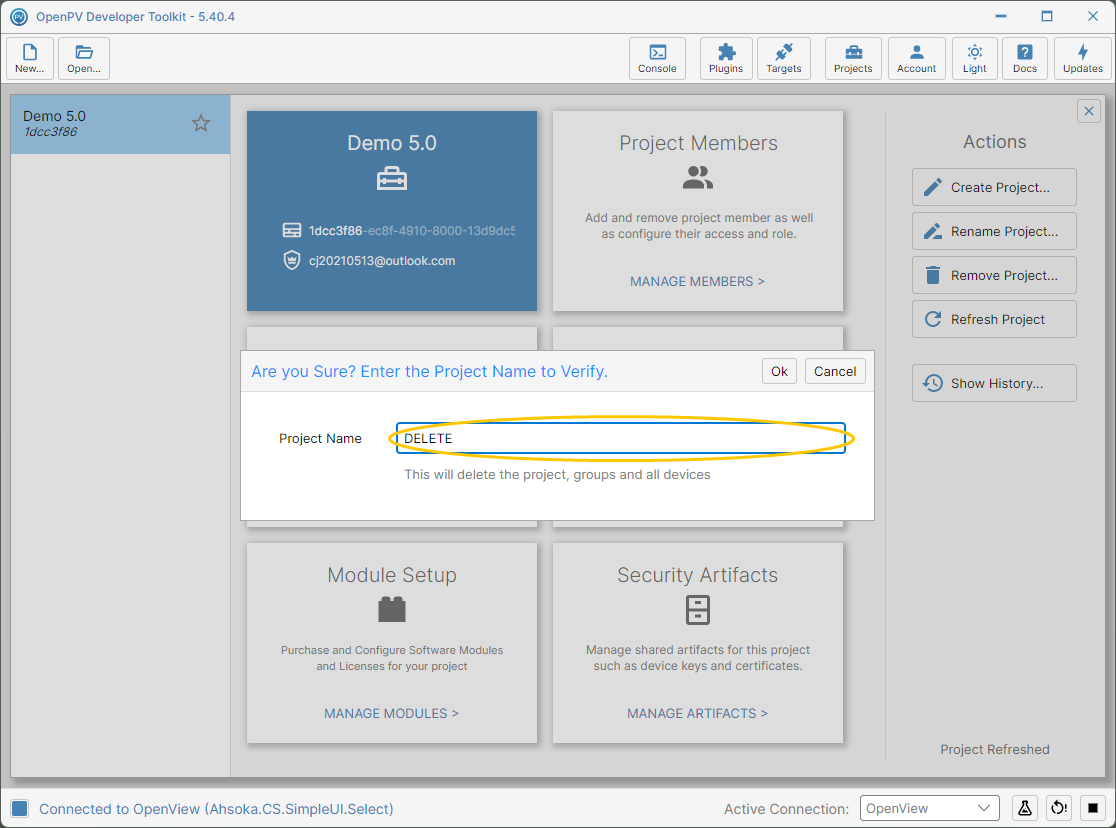
Confirming the removal by typing the project name -
Clear the field and type the project's actual name — here, Demo 5.0 — then click Ok.
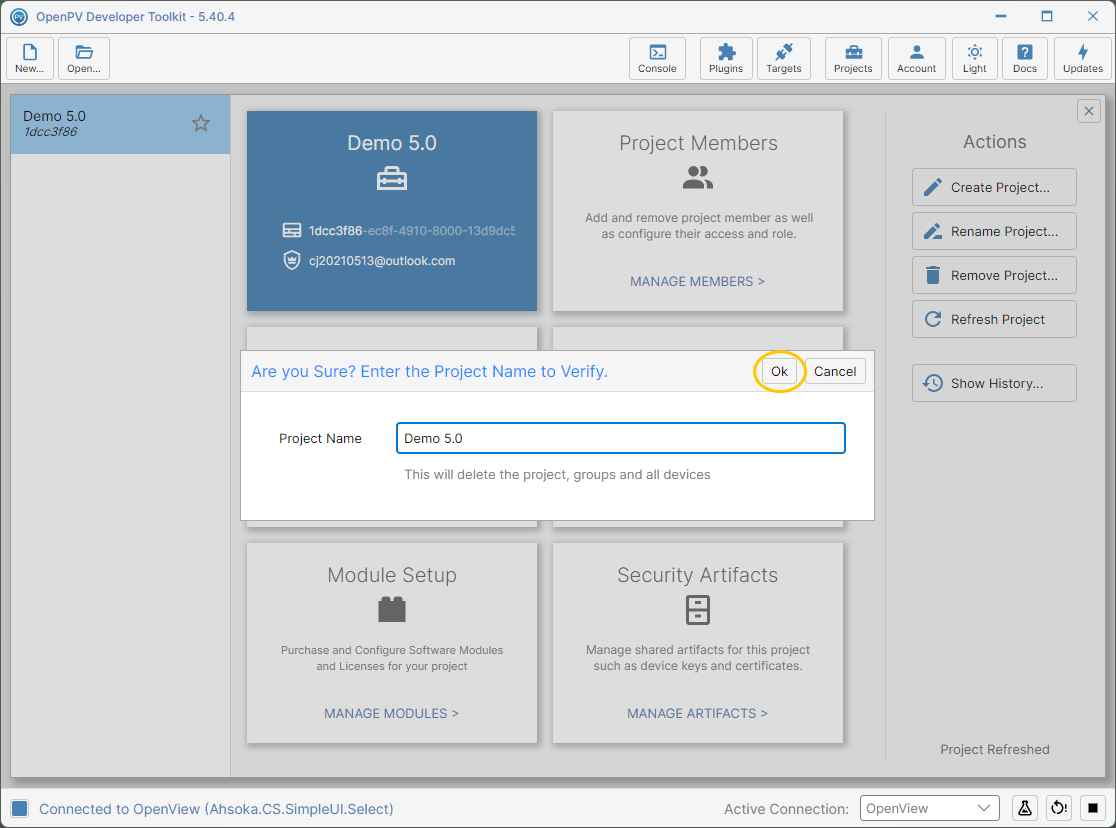
The project name entered to verify -
The project is deleted immediately — there's no further confirmation. The panel returns to None, and the Rename, Remove, Refresh, and Show History actions gray out again until you create or select another project.
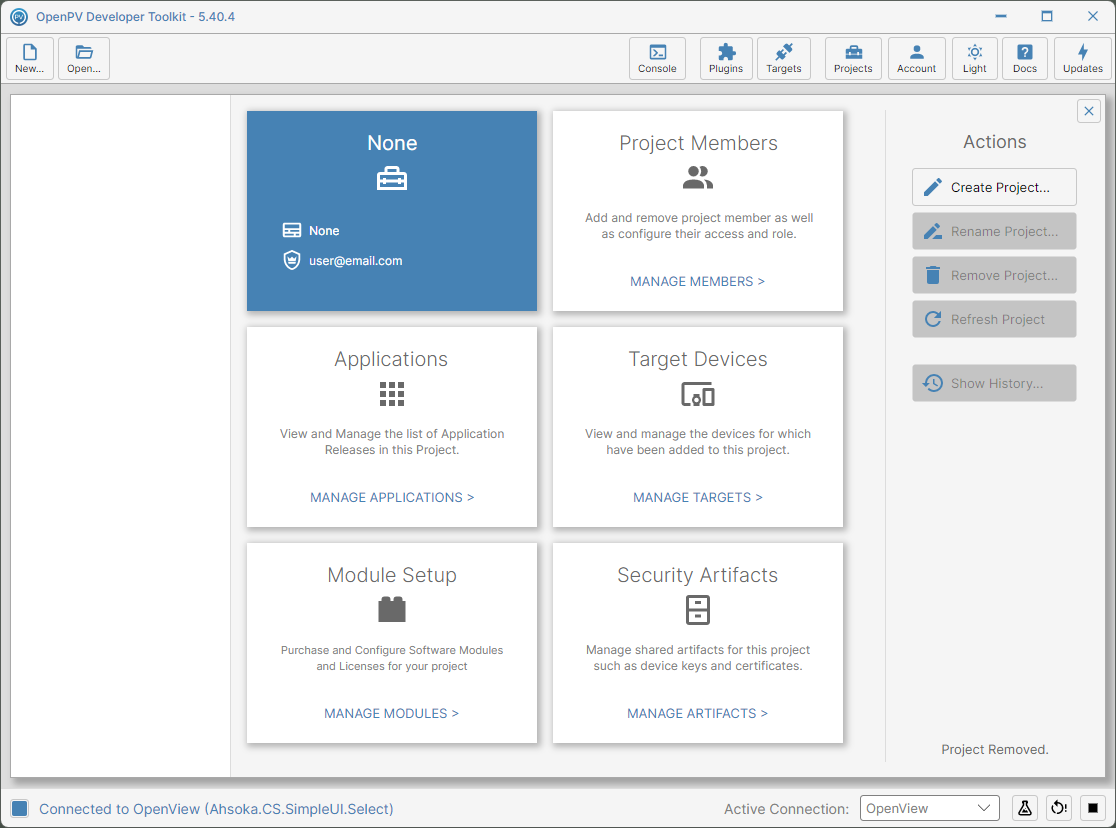
The project removed — the panel back to None
Show History
-
With a project selected, click Show History... in the Actions list on the right.
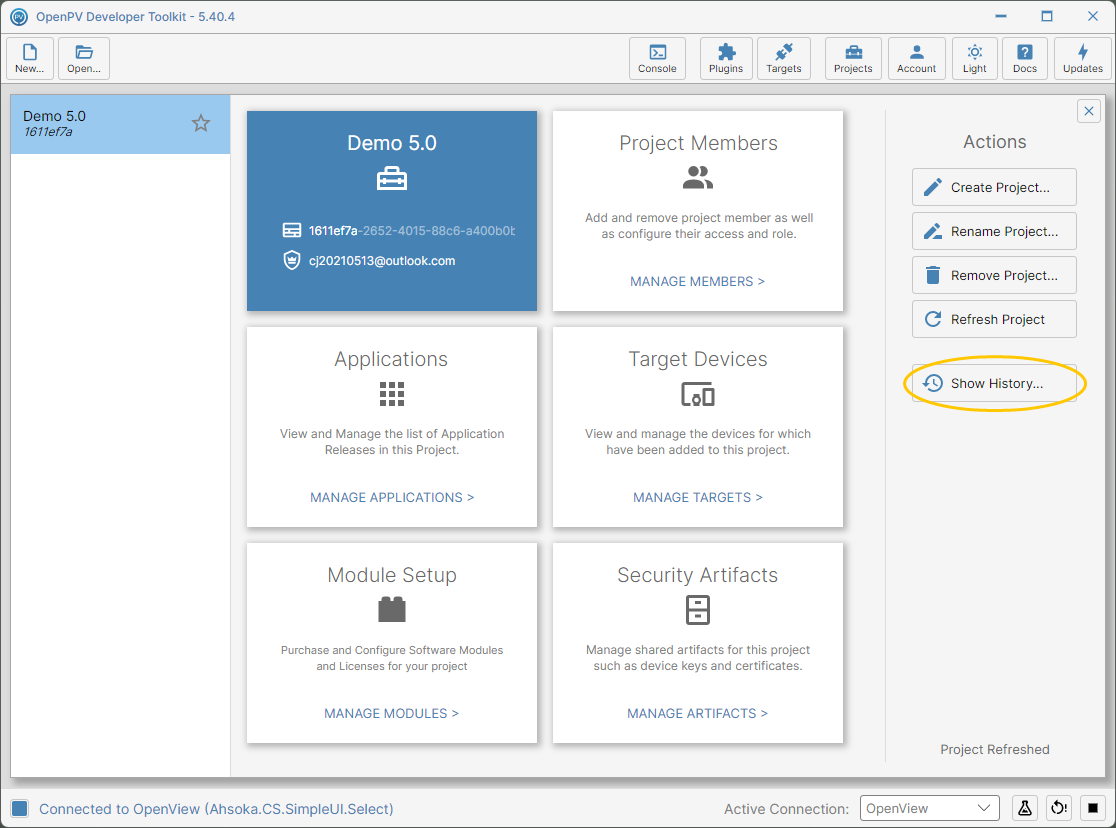
The Show History... button -
Project History opens for the selected project, showing Use Search to View History. The Search dates start out as the past month, through tomorrow — change them if you need a different period. Click the search button.
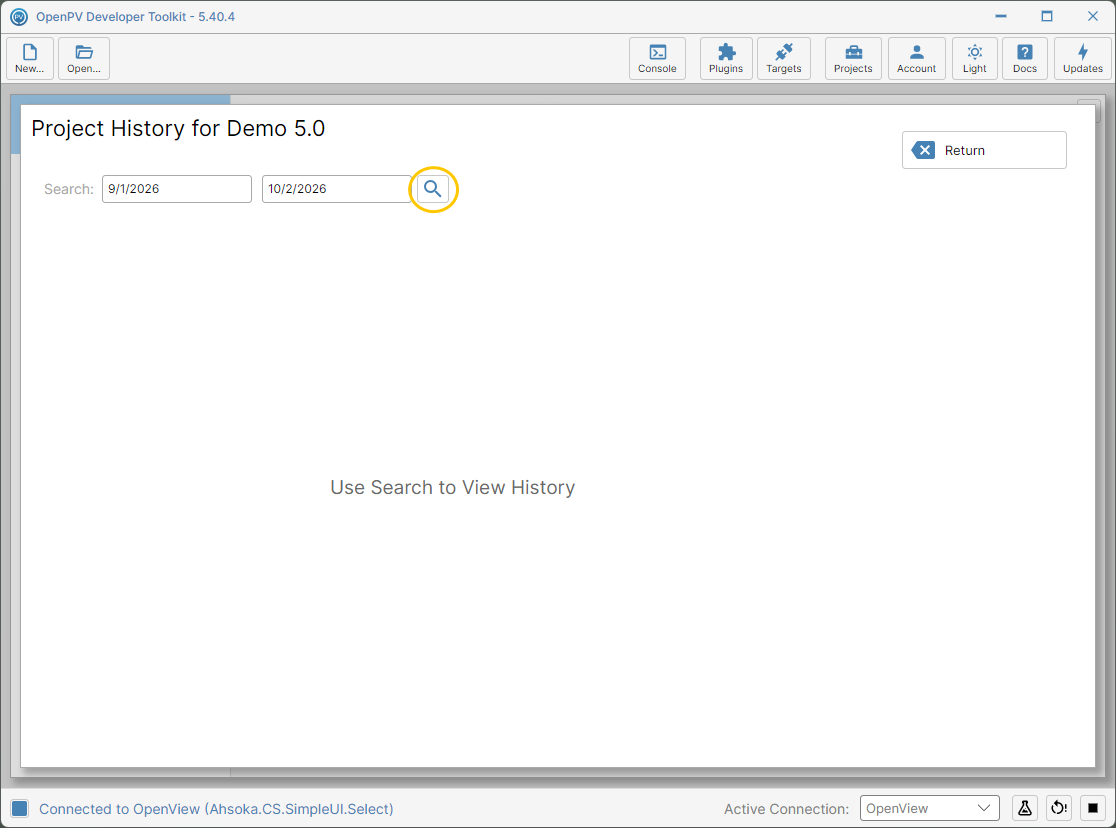
Project History, with the date range and search button -
The changes made in that period are listed, each with its Event, Event Date and a Description of who did what. Here, the member added, changed and removed under Manage Members shows up as two Add Member events and a Remove Member. Click Return to go back to the Projects panel.
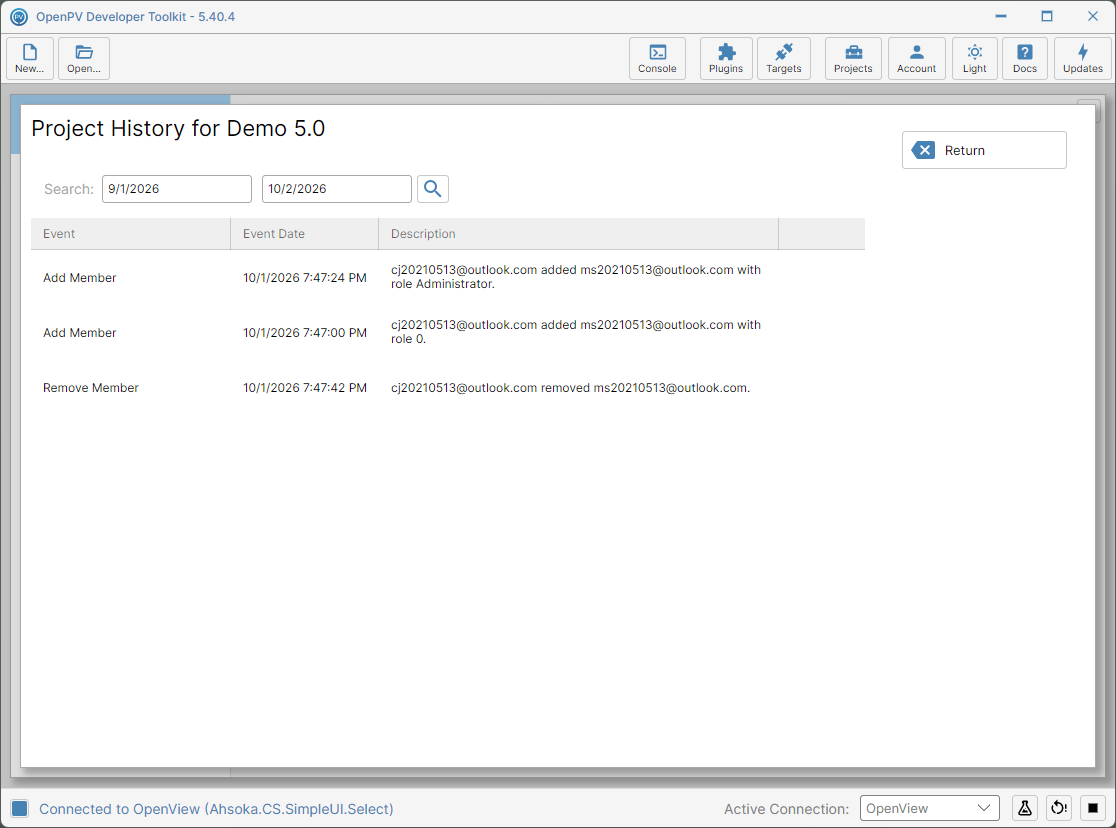
Project History, listing the member changes