New...
Packaging Tools Requires: signed in
Create a new project from a ready-made template.
Use New... to start a project from a ready-made template. Follow these steps:
-
On the toolbar, click New.... A gallery of project templates opens, grouped by category.
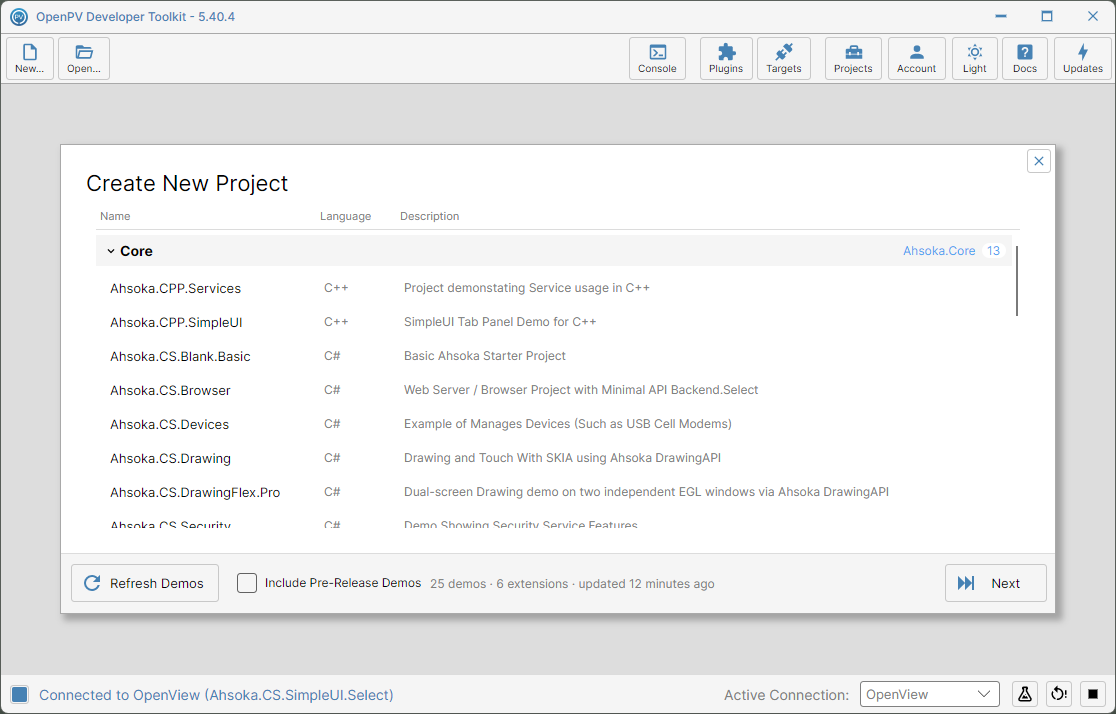
The template gallery -
Scroll down to see more templates in the list.
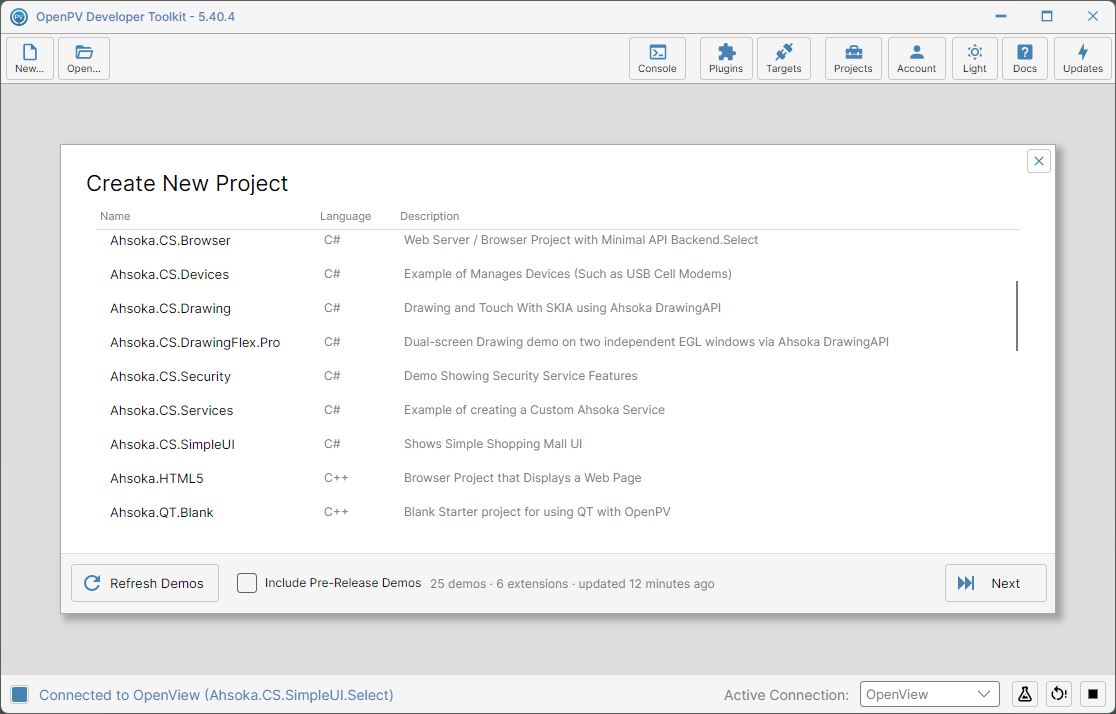
More templates, further down the list -
Templates are grouped by where they come from — the built-in ones under Core, and the rest under the extension that provides them, such as Bluetooth. Click a template to select it — the row highlights once selected; here, Ahsoka.CS.SimpleUI. Click Next to continue.
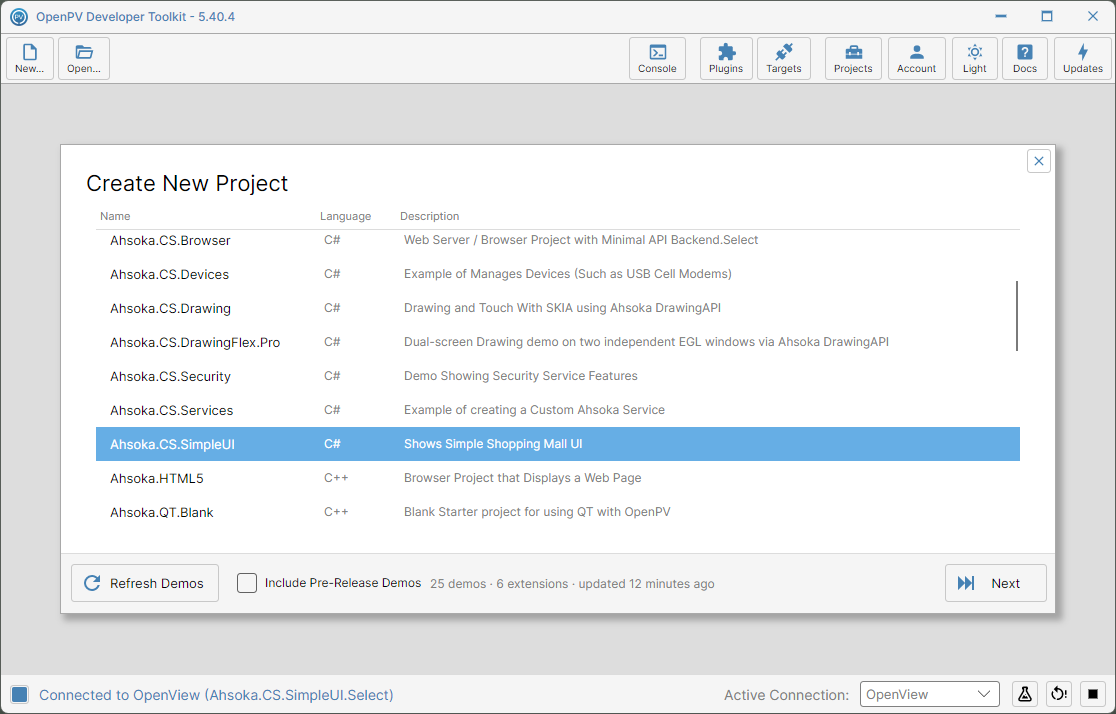
Ahsoka.CS.SimpleUI selected, in the Core group -
The project setup screen appears, with the project name already filled in based on the template you chose. Click Choose Path... to open your computer's own file browser.
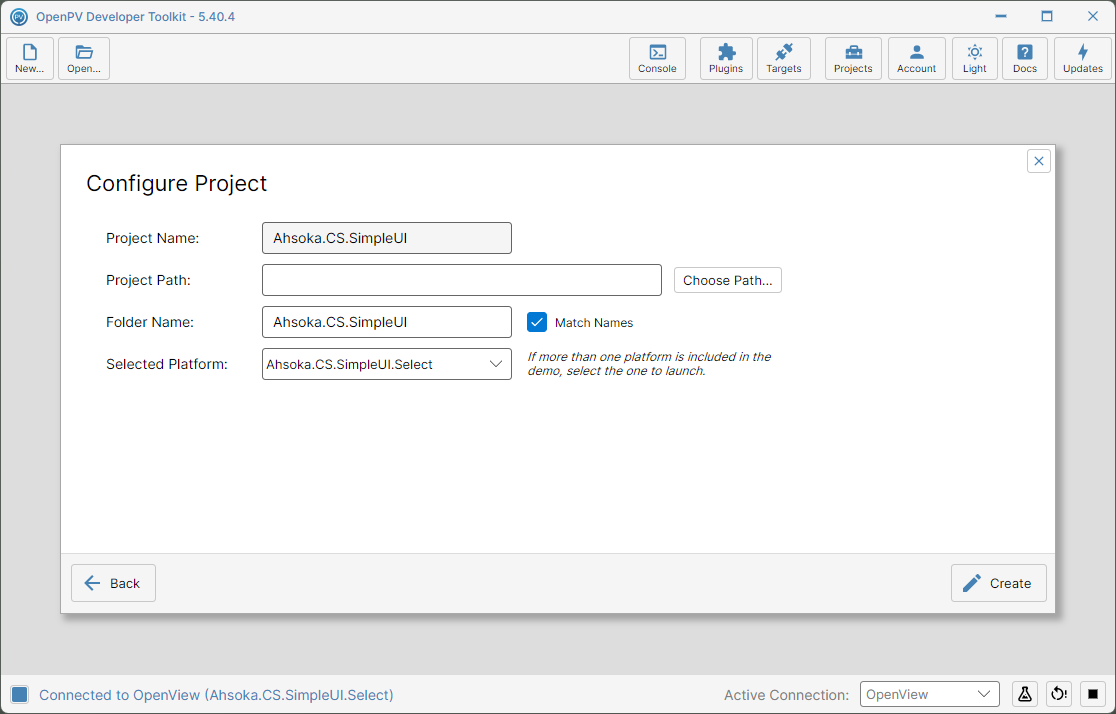
The project setup screen -
Pick a folder and confirm. If you'd like the folder name to be different from the project name, turn off Match Names and type a custom folder name.
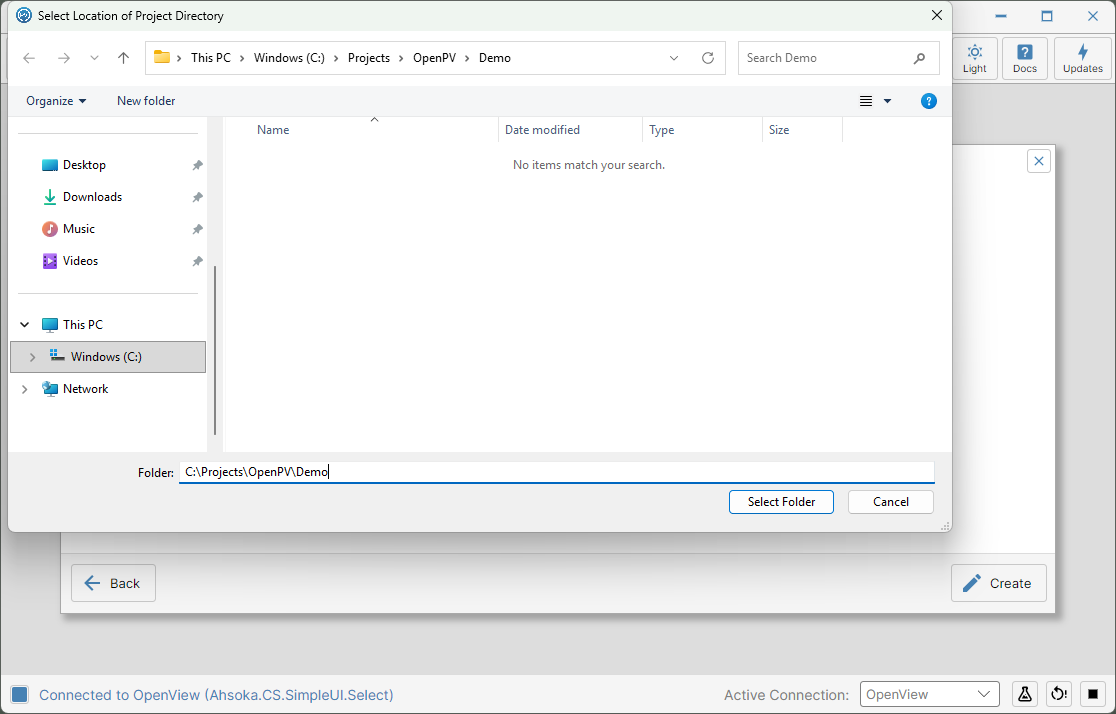
Choosing where to save the project -
You're back on the setup screen, now with your chosen folder filled in — here, C:\Projects\OpenPV\Demo.
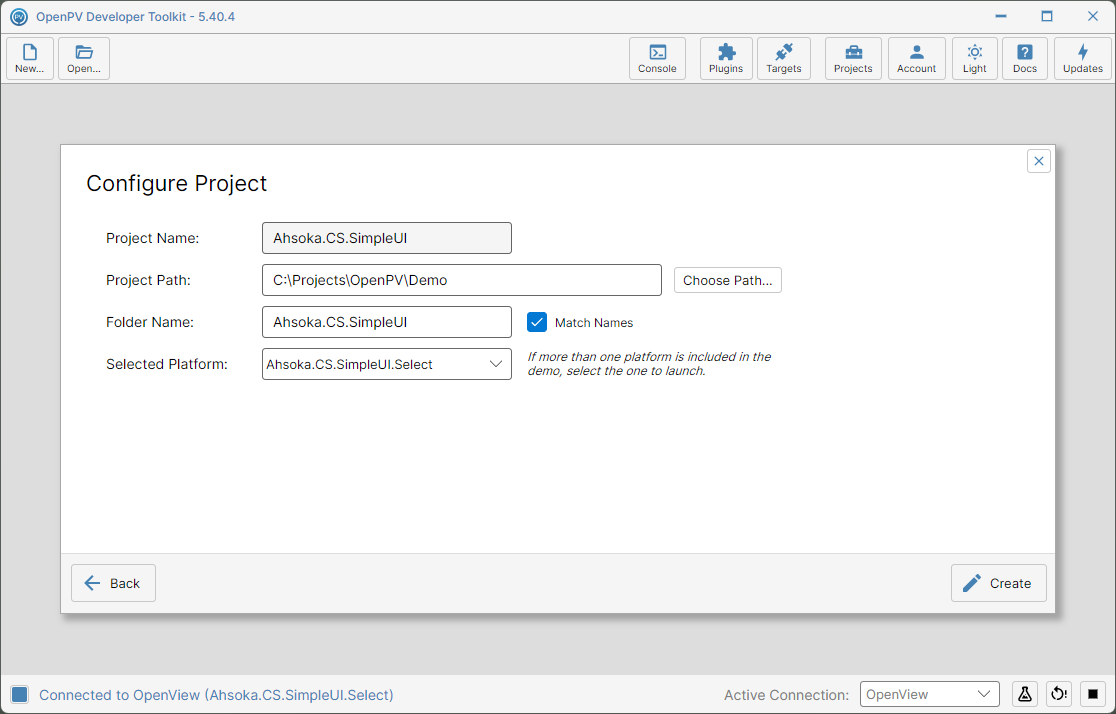
The setup screen, with the project path filled in -
If the template includes more than one platform, pick the one that matches your device from Selected Platform — here, Ahsoka.CS.SimpleUI.Select for an S70 device (Ahsoka.CS.SimpleUI.Pro targets a P100 instead). Then click Create to continue.
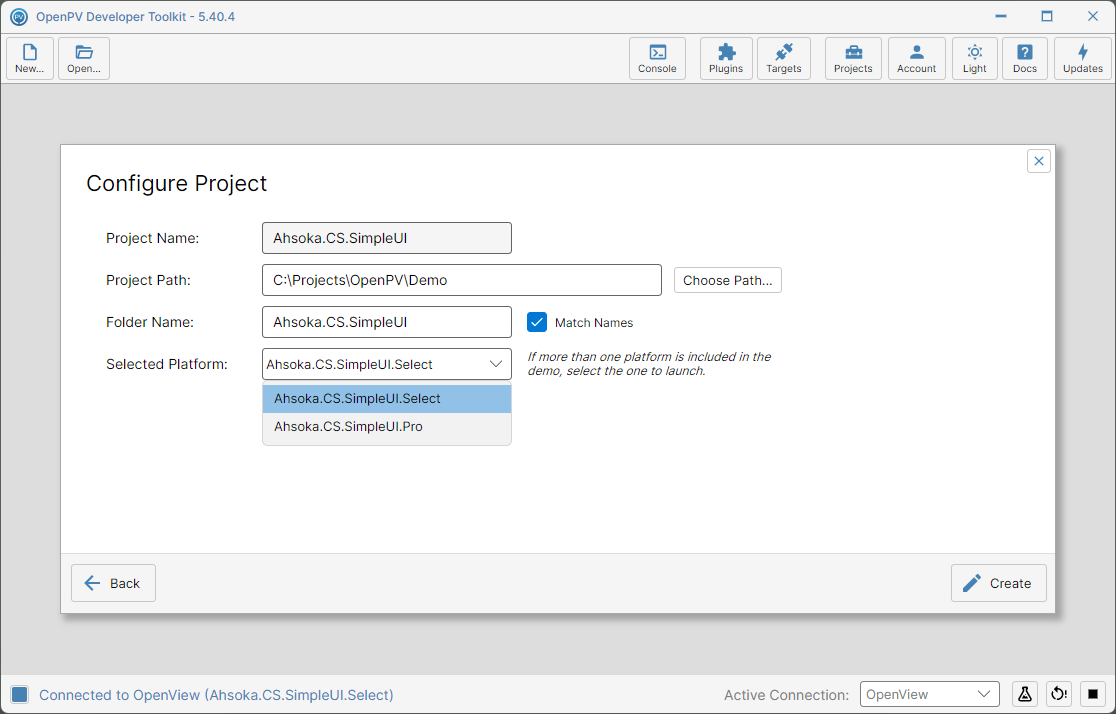
Selecting the platform that matches the connected device -
Your files are copied into the folder you chose. If the template needs a newer SDK than what's currently installed, you'll be asked whether to update it — choose Yes to continue.
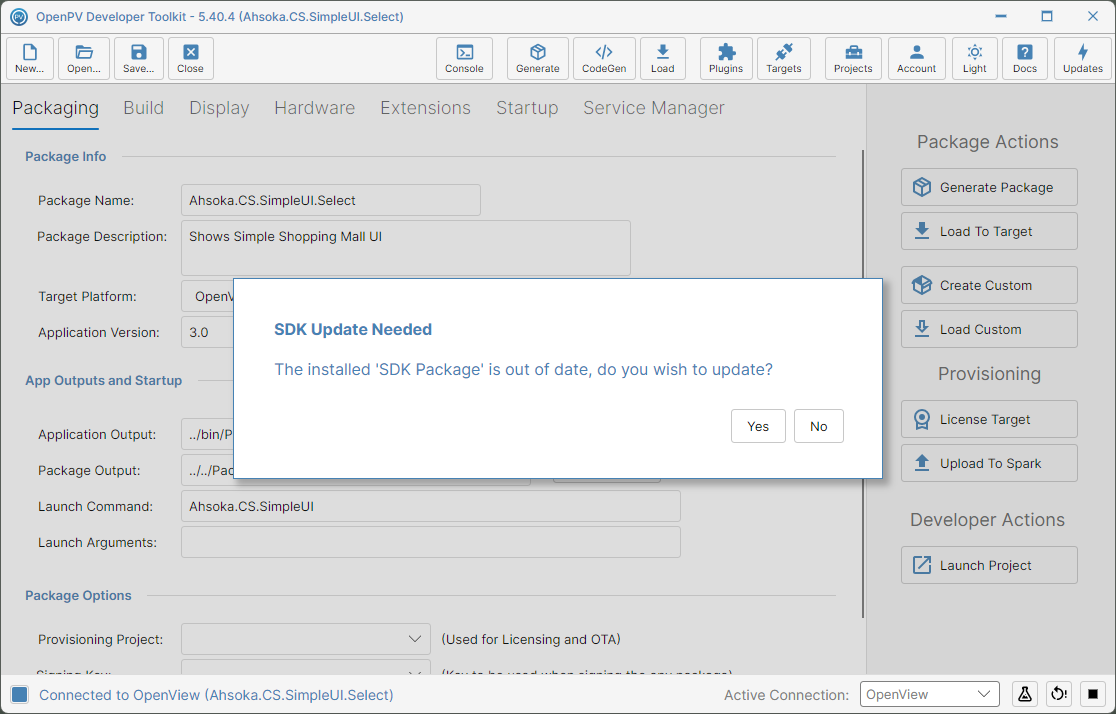
Confirming an SDK update (only appears if one's needed) -
If an SDK update was needed, its progress shows here — first adding any extensions the template needs, then the SDK itself. Ahsoka.CS.SimpleUI doesn't use any extensions.
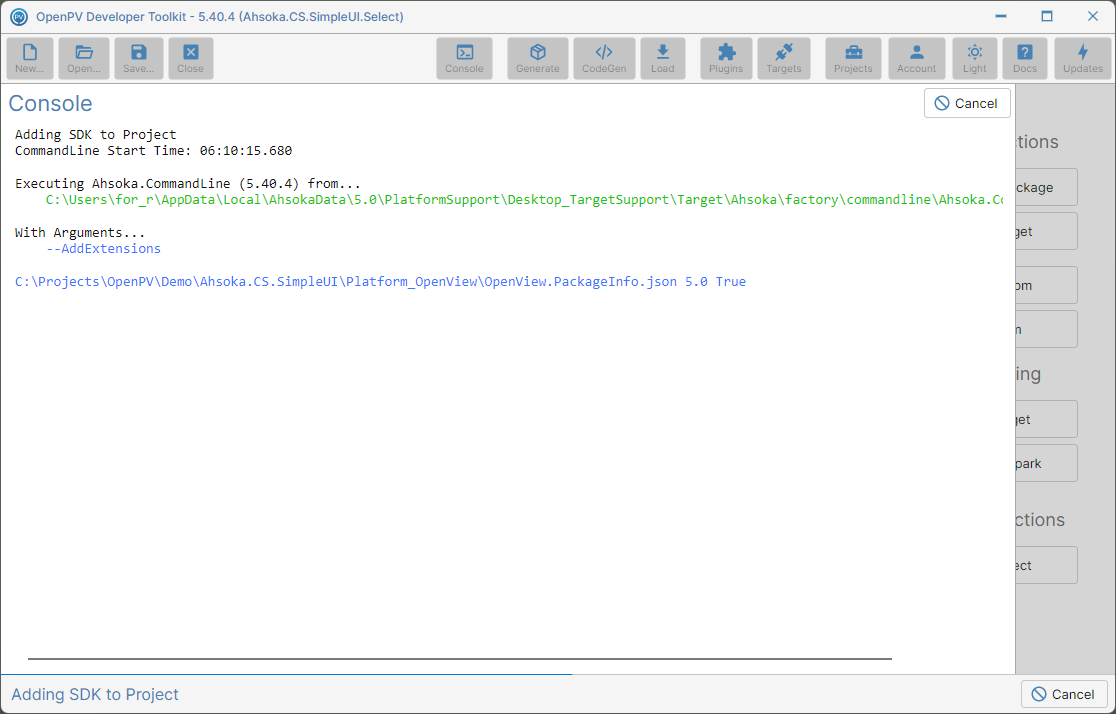
The SDK update starting (only appears if one's needed) -
The update continues here — installing hardware, resource, and SDK support for your device. Wait for it to finish.
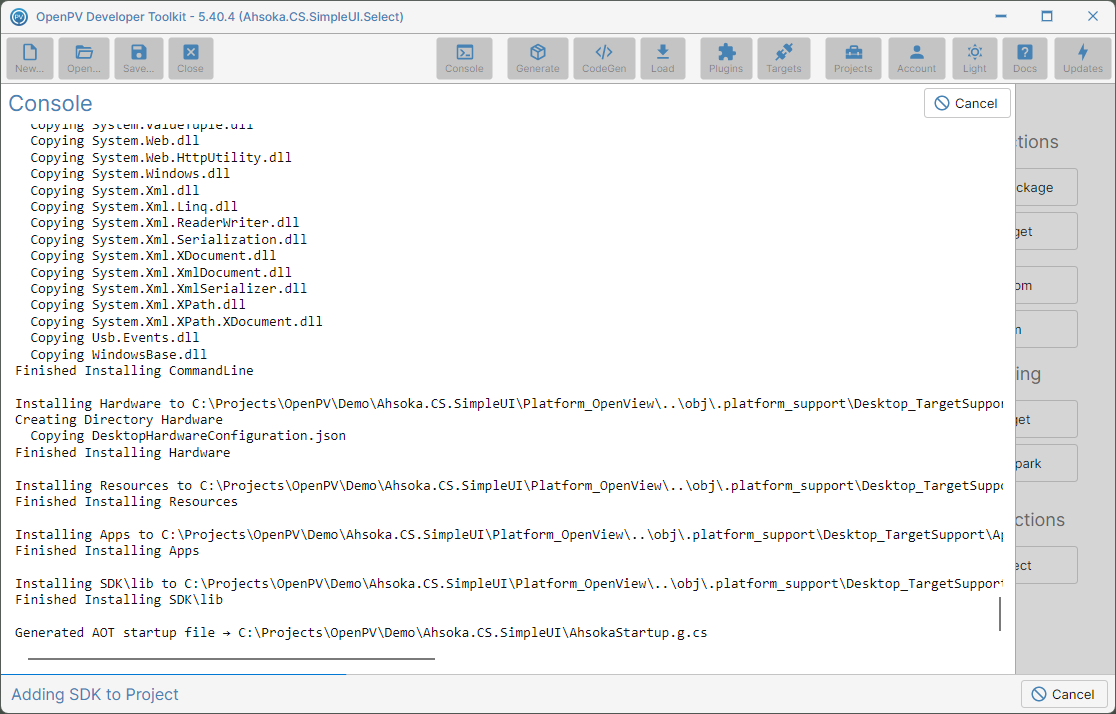
The SDK update running: installing hardware and SDK support (only appears if one's needed) -
A confirmation appears once your project is ready to work on, naming the full path it was created at. Click Ok to dismiss it.
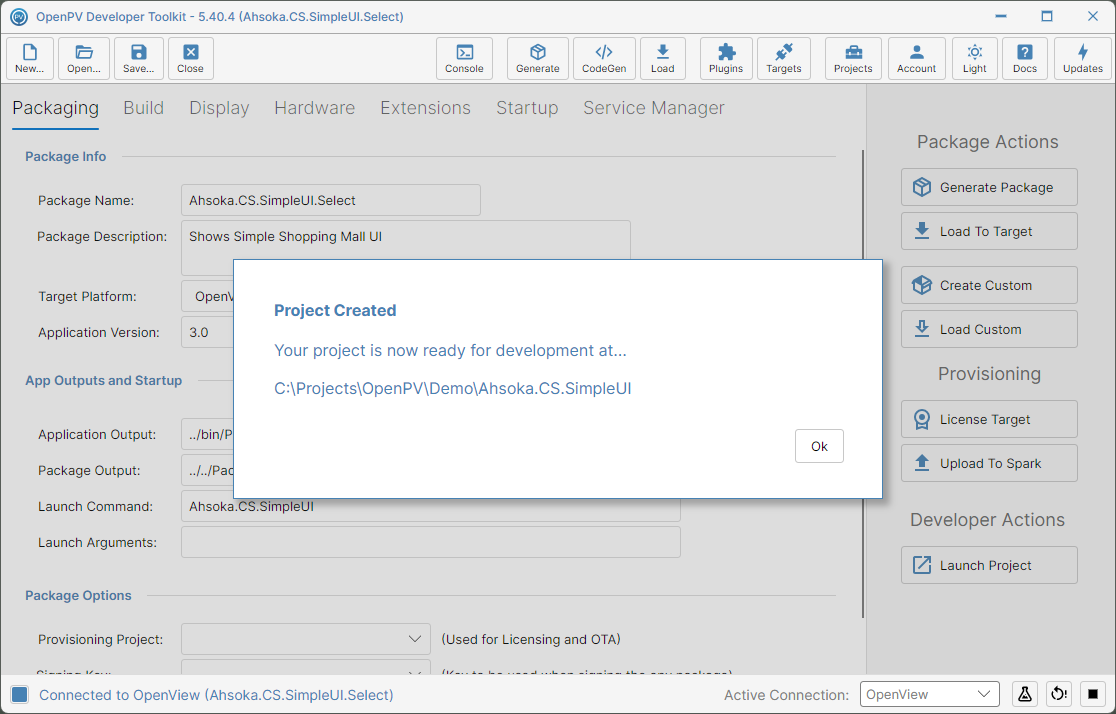
Your project, ready to work on -
Your new project opens, ready for you to start working on it.
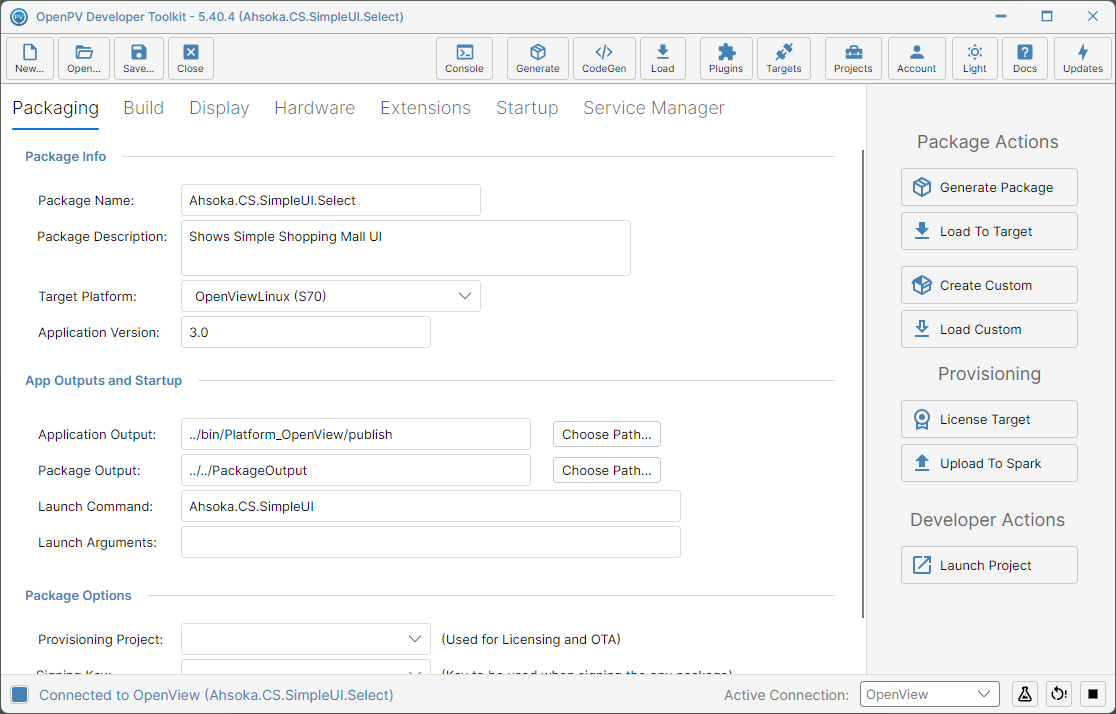
The finished project