Packaging
Packaging Tools Requires: project open
Turn the built app into a signed, installable package and load it onto a target.
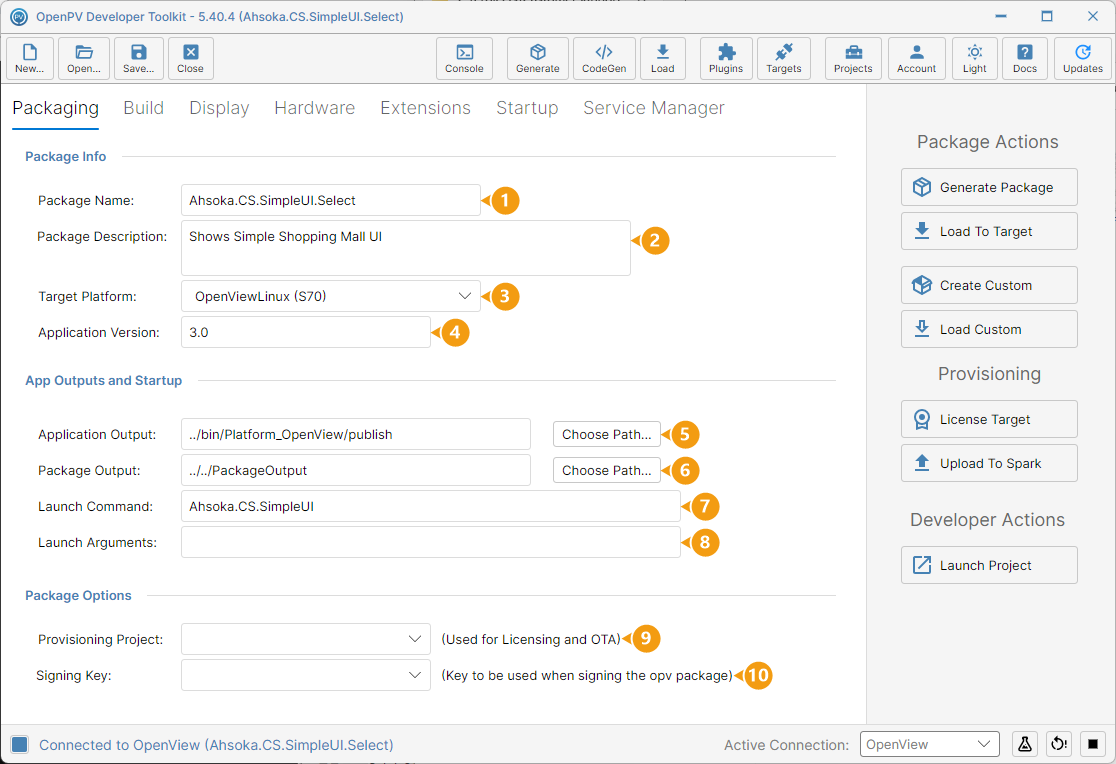
Shows the package's name, description, target platform, and version, plus its output paths and launch command. On the right, Package Actions offers Generate Package, Load To Target, Create Custom, and Load Custom, and Provisioning offers License Target and Upload To Spark.
The Packaging panel, with Package Info, App Outputs and Startup, and Package Options filled in from the project. Other than making sure the correct Target Platform is selected, the default values can typically be used. Each field below is numbered to match its callout in the screenshot.
- Package Name — Typically the name of the system the display will be installed on (e.g. the vehicle name). Becomes the generated
.opvfile's name and identifies it for Over-the-Air (OTA) features. - Package Description — A more detailed description of the application.
- Target Platform — The model of the display; enables features and configuration specific to that display type.
- Application Version — The version number for this package generation.
- Application Output — Must point to where Visual Studio's publish process put the built binaries; Generate Package pulls them from here.
- Package Output — The directory where the generated
.opvfile is placed. Any location can be used. - Launch Command — The name of the executable created by the publish process; used by the start script that launches the app on the target at boot.
- Launch Arguments — Optional command-line arguments passed to the application at launch.
- Provisioning Project — Used for Licensing and OTA.
- Signing Key — The key used to sign the generated
.opvpackage.
Generate Package and Load To Target
-
Once the fields are set, click Generate Package (highlighted) under Package Actions.
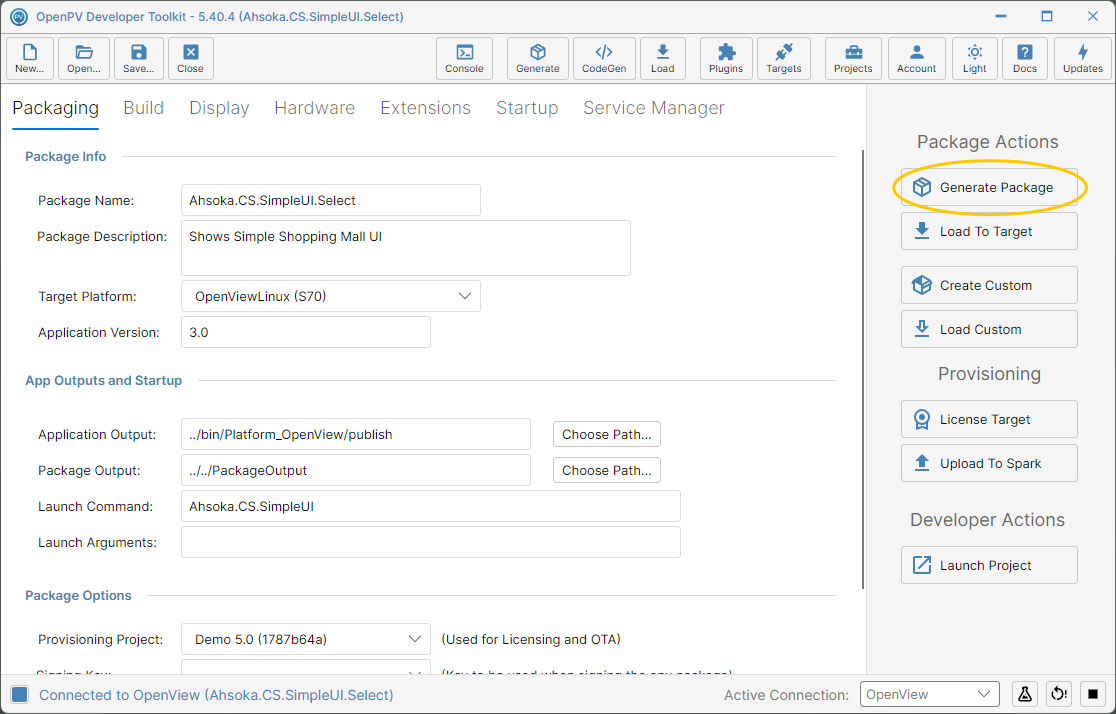
The Generate Package button -
The app switches to the Console panel to show live progress, with a Cancel button while it runs.
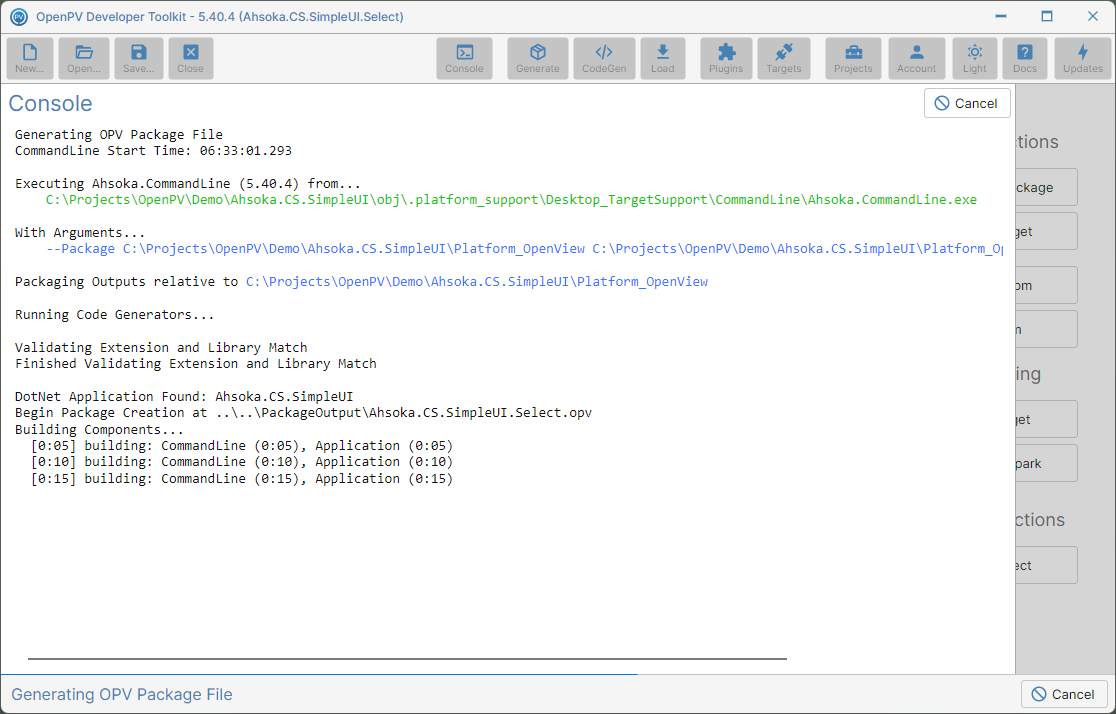
The Console panel showing package generation in progress -
The log ends with Finished Package Creation, a manifest of the package's contents, and OPV Generation Completed: True.
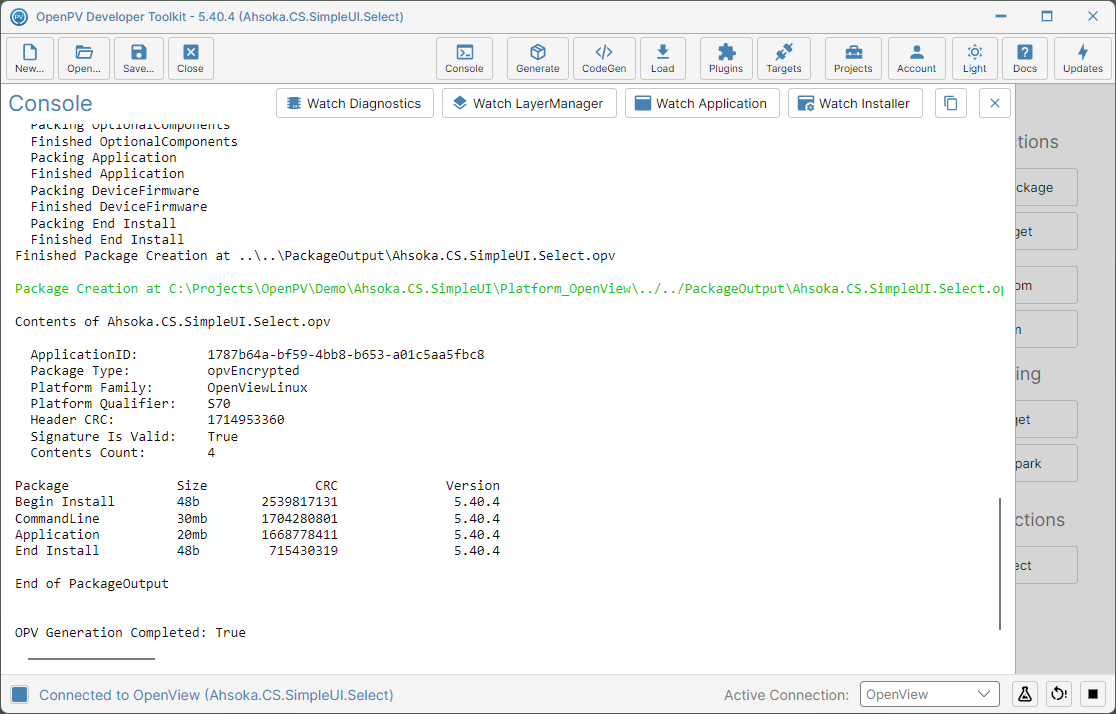
The Console log after Generate Package finishes -
The app then returns to the Packaging panel automatically — no confirmation dialog.
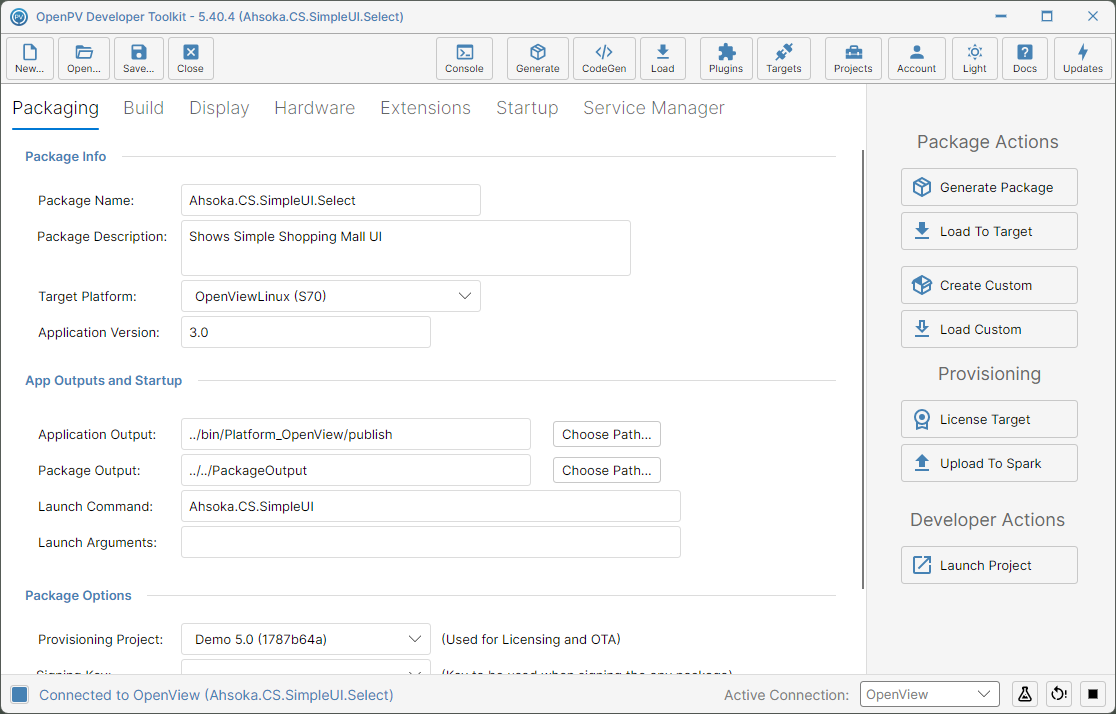
Back on the Packaging panel after generation completes -
Once a package exists, click Load To Target (highlighted) to send it to whatever device is currently connected.
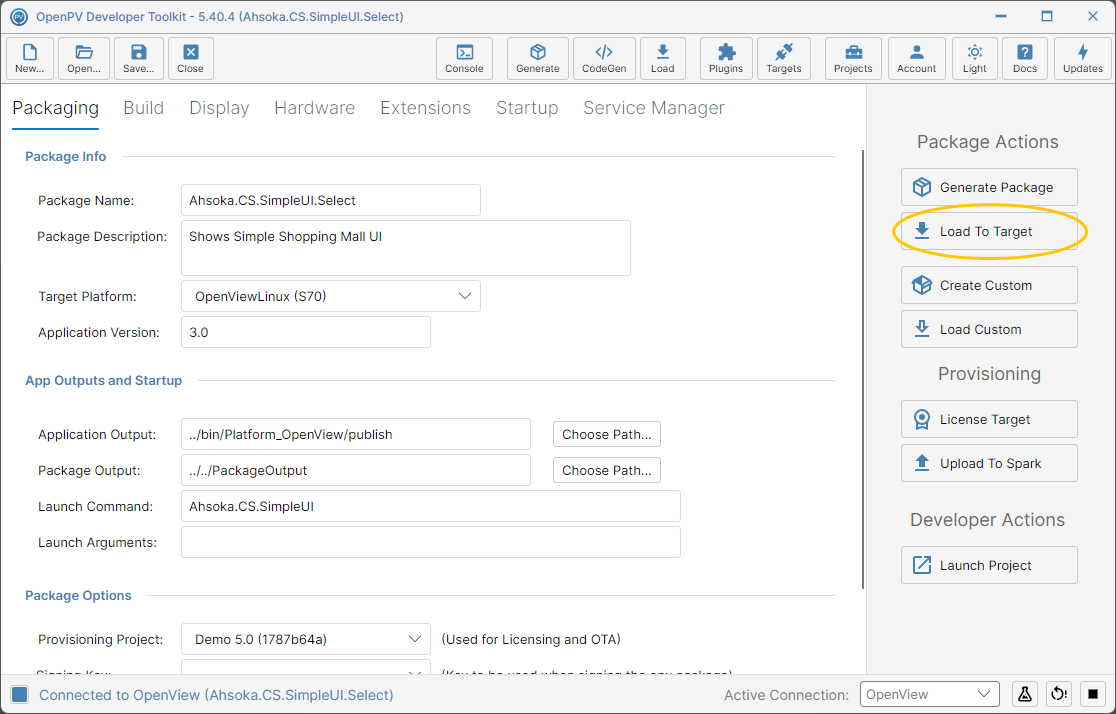
The Load To Target button -
The app switches back to Console. If the target is already running an application, it first reboots to the Installer before the actual upload begins — this can make the process take noticeably longer than Generate Package.
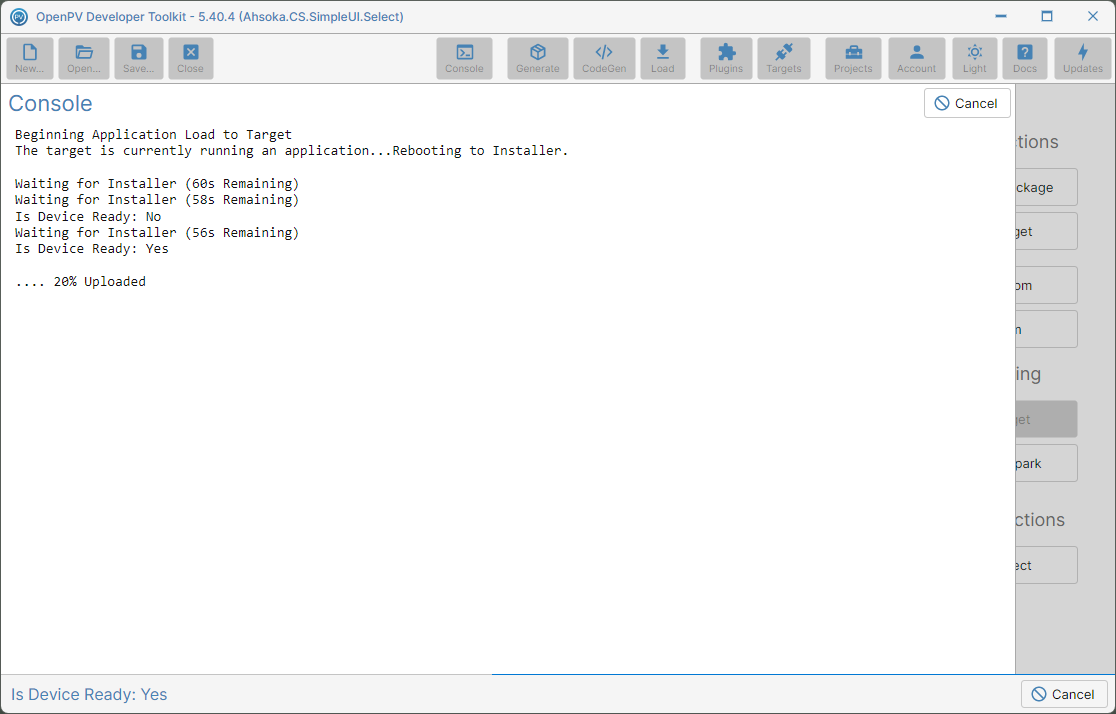
The Console panel partway through Load To Target, after the device rebooted to the Installer -
Once the install finishes, the device reboots again to launch the new application and reconnects on its own. The log ends with Install 'End Install' Completed with Result: Success and Package Load Completed — confirmation the load worked.
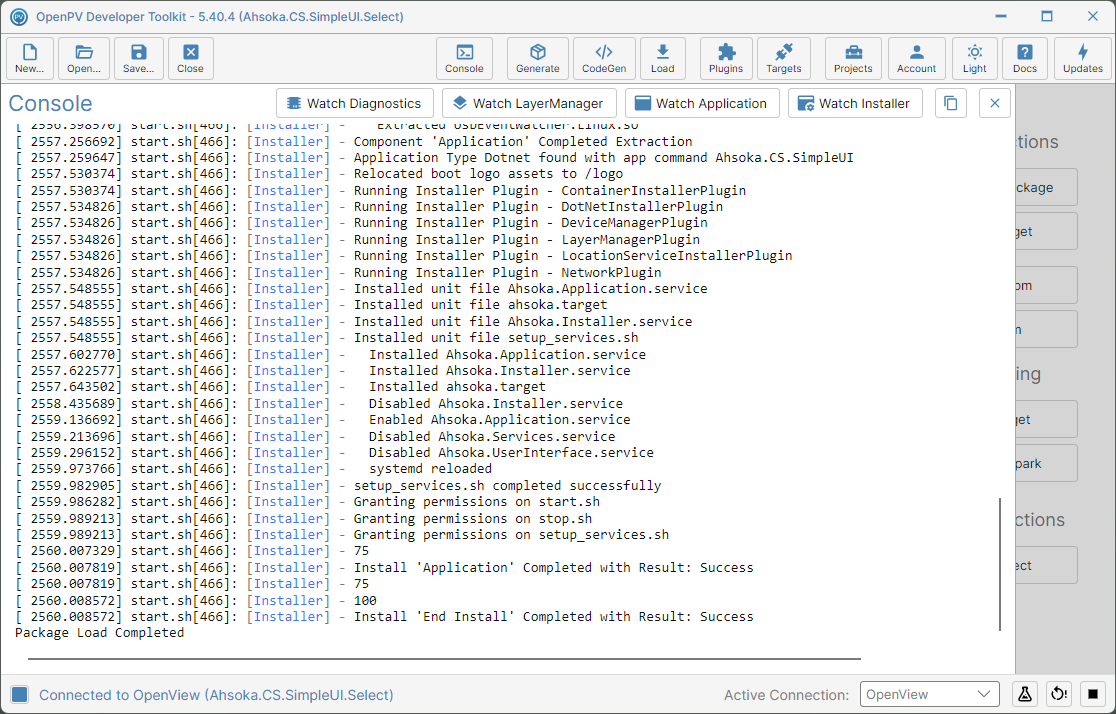
The Console log after a successful Load To Target -
This is what the display itself shows once the application launches — in this case, the Ahsoka.CS.SimpleUI.Select demo project's own UI.
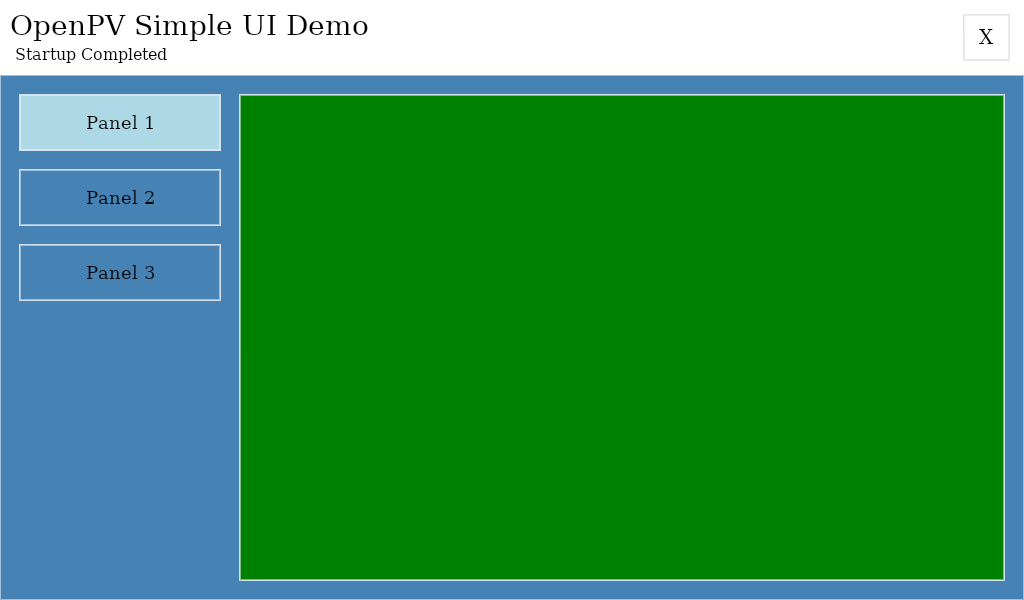
The application running on the physical display after Load To Target
Create Custom and Load Custom
-
Create Custom builds a package containing only selected components, instead of the full package Generate Package produces. Click it to open the Custom Install Components dialog.
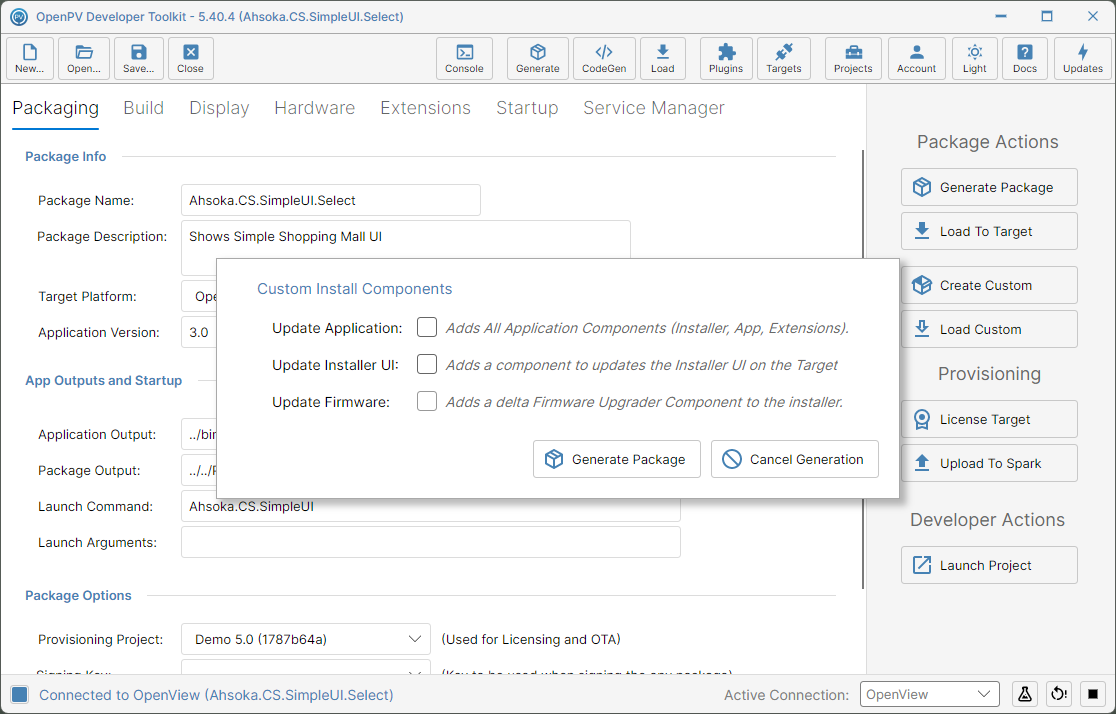
The Custom Install Components dialog -
Check one or more components — Update Application (Installer, App, and Extensions), Update Installer UI, and/or Update Firmware — then click Generate Package in this dialog (not the one under Package Actions).
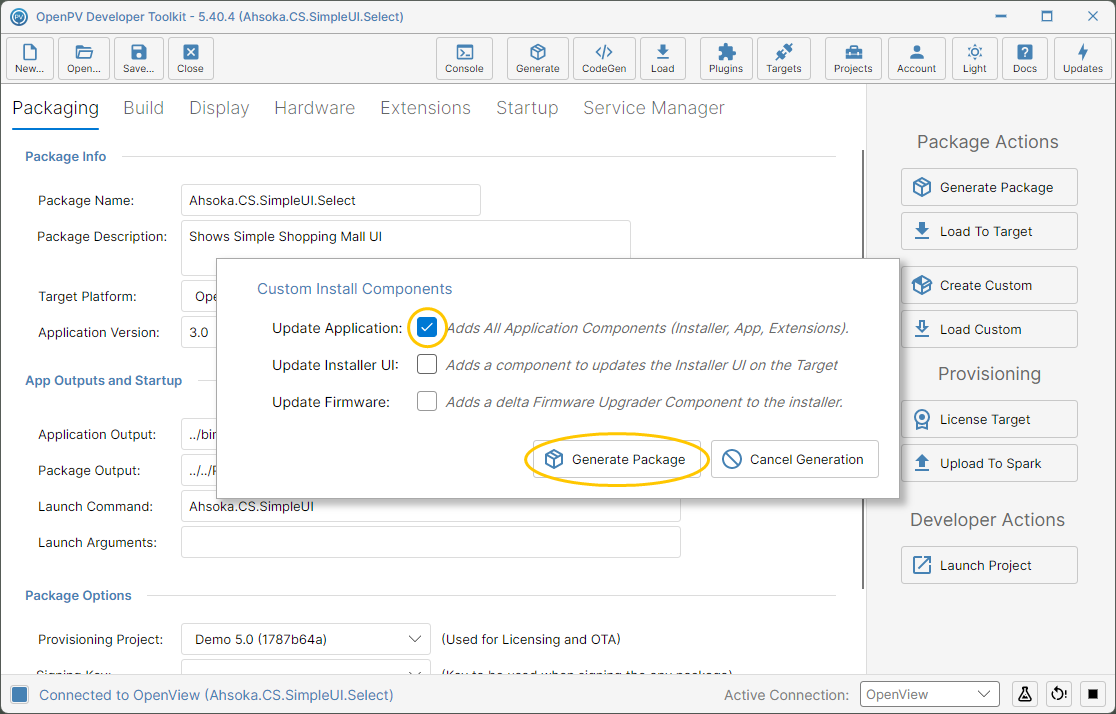
Update Application checked -
The app switches to Console to show progress, same as a regular Generate Package — internally this runs the command line tool with a --PackageCustom argument instead of --Package.
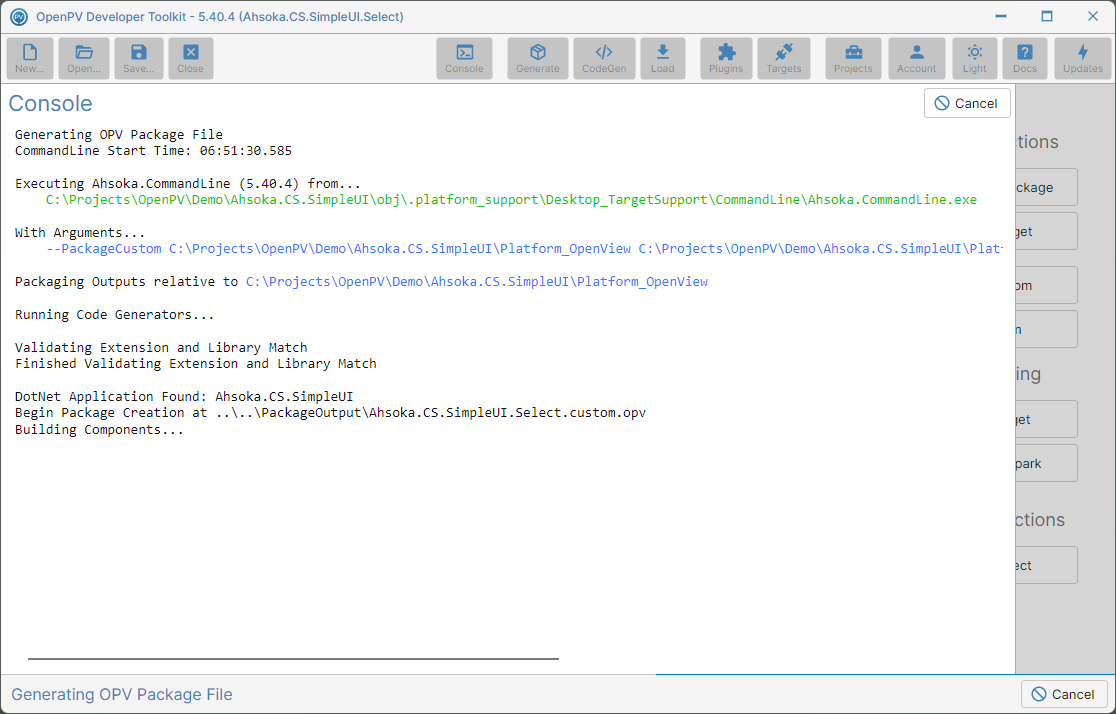
The Console panel showing the custom package generating -
Once generation finishes, the dialog closes and the app returns to the Packaging panel automatically.
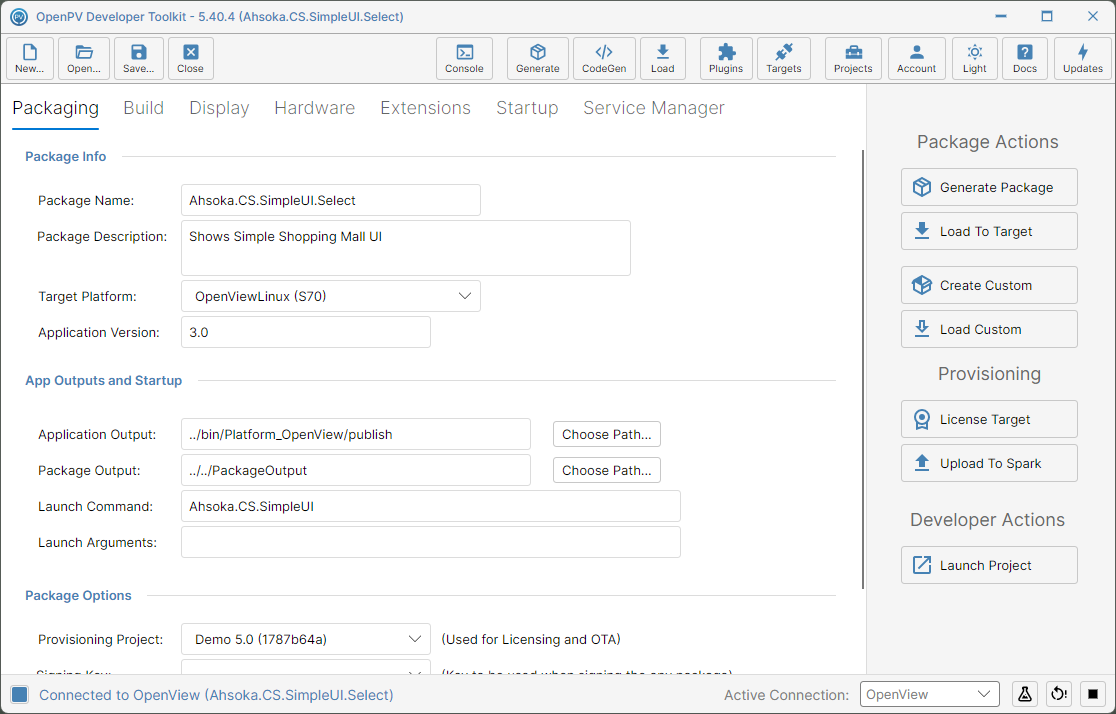
Back on the Packaging panel after the custom package is generated -
Click Load Custom to send that custom package to whatever device is currently connected. Like Load To Target, it starts right away — there's no confirmation step and no file picker.
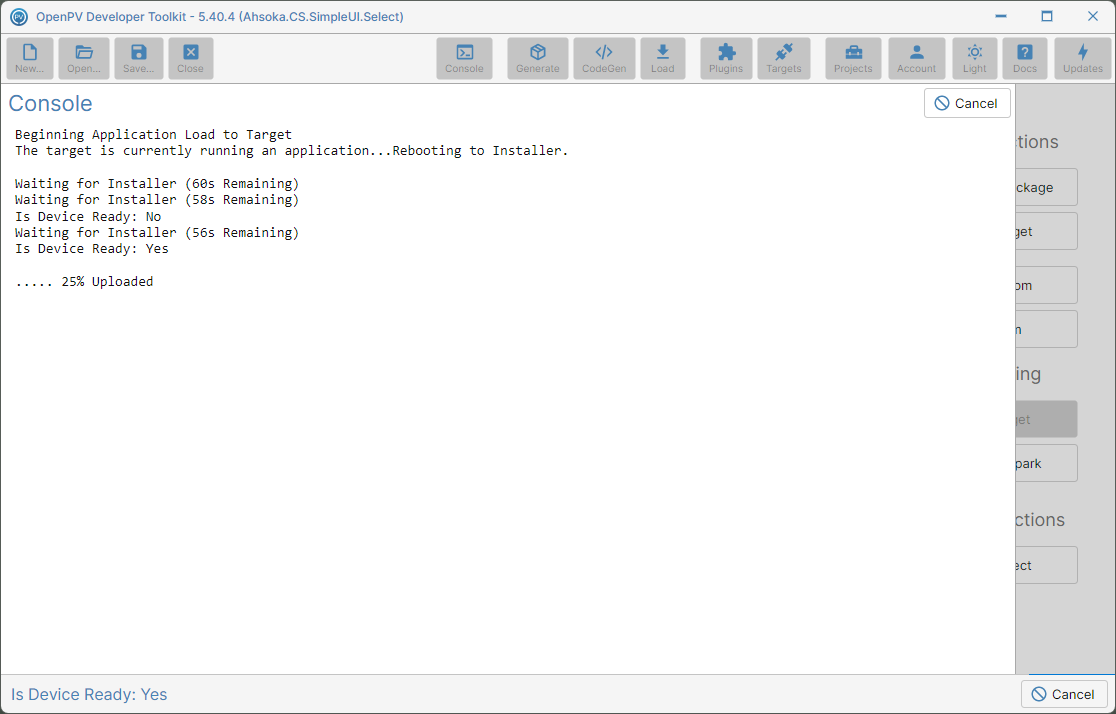
Console showing Load Custom in progress — it starts as soon as you click it -
It otherwise behaves exactly like Load To Target: it reboots to the Installer first if the device is running an application, uploads the package, and reboots again to launch it. The log ends with Install 'End Install' Completed with Result: Success and Package Load Completed.
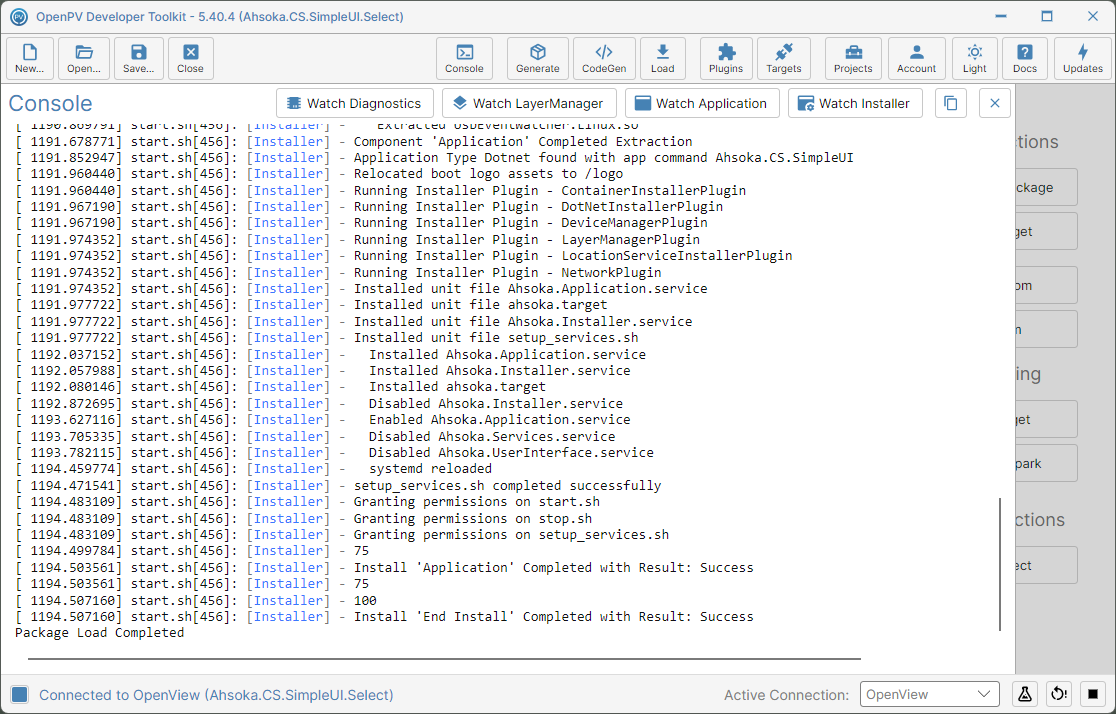
The Console log after a successful Load Custom
License Target
-
License Target allocates the licenses required by this package to whatever device is currently connected — or restores them if that device already has one. Click it to see a confirmation dialog first.
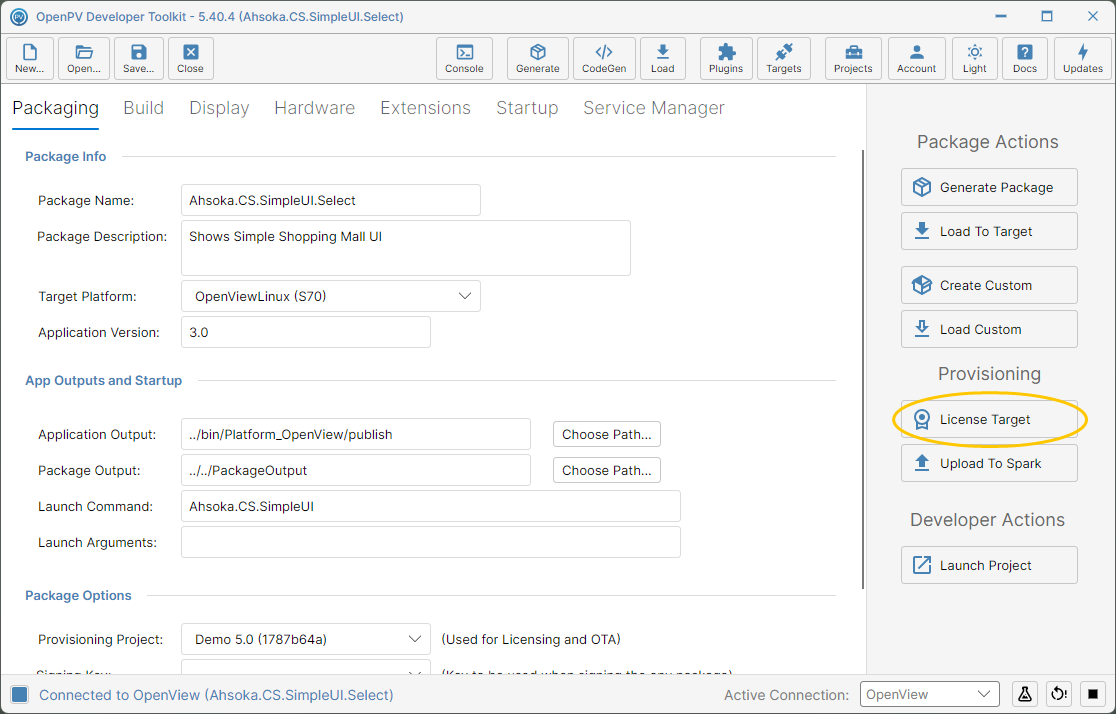
The Aquire Licenses confirmation dialog -
Click Yes. Like Enable/Disable RDP, this returns to the Packaging panel right away with no progress screen — check Console to see what actually happened.
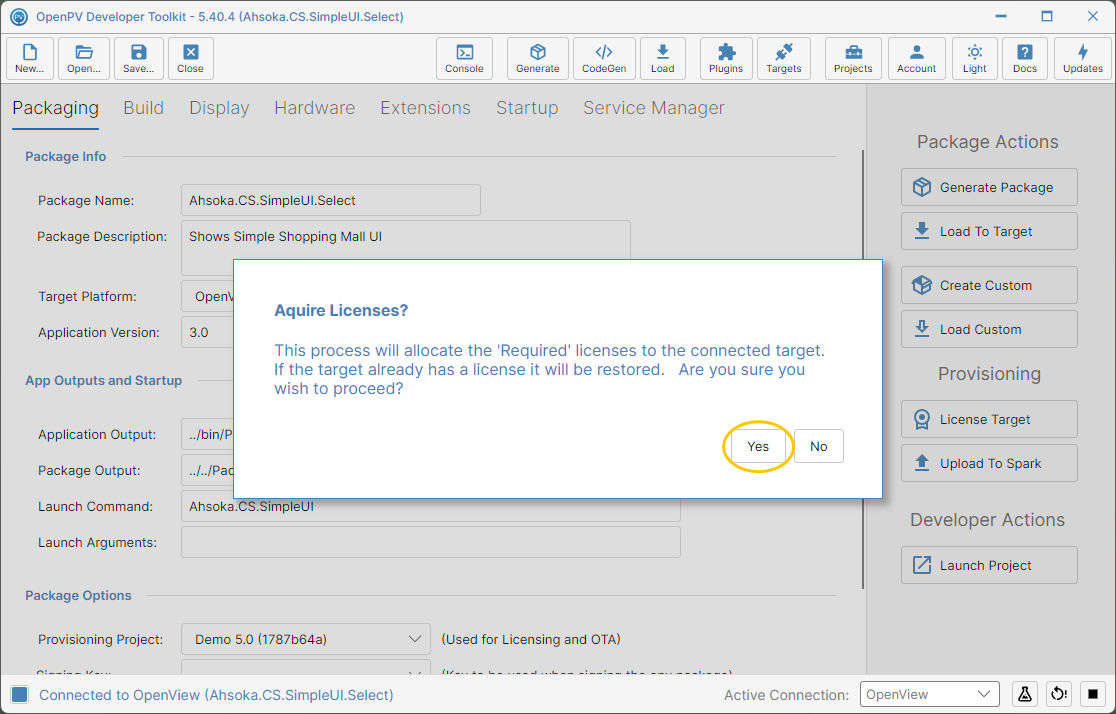
Back on the Packaging panel immediately after confirming -
With a Provisioning Project set, the log shows the device being subscribed to the Spark channel, provisioned to that project's group, and its license file loaded onto the target — licensing succeeded.
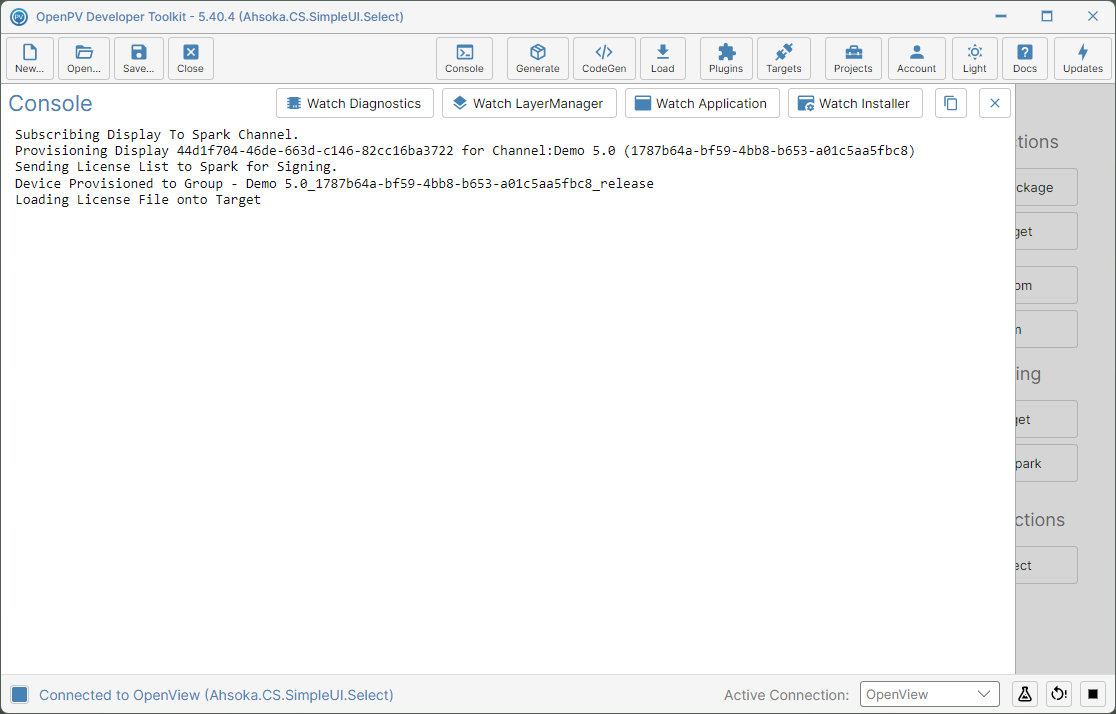
The Console log after successfully licensing the target
Upload To Spark
-
Upload To Spark publishes the generated package to your Spark account as an OTA release. It needs a Provisioning Project — click the dropdown to see the projects available to your account.
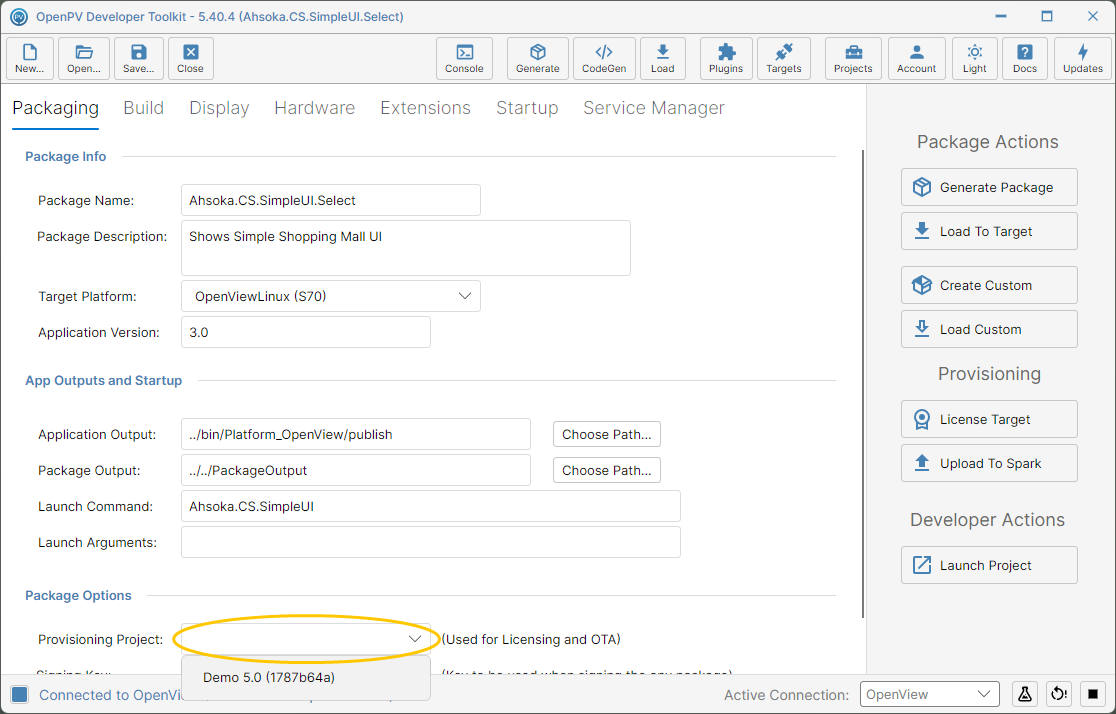
The Provisioning Project dropdown open -
Select one — here, Demo 5.0.
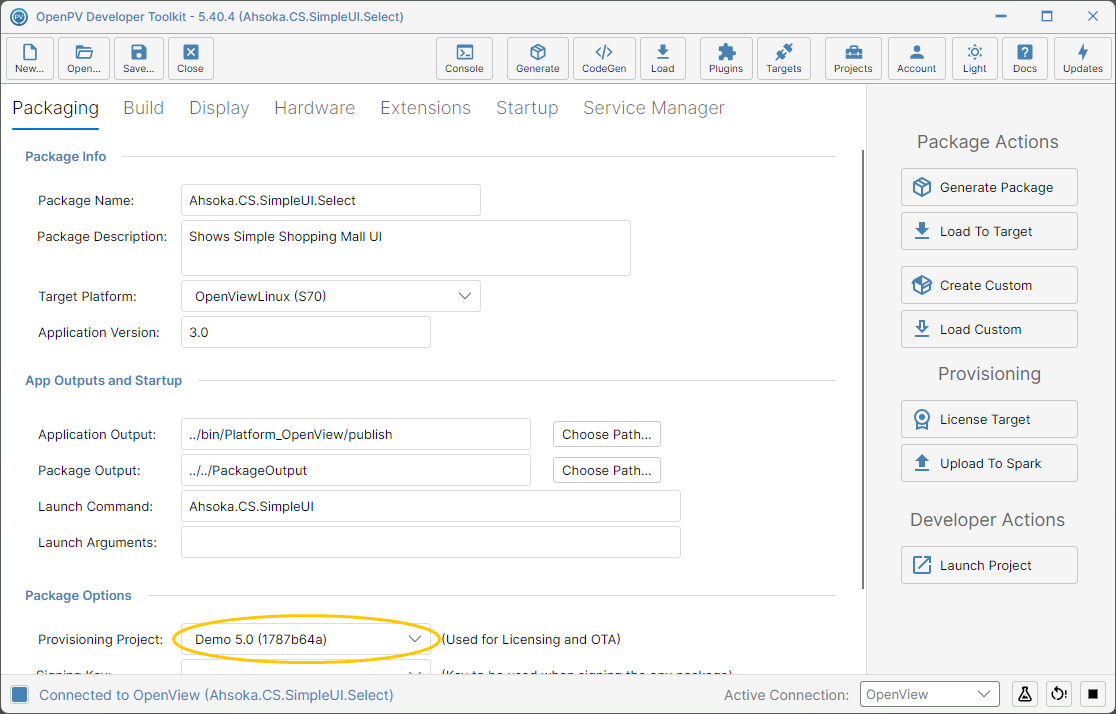
Demo 5.0 selected as the Provisioning Project -
Click Upload To Spark (highlighted).
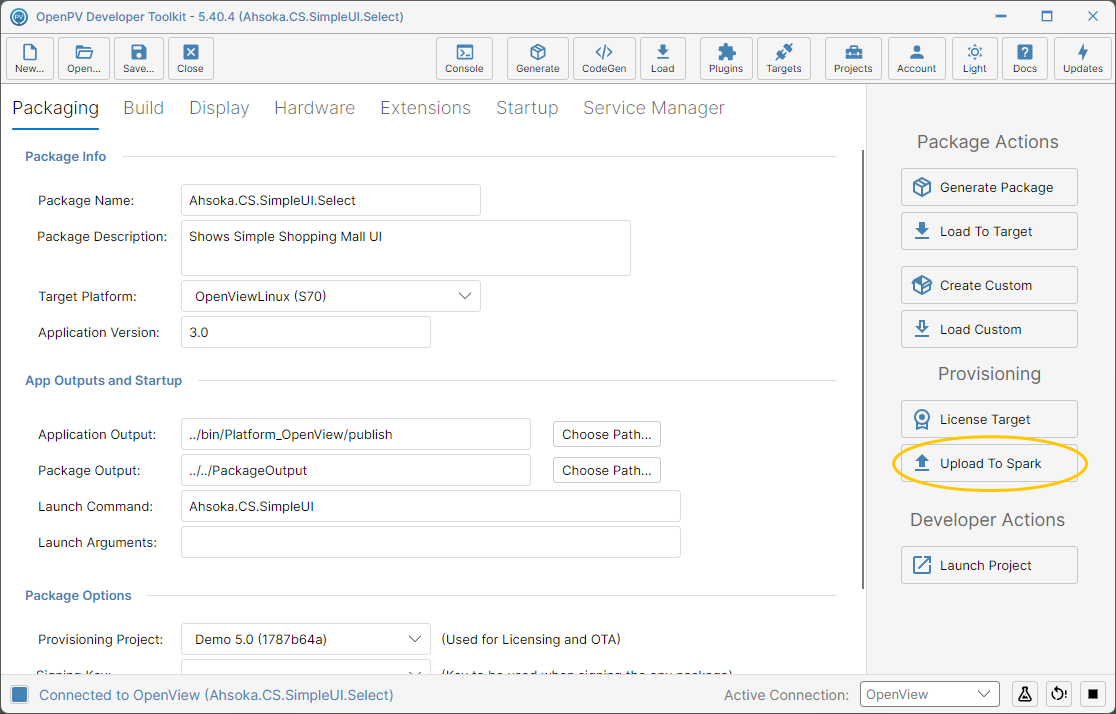
The Upload To Spark button -
The Upload Package To Spark dialog opens. Channel Name (the selected Provisioning Project) and Release Name (the package name without punctuation) are filled in for you. Version starts at 1.0 for a channel's first release, then suggests one minor version above the newest release already in the channel — here, 1.2. You can change it. Add optional Release Notes — here, OpenPV Demo 5.0 — then click Begin Upload.
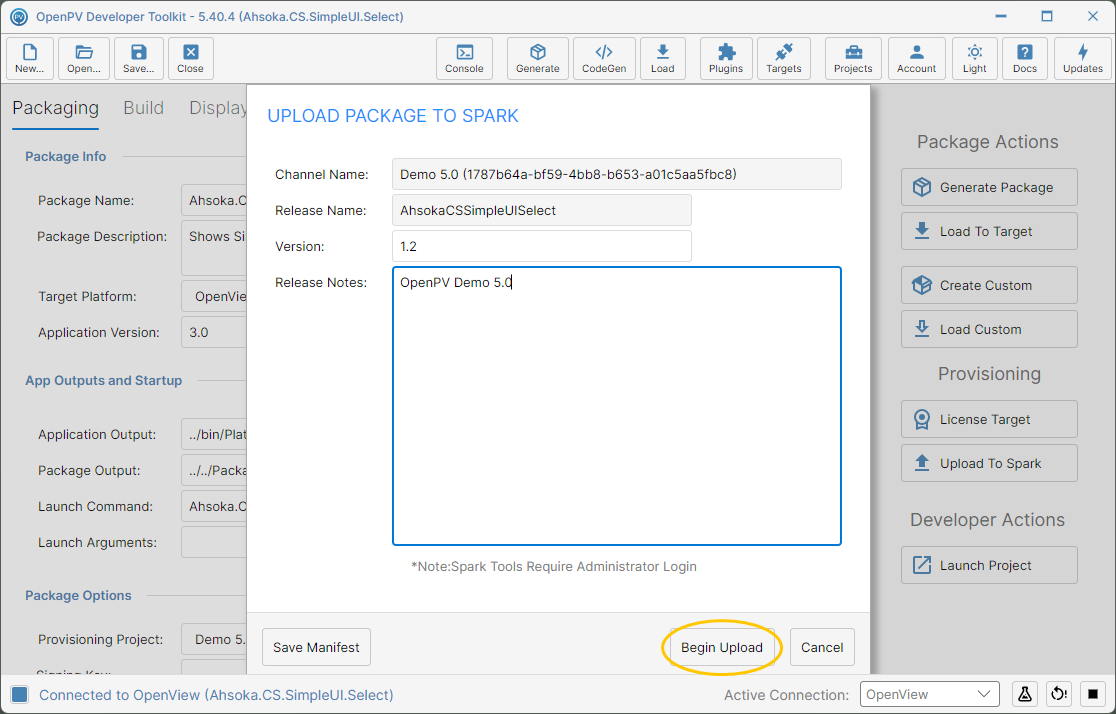
The Upload Package To Spark dialog -
The app switches to Console to show upload progress.
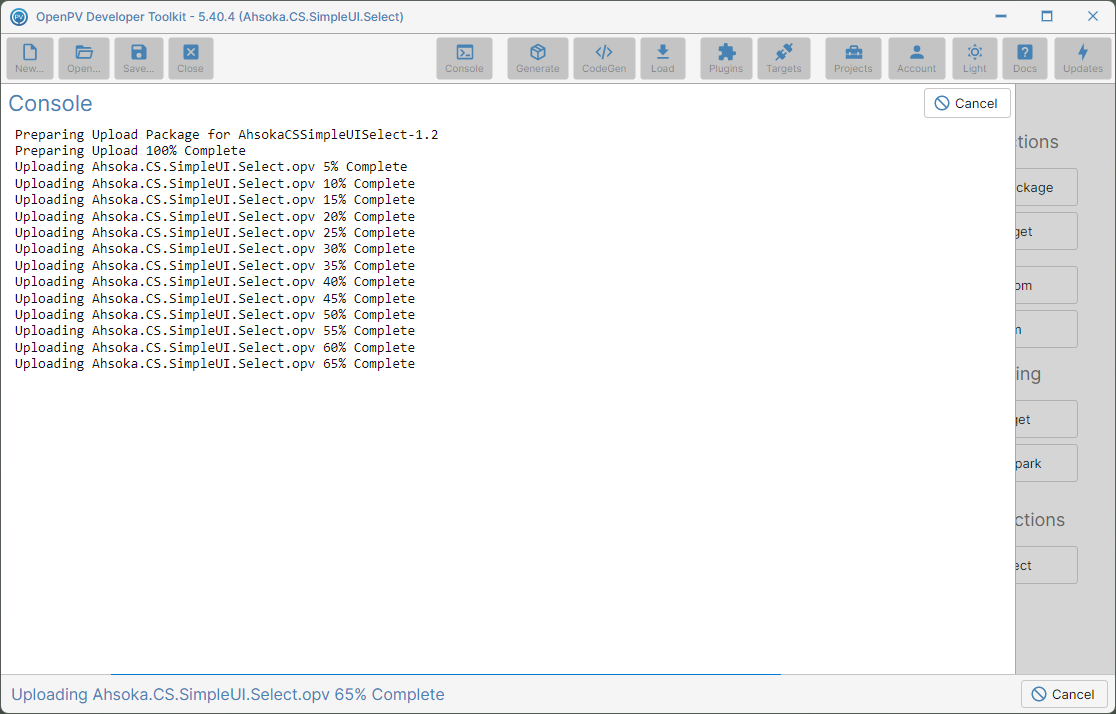
The Console panel showing the upload in progress -
The log ends with Container Upload 100% Complete and Marking Container ... Ready for Use. The release is uploaded on the Development track, so only devices on the Development track can see it — when it's ready for more devices, promote it from Manage Applications on the Projects panel.
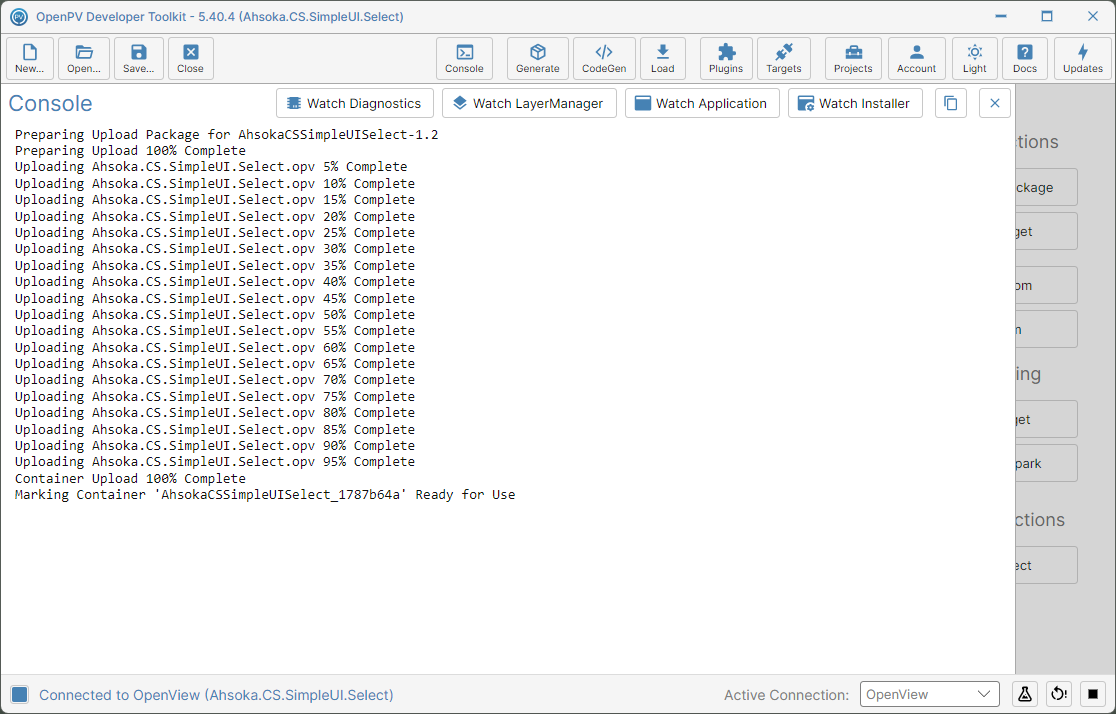
The Console log after a successful upload to Spark
Spark.release.json file, instead of uploading.Launch Project
Launch Project opens the project's solution directly in Visual Studio, with the project already loaded in Solution Explorer — a quicker route in than the old New Project flow's approach of opening a file browser and double-clicking the .csproj file by hand.