Manage Target Devices
Utilities Projects Requires: internet connection
View and manage the devices which have been added to this project.
A device's track controls which releases it can see: a device on the Development track can see releases on any track, one on Beta can see Beta and Release, and one on Release can only see Release.
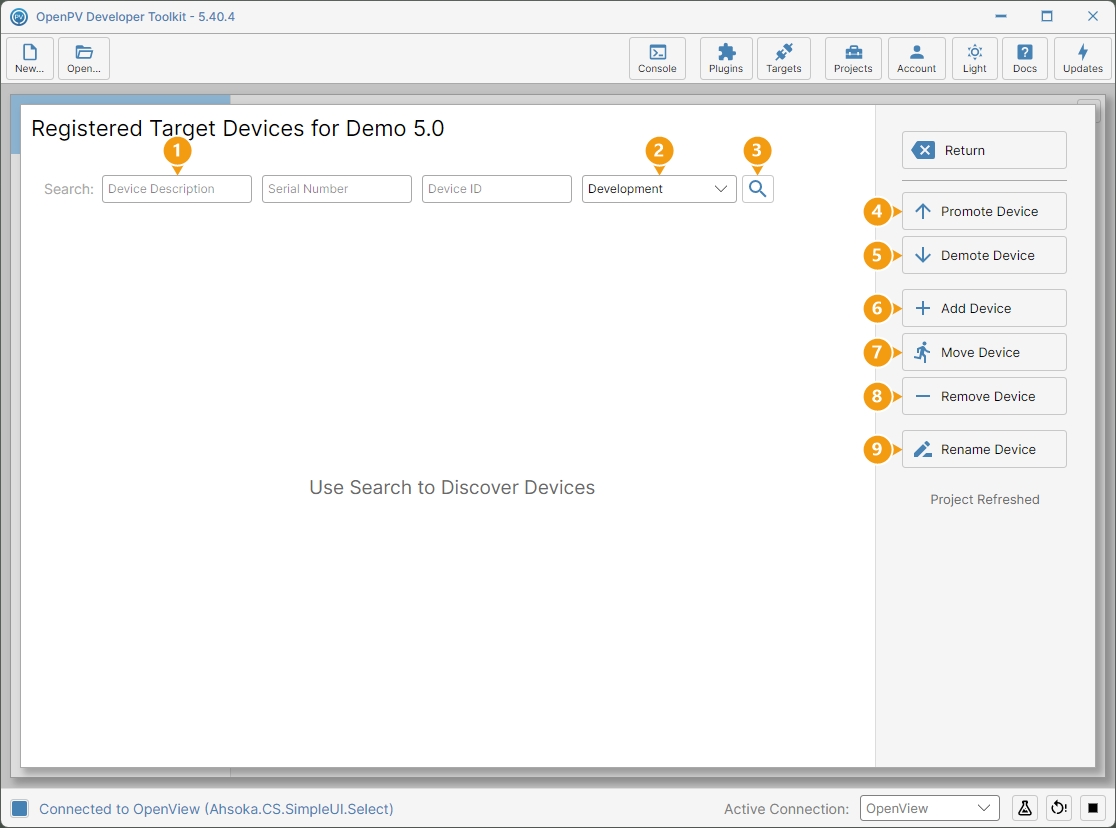
On the toolbar, click Projects, then click MANAGE TARGETS on the Target Devices card. The Registered Target Devices panel opens, showing Use Search to Discover Devices until you search:
- Device Description, Serial Number and Device ID — optional search filters. Leave them blank to list every device.
- Track — the track to search. With Development selected, devices on every track are listed.
- Search — lists the project's devices that match.
- Promote Device — moves the selected device up one track.
- Demote Device — moves the selected device down one track.
- Add Device — adds a device to this project ahead of time. See Add Device below.
- Move Device — moves the selected device to another project you own or administer. It arrives there on the Release track.
- Remove Device — deletes the selected device from Spark.
- Rename Device — changes the selected device's Device Description.
Each device is listed with its Device Description, Current Track, Part Number, Serial Number and Device ID. Scroll right to see Licenses, the licenses attached to the device.
Add Device
-
Click Add Device.
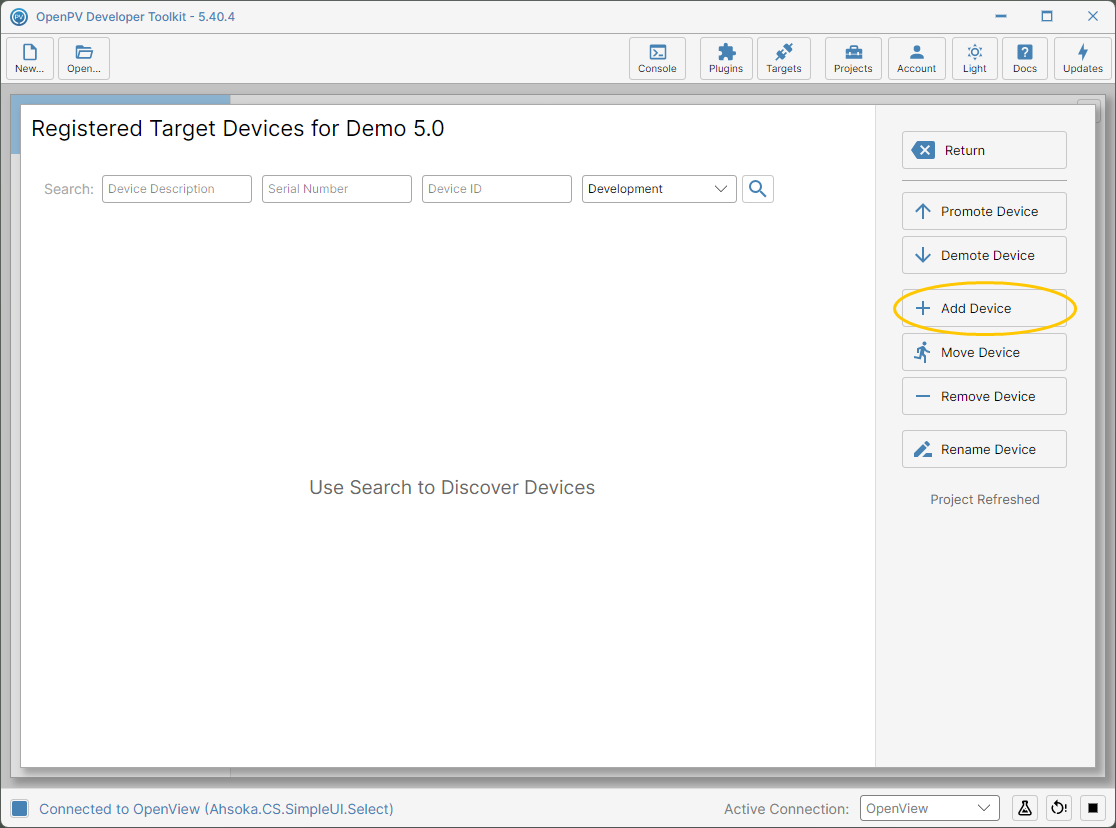
The Add Device button -
Pre-Provision Devices for this Project opens. It adds a device to this project ahead of time, for OTA updates, and can give it licenses from the project's modules:
- Attach These Licenses — one Add License for … box for each module enabled under Module Setup. Each ticked box takes one license for that module from the project.
- To Single Device or To Device List — add one device, or several from a CSV file (see the note below).
- Device Family, Part Number, Serial Number and Device Id (8 Characters) — the device's details. The Device Id is the first 8 characters of the device's ID, shown on the display's Installer screen.
- Read Info — fills in these details from the connected display.
- Begin Provisioning adds the device. Cancel Provisioning closes the dialog without adding anything.
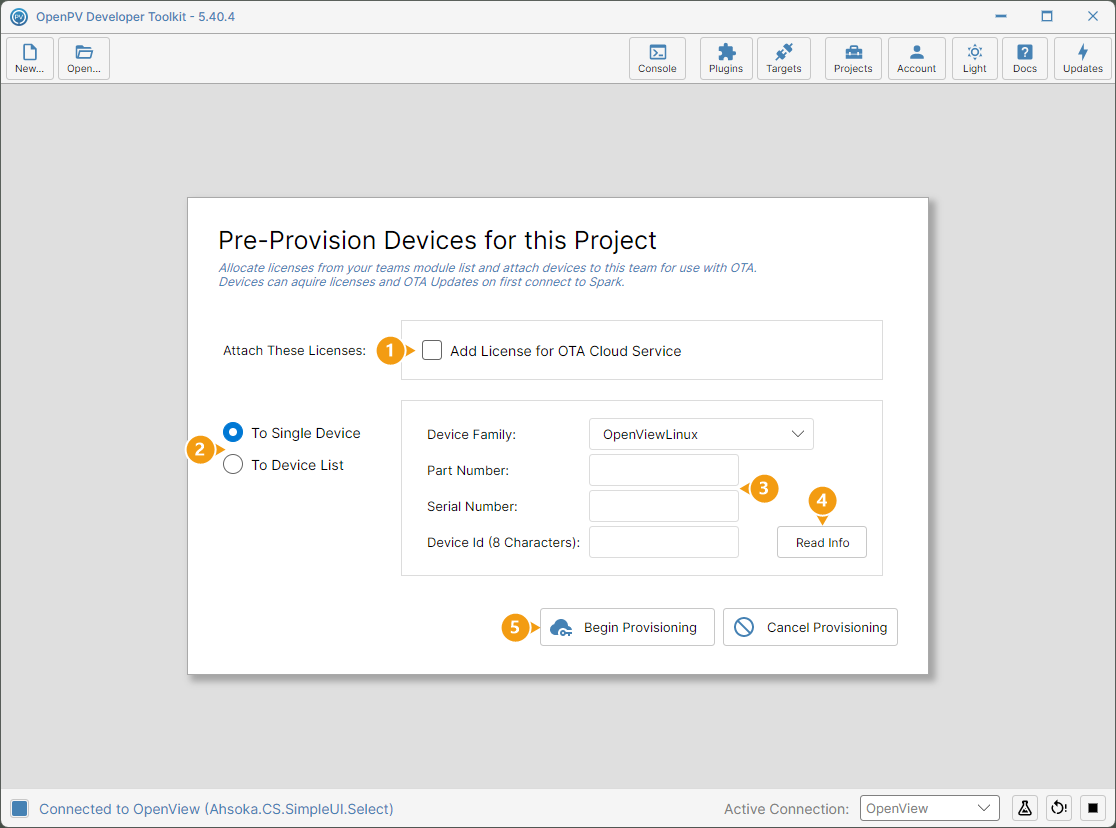
The Pre-Provision Devices dialog, numbered -
Click Read Info.
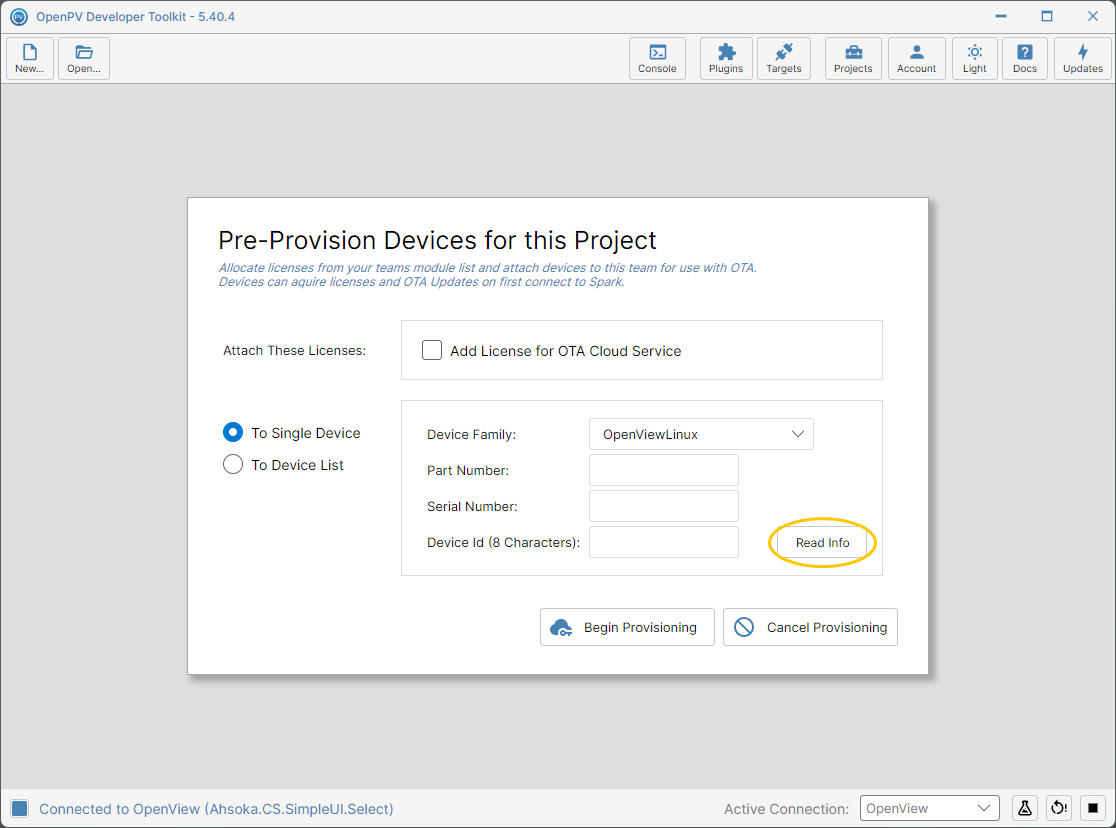
The Read Info button -
The Device Family, Part Number, Serial Number and Device Id are filled in from the connected display. Leave the license box unticked unless the project has licenses to give (see the note below), then click Begin Provisioning.
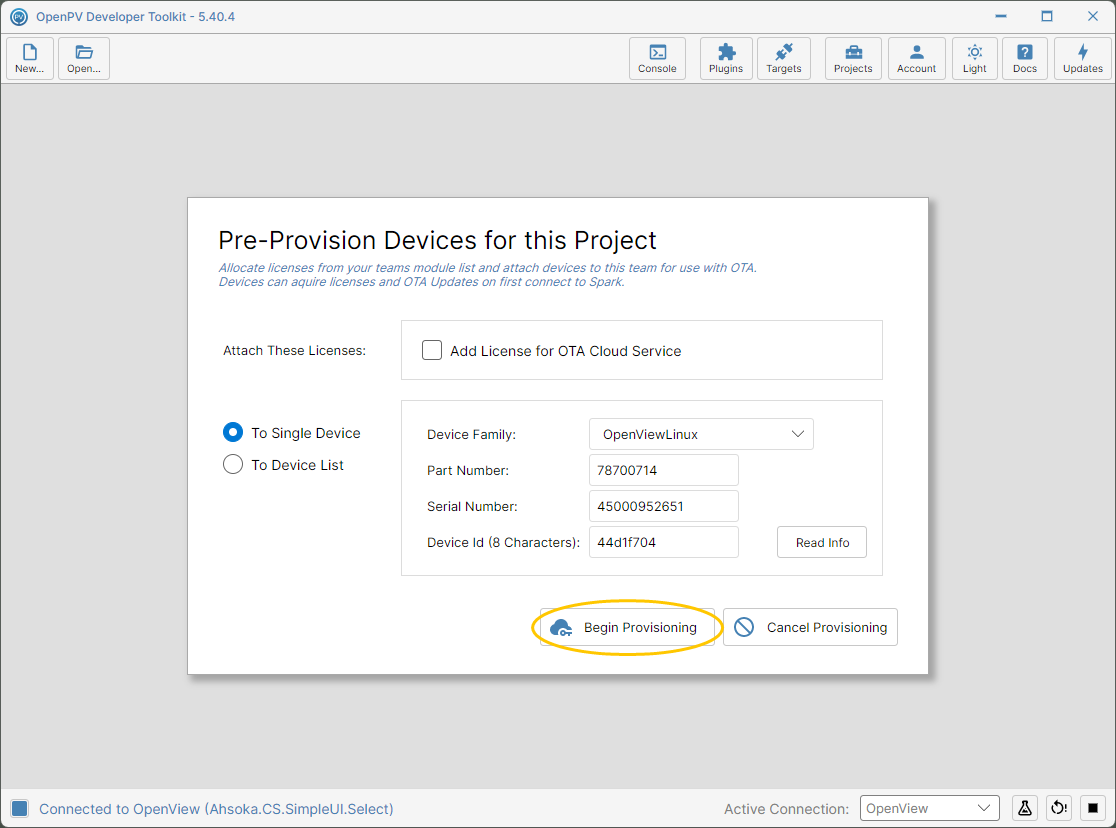
The device's details read from the connected display -
The Console shows the progress, then closes when it's done. The device is listed as Device ( the first 8 characters of its ID ), on the Release track.
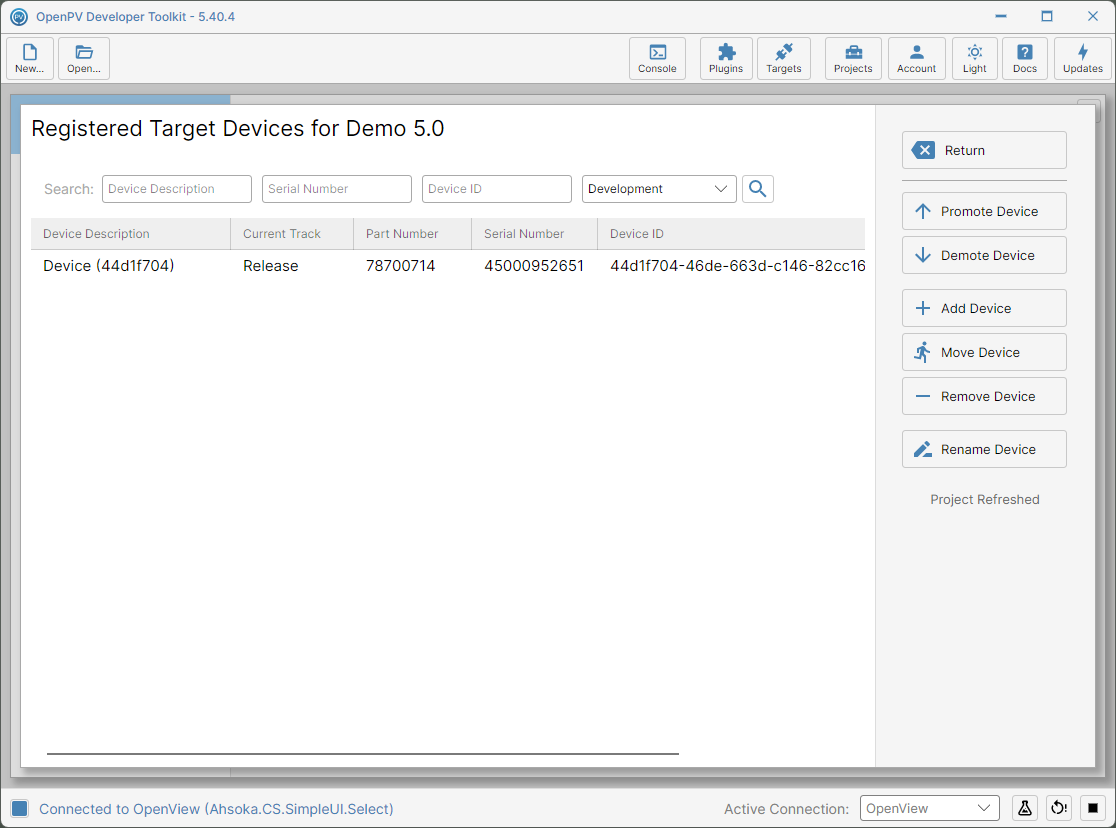
The device added to the project
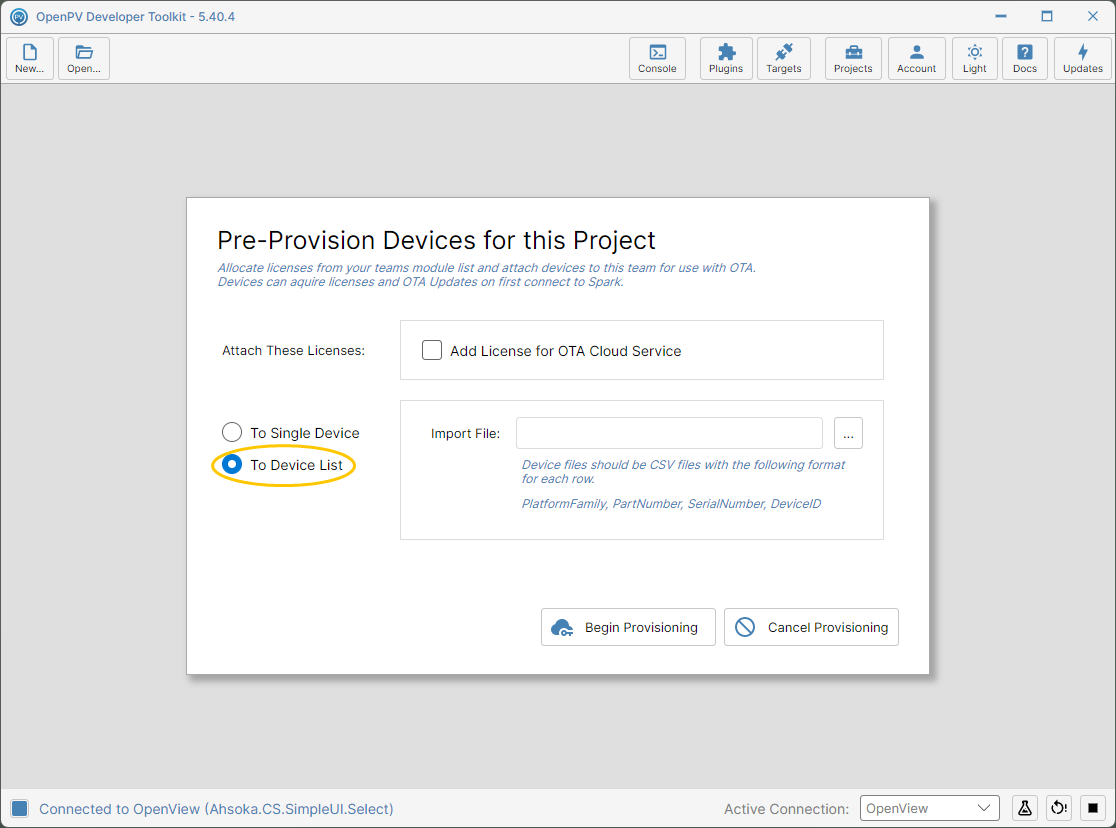
Promote Device
-
Click the device's row to select it, then click Promote Device.
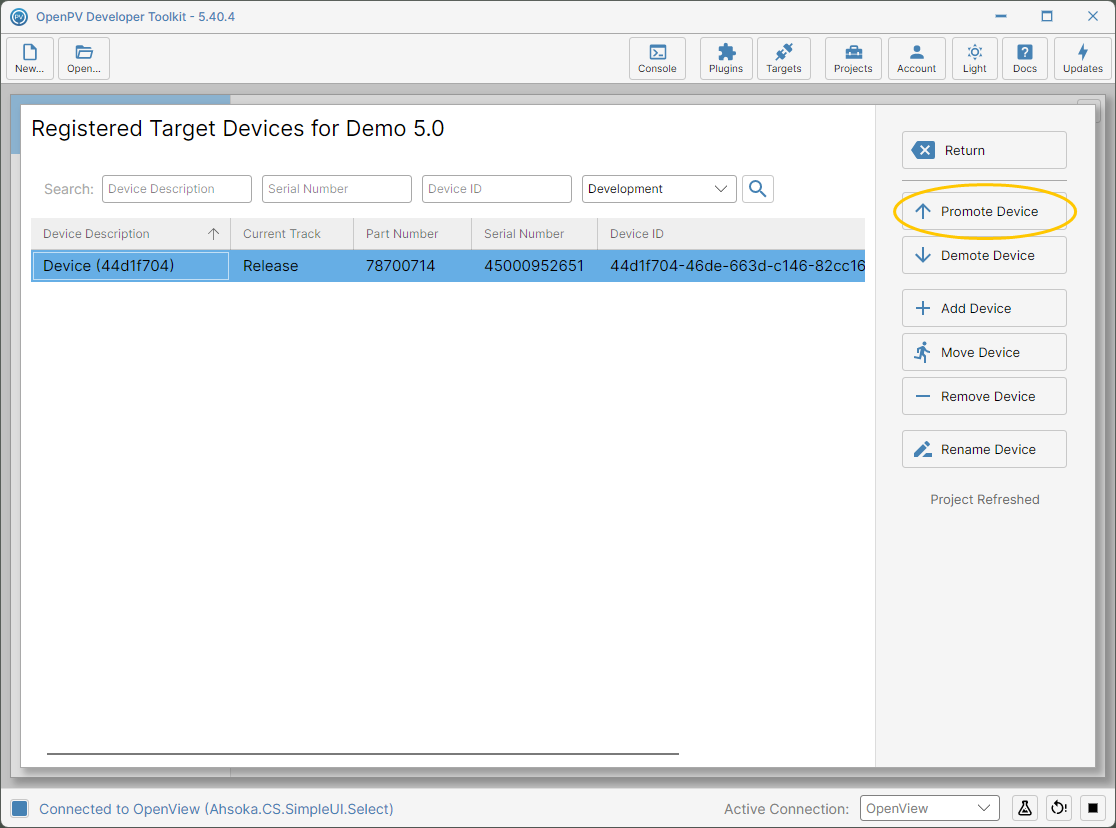
The device selected on the Release track, and the Promote Device button -
It moves up one track straight away — here, from Release to Beta — and the status shows Track Changed. Click Promote Device again.
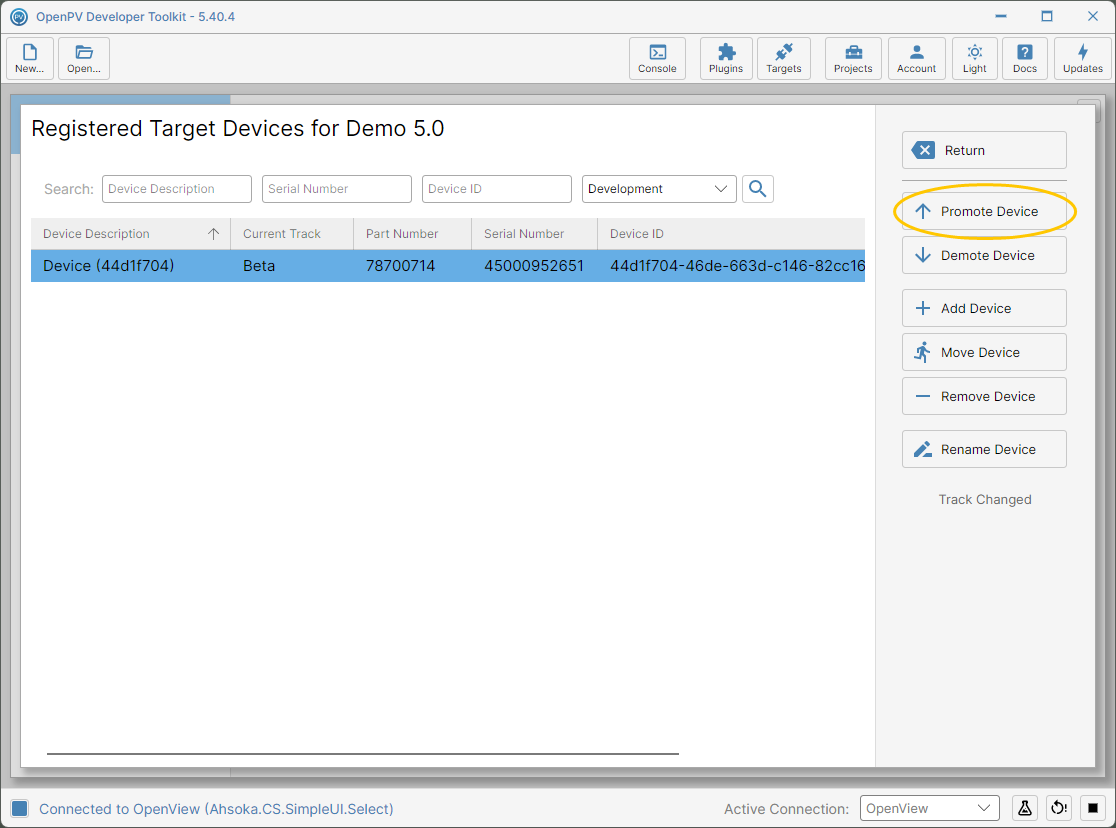
The device on the Beta track -
Current Track now reads Development, the top of the chain: Release → Beta → Development.
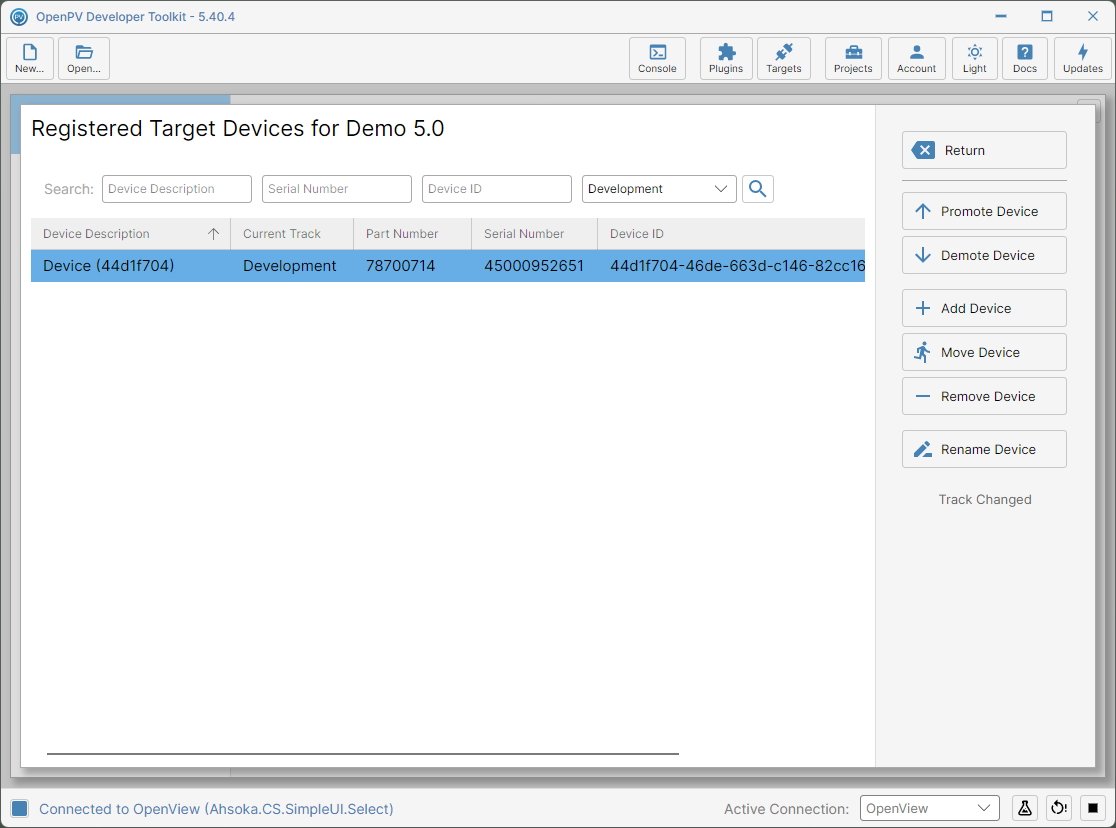
The device promoted to the Development track
Demote Device
-
With the device selected, click Demote Device.
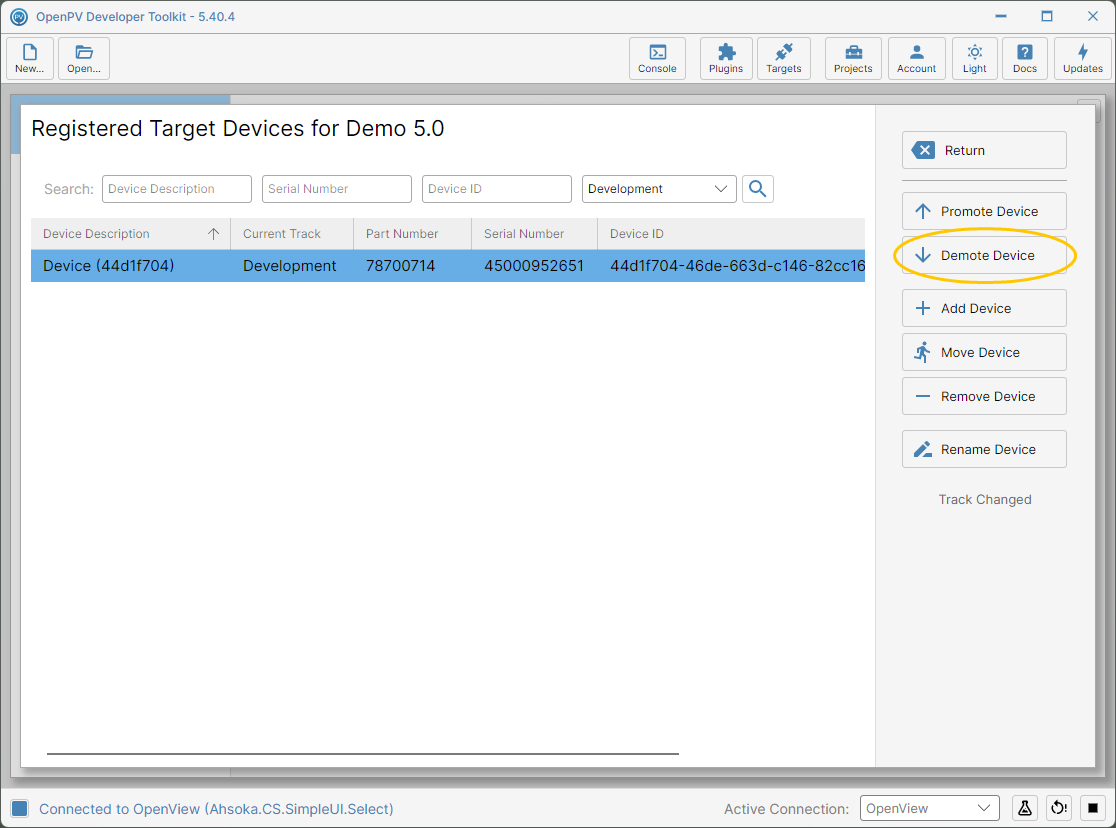
The device on the Development track, and the Demote Device button -
It moves down one track — here, from Development to Beta. Click Demote Device again.
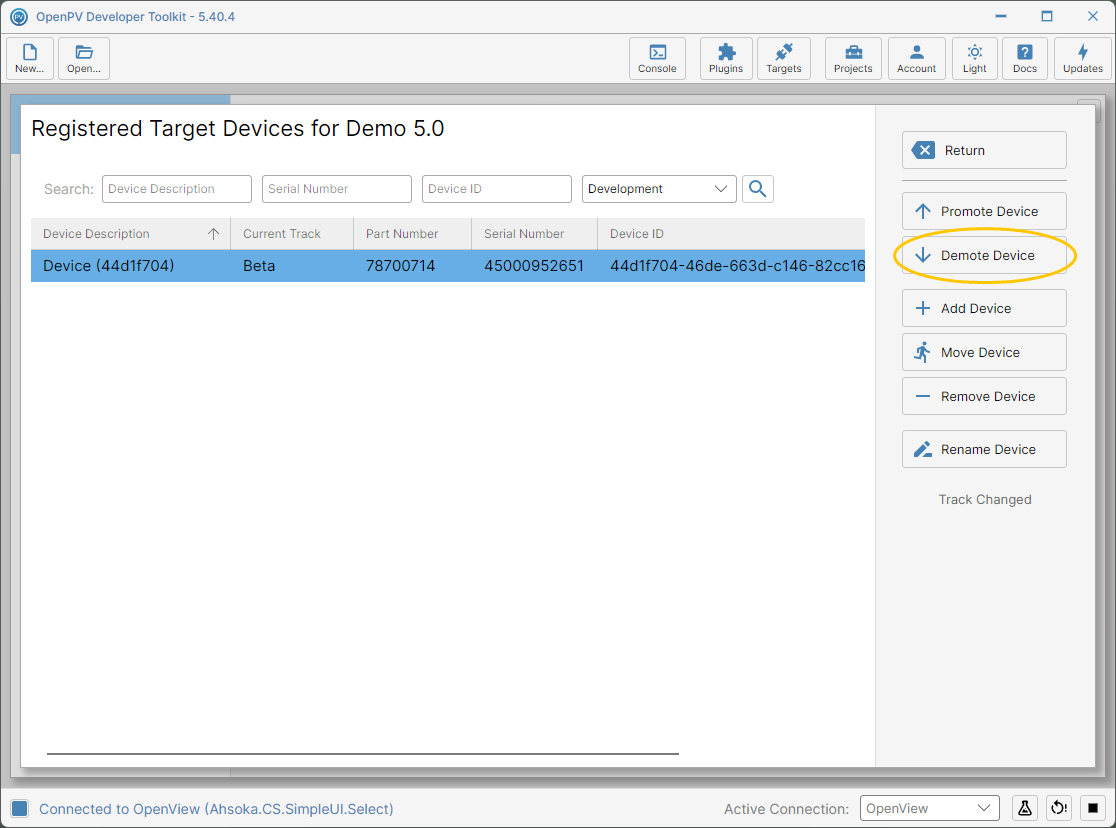
The device on the Beta track -
Current Track now reads Release, the bottom of the chain: Development → Beta → Release.
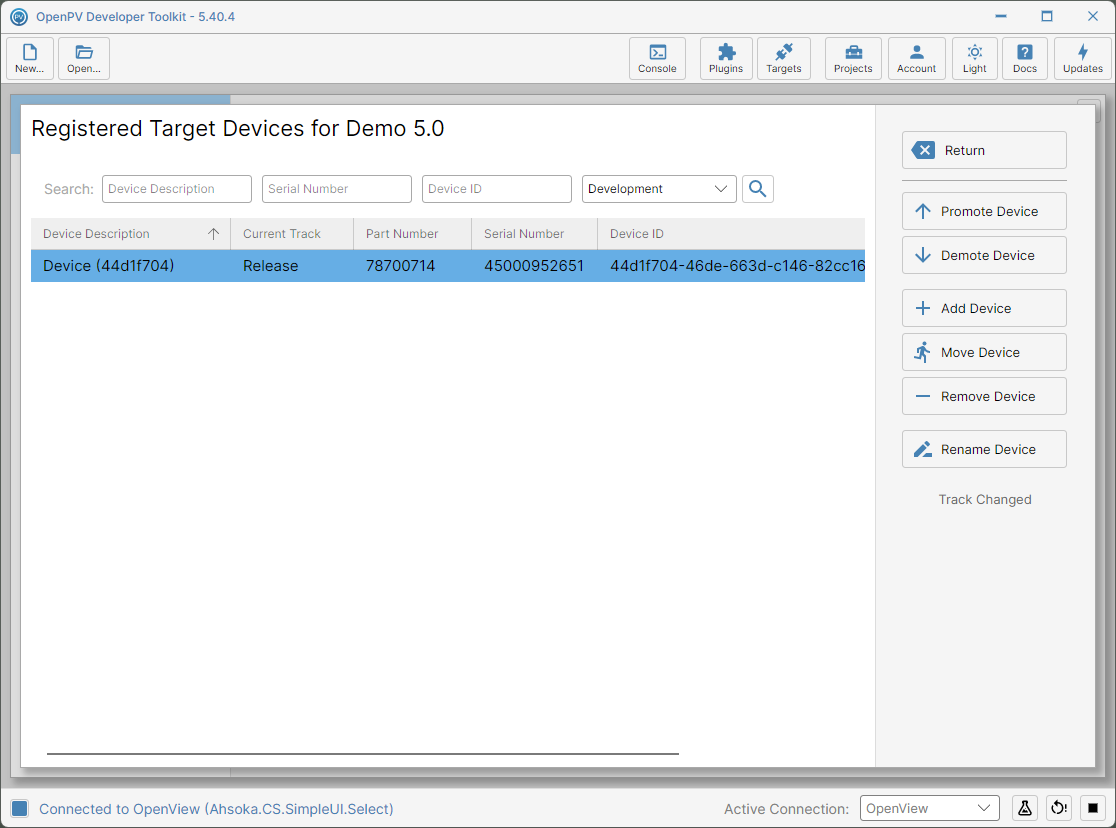
The device demoted to the Release track
Rename Device
-
With the device selected, click Rename Device.
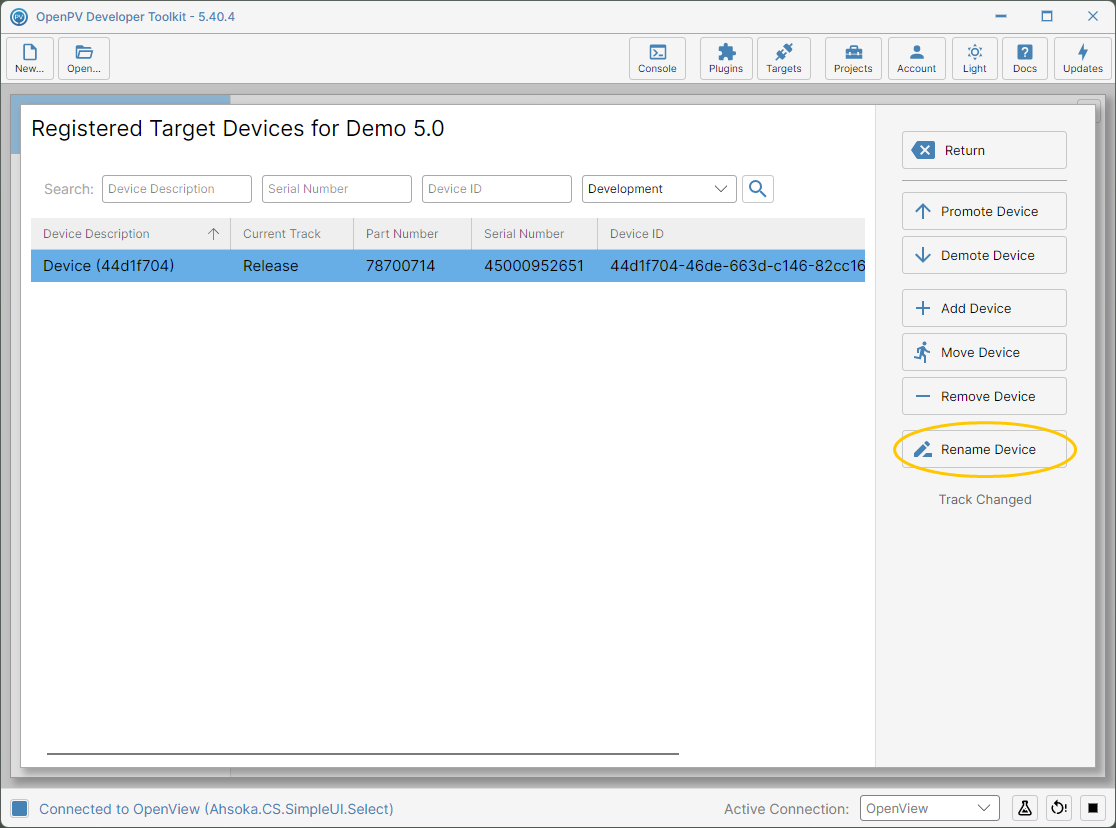
The Rename Device button -
Edit Device Name opens, with the current name filled in.
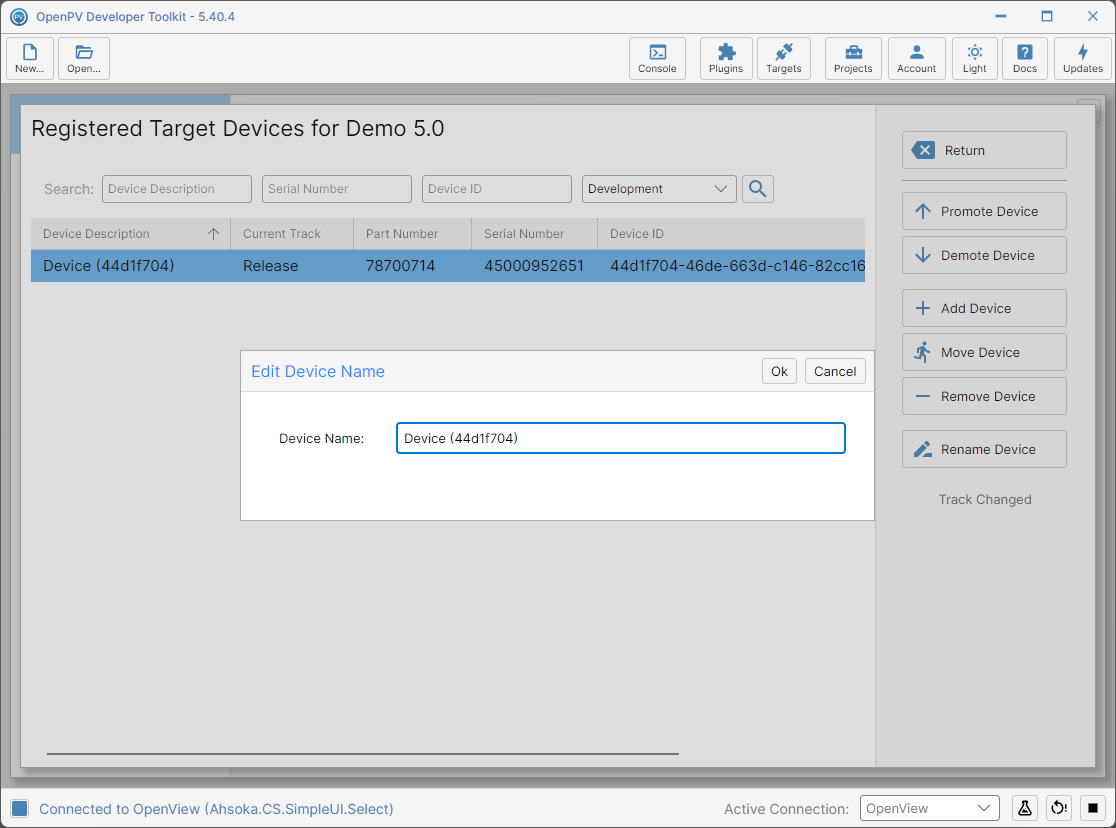
The Edit Device Name dialog -
Replace it with the new name — here, OpenView S70 — then click Ok.
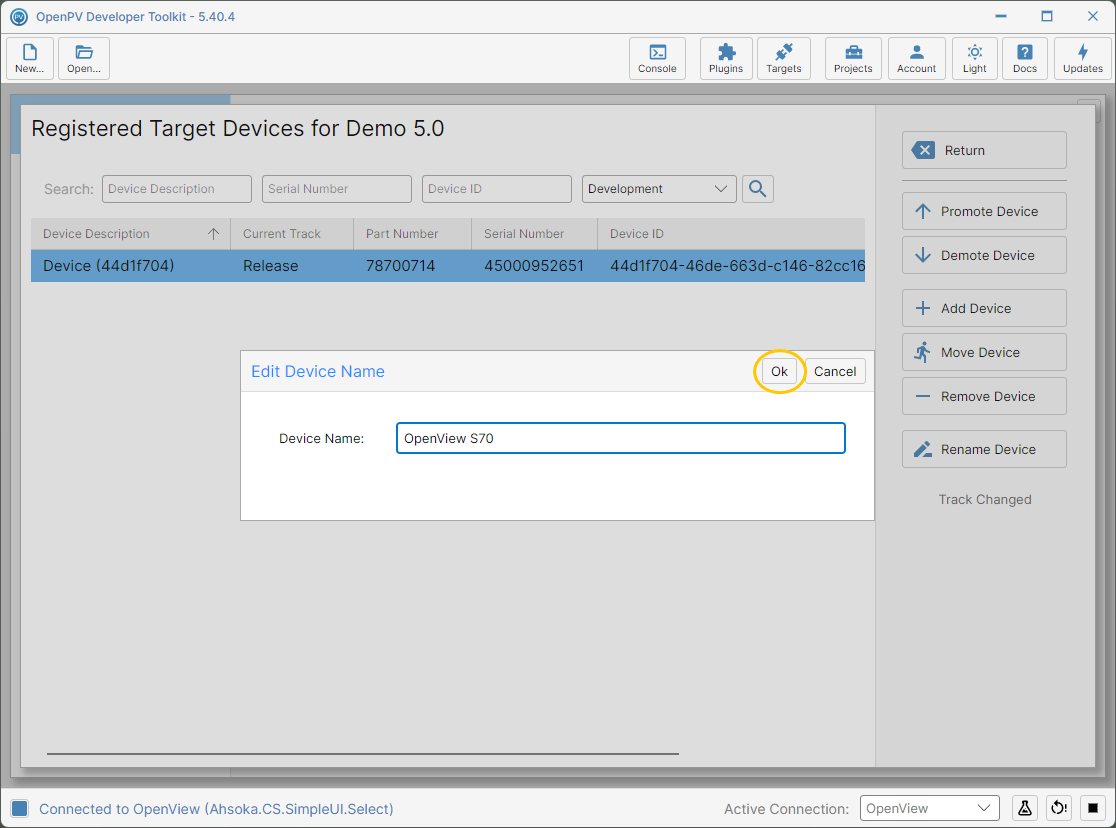
The new device name entered -
Device Description updates straight away.
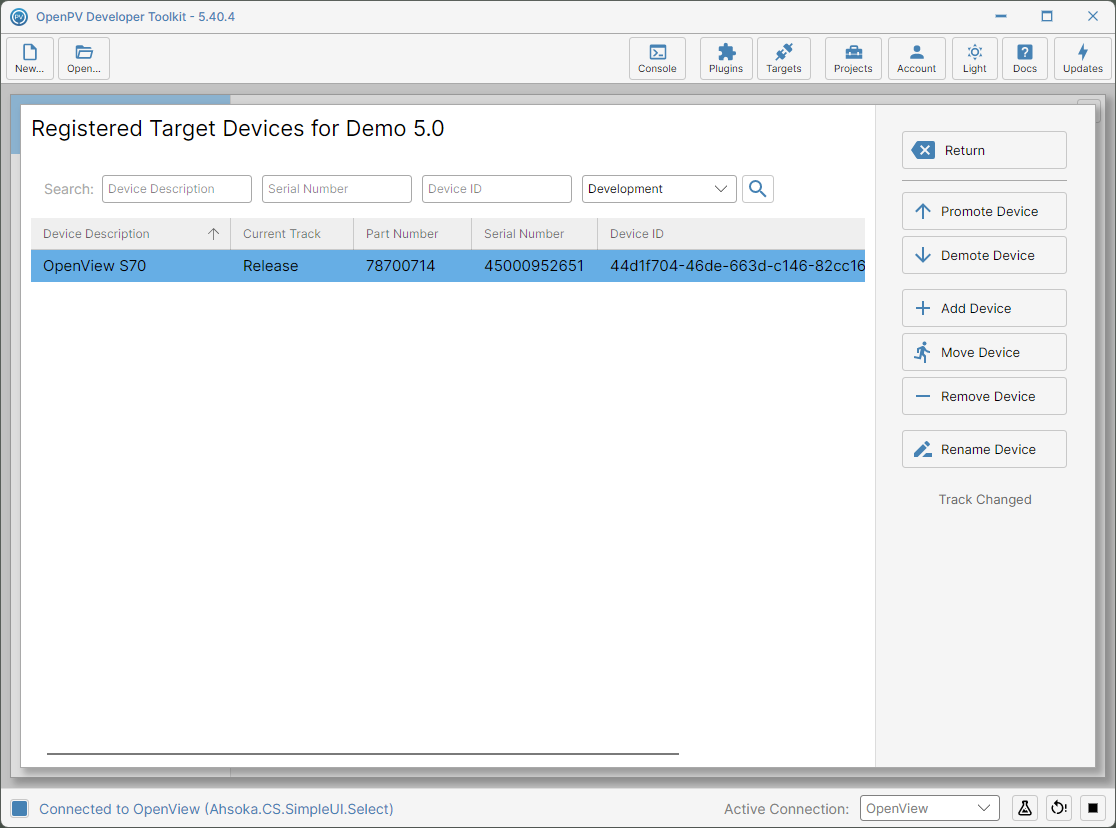
The device renamed to OpenView S70
Remove Device
-
With the device selected, click Remove Device.
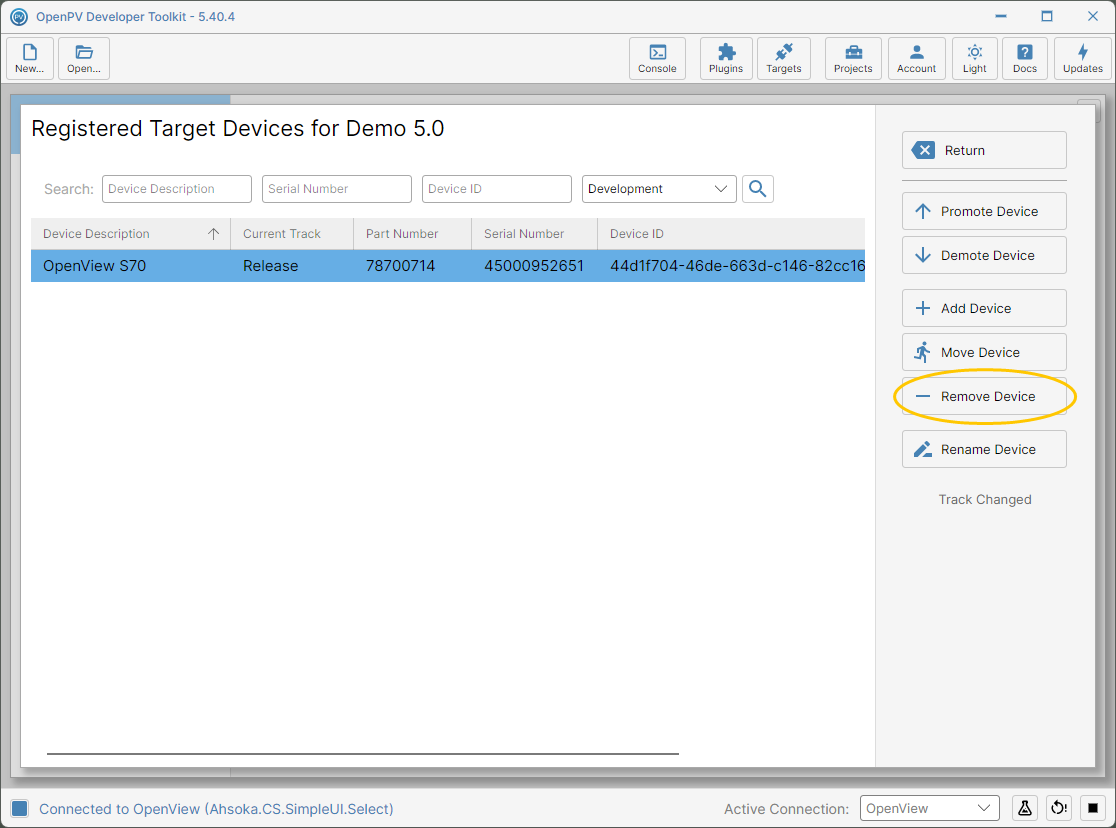
The Remove Device button -
A Remove? dialog asks you to confirm. Click Yes.
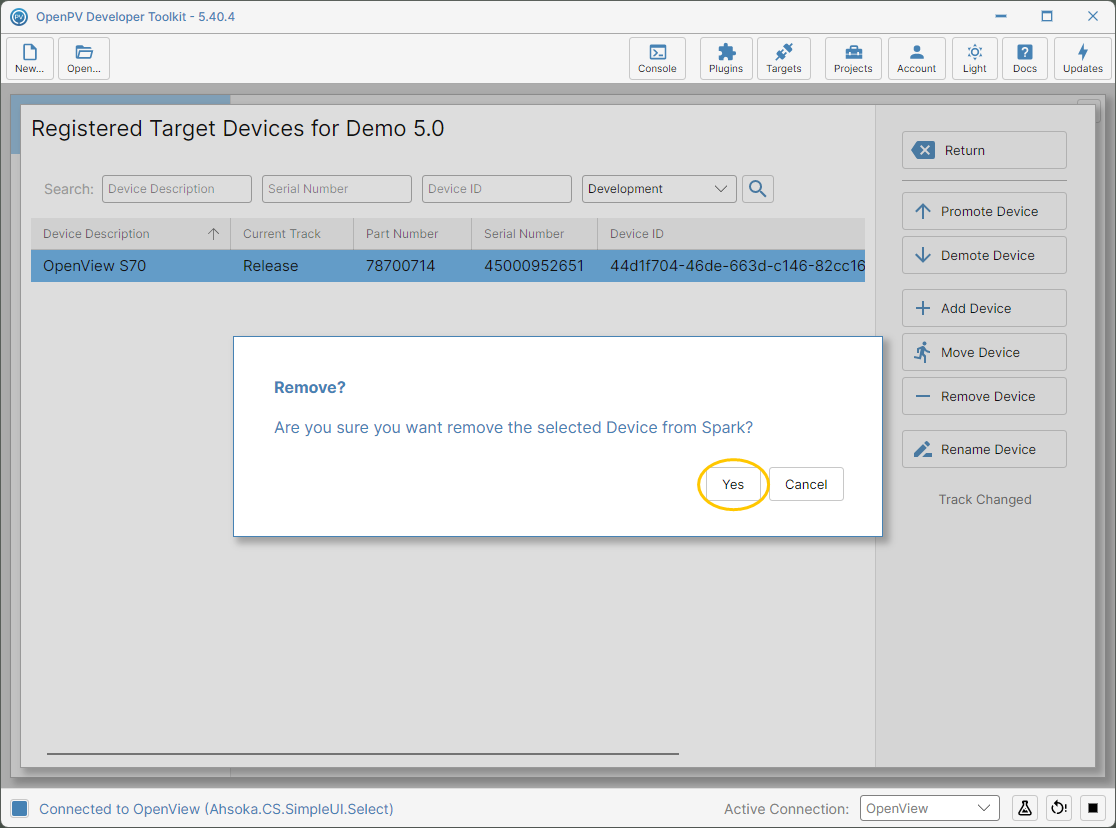
The Remove? confirmation dialog -
The device is deleted from Spark, the list clears, and the status shows Device Removed.
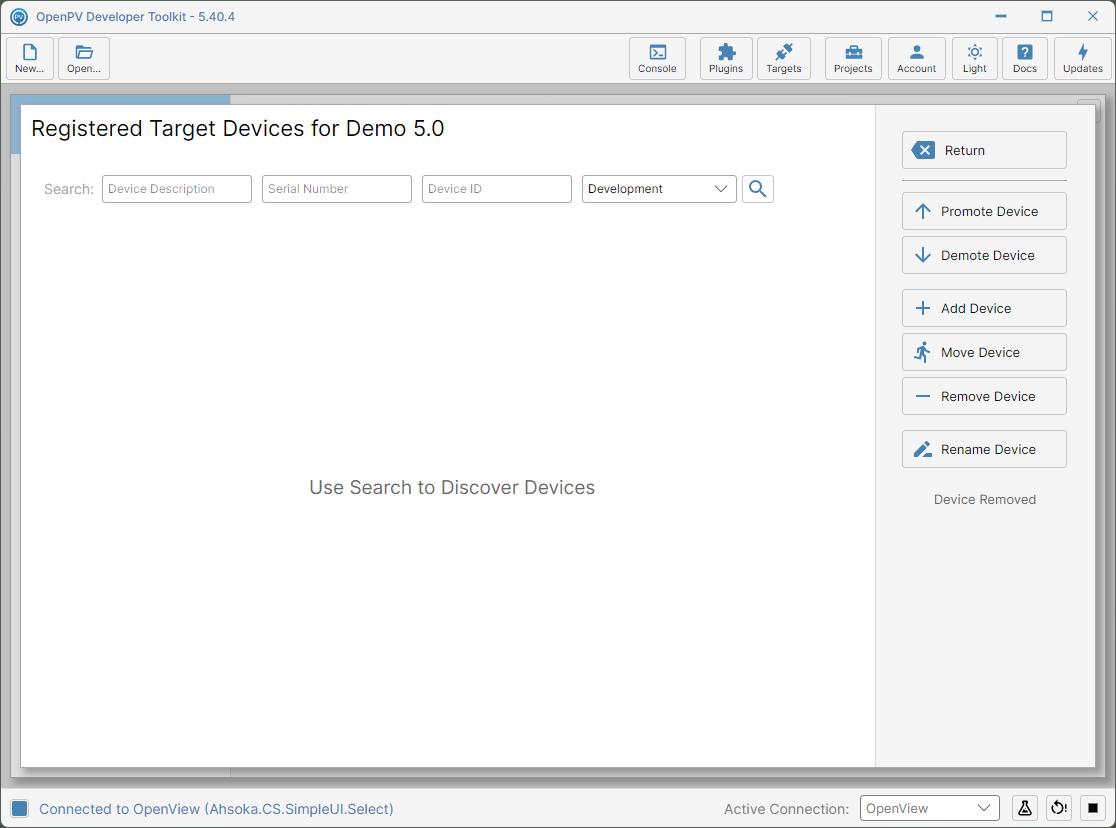
The list cleared after removing the device